Calendar Groups
Calendar Groups let you organise multiple calendars under a single label. If your team uses several calendars — for example, one per service type or one per team — groups help you manage them together, share them with a single link, and enable or disable them in bulk.
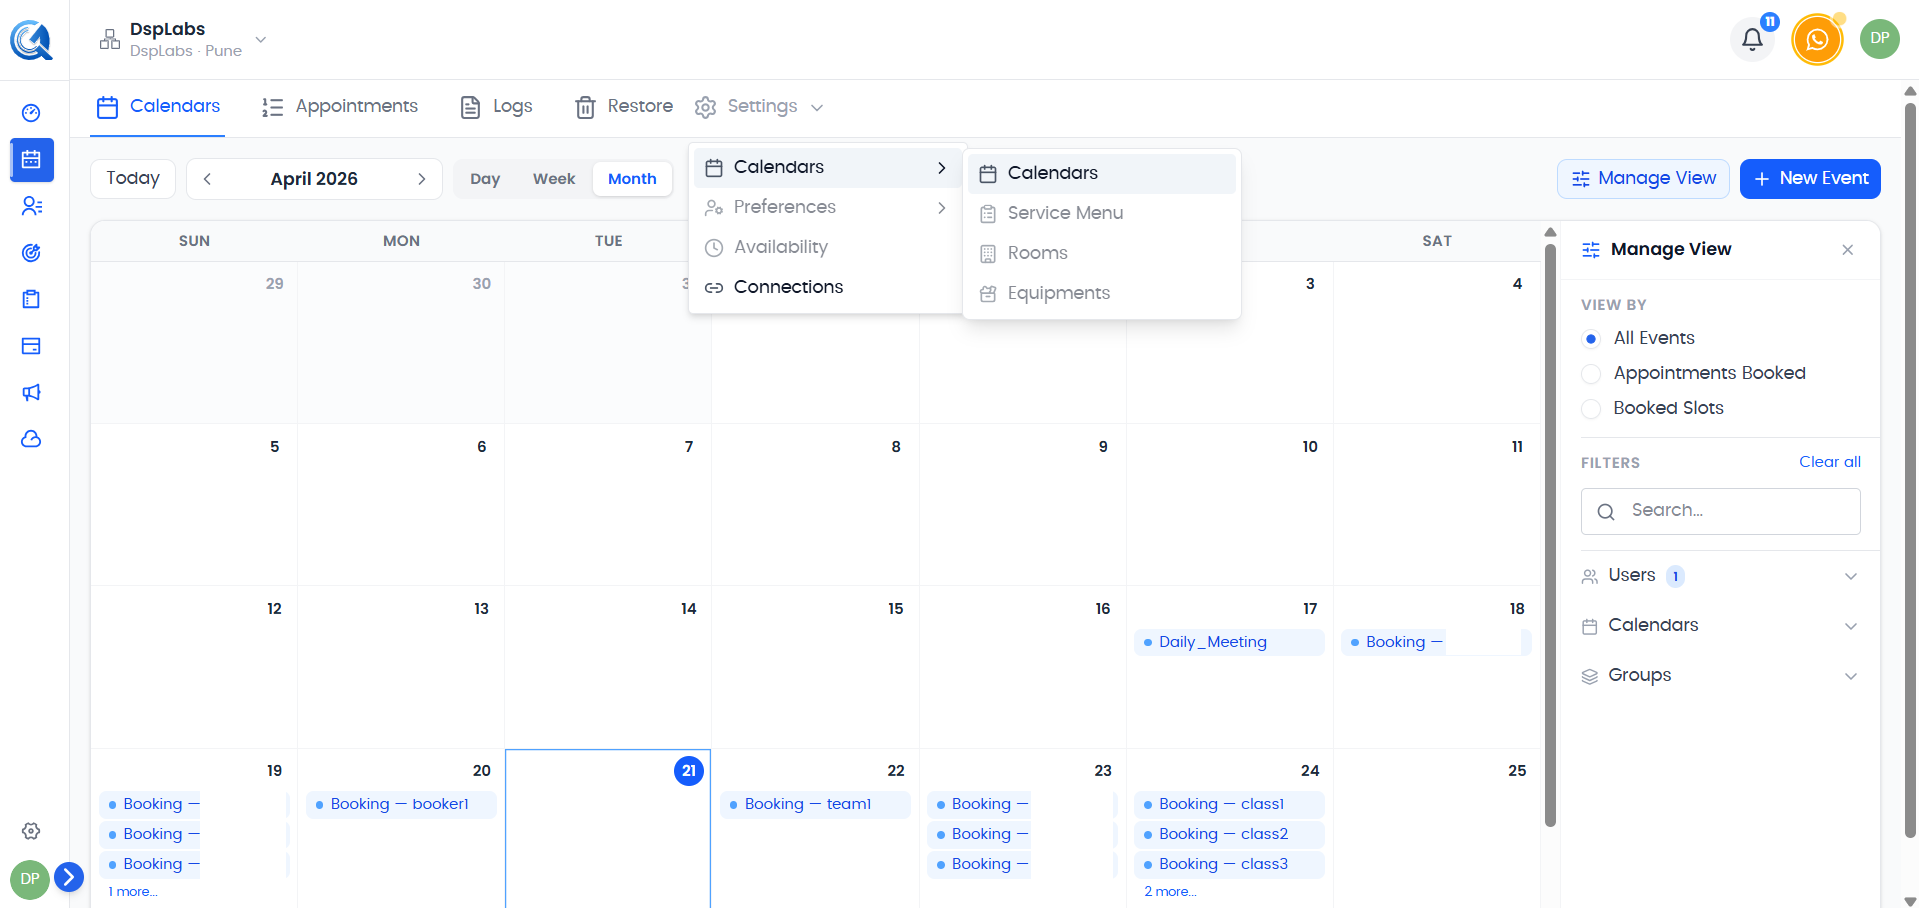
Navigating to Calendar Groups
From the Calendar section, click the Settings dropdown and select Calendars Settings. Groups are displayed on the main Calendars tab, with each group shown as a collapsible section containing its calendars.
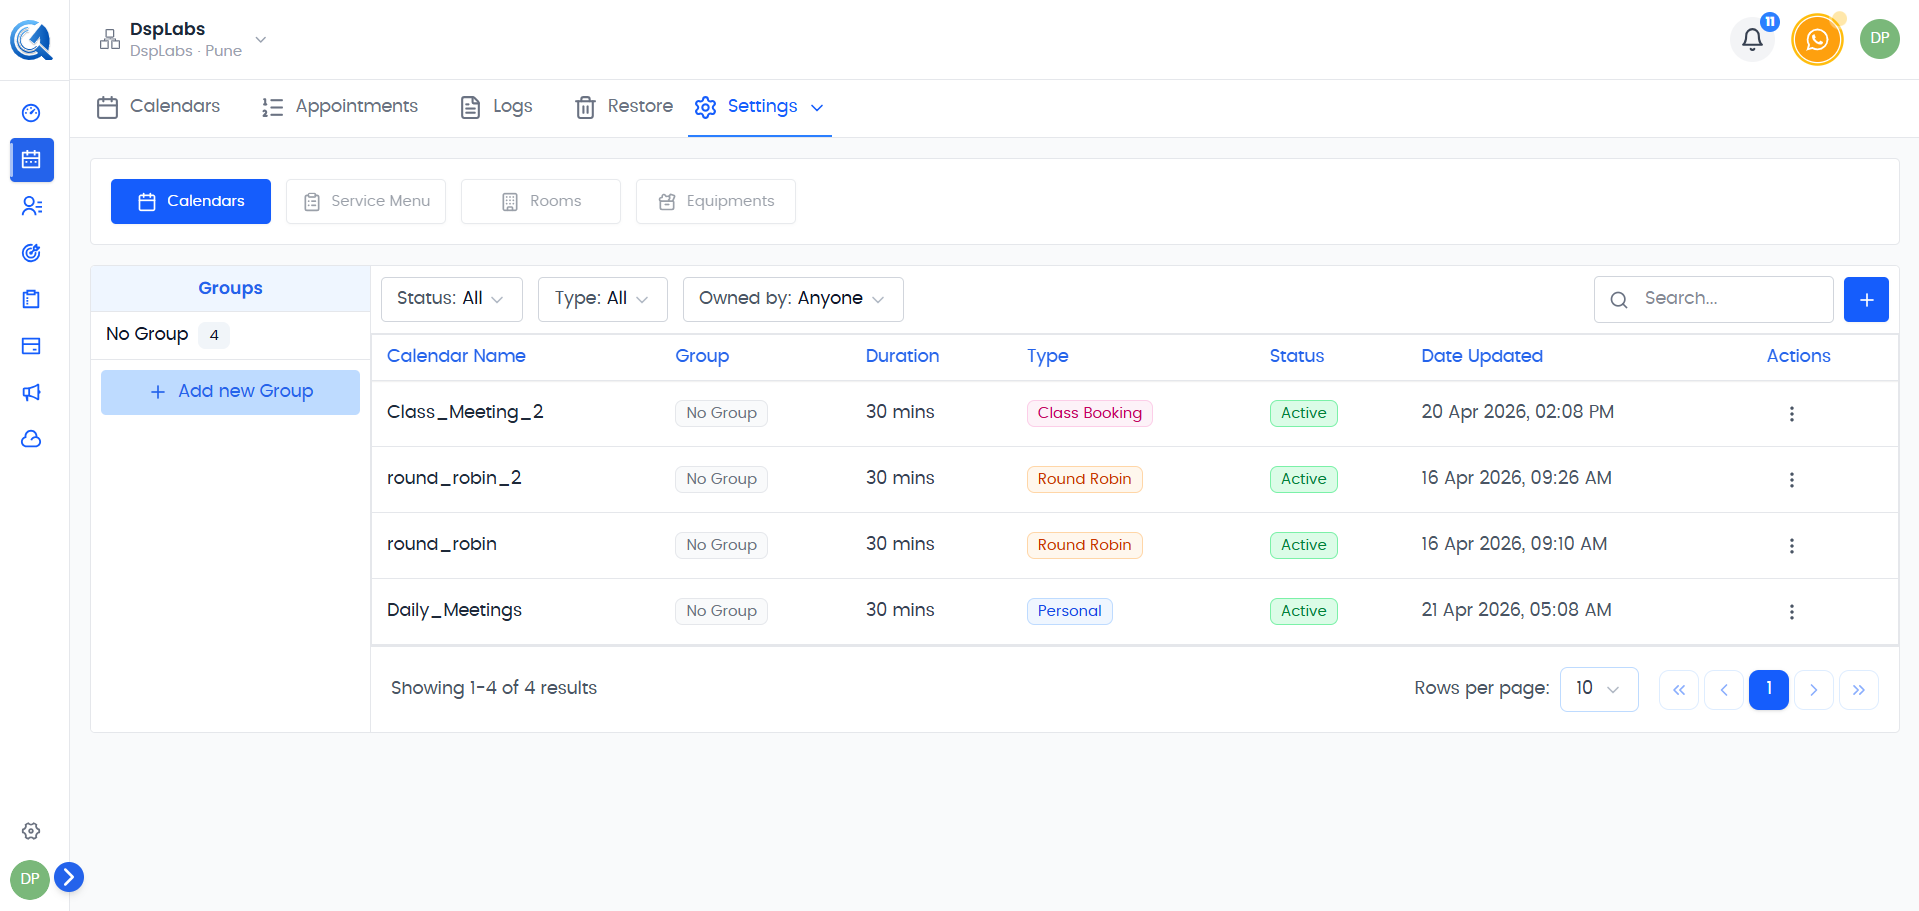
 Calendar groups appear on the Calendars tab. Each group shows the number of calendars it contains and how many are active.
Creating a Group
Click the more actions menu (⋮) next to any group or in the header area, and select Create Group.
 Select Create Group to open the group creation form.
Fill in the group details:
- Name — A clear label for the group (e.g., "Sales Team", "Onboarding Calls", "Consultation Services").
- Description — Optional. A short note about what this group covers.
- Calendars — Select one or more calendars to include in this group.
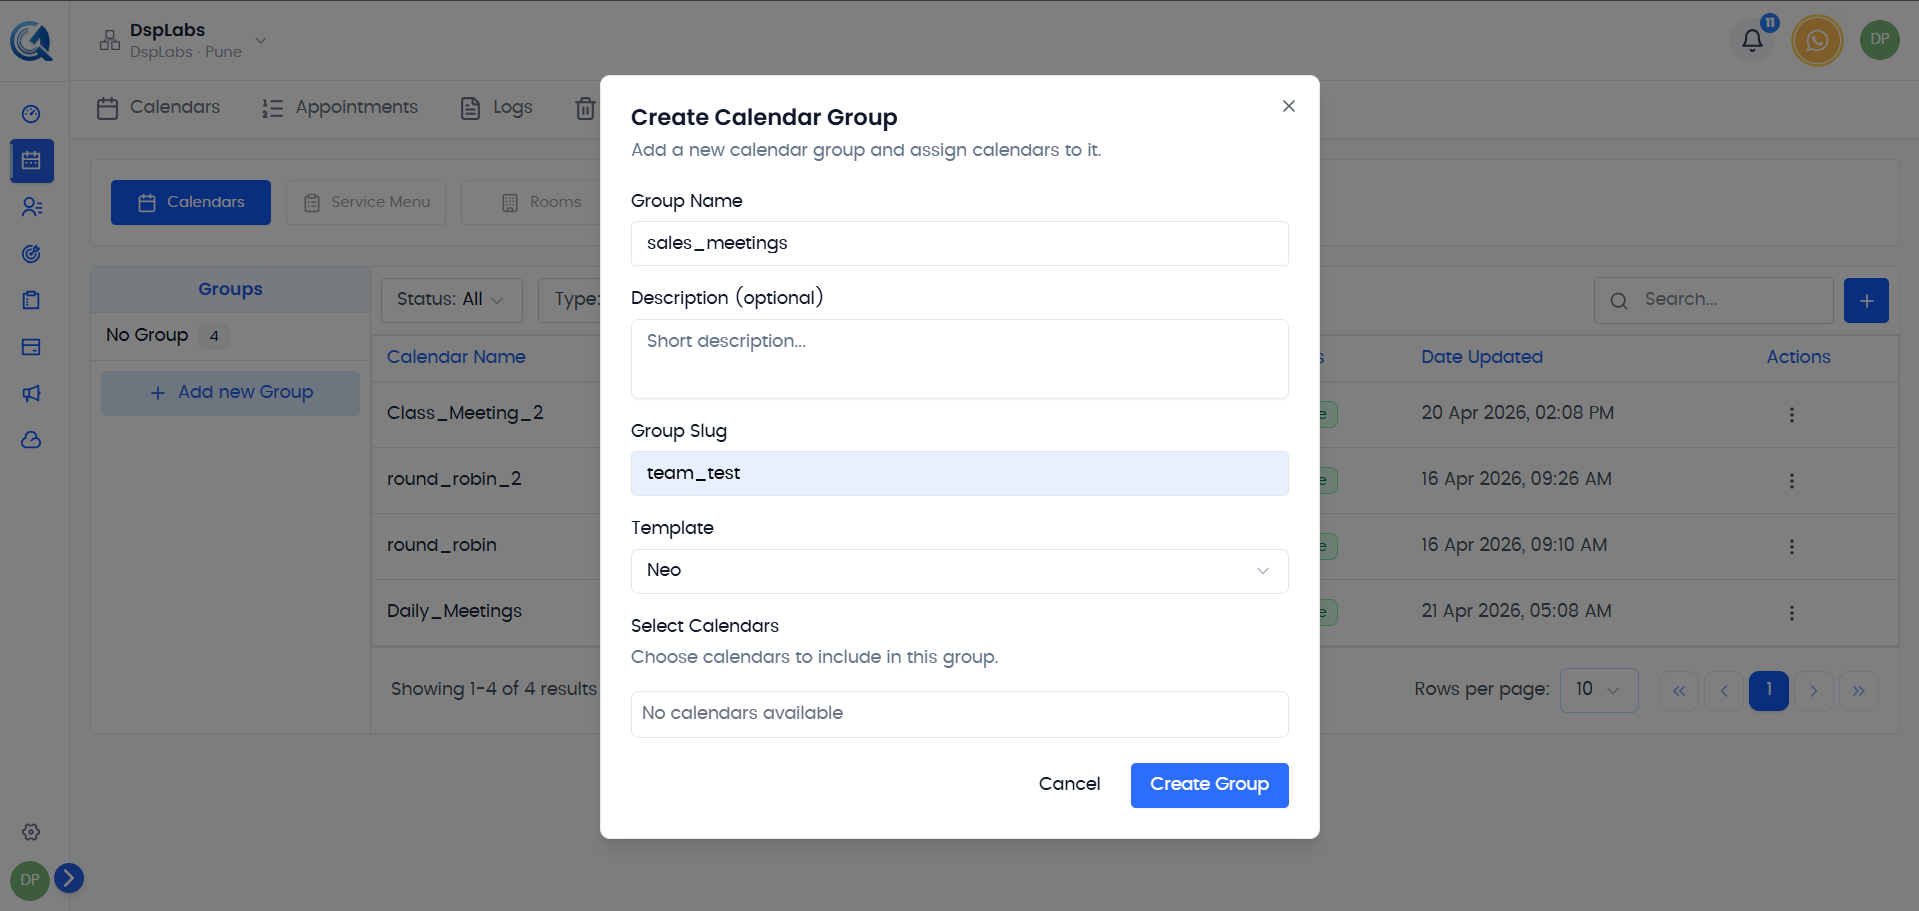 Enter a name, optional description, and select the calendars to include. Click Create to save.
Click Create to save the group.
Adding or Moving Calendars to a Group
You can add a calendar to a group from the calendar's more actions menu. Click the ⋮ icon on any calendar row, then select Move to Group, choose the target group, and click Move.
 Use Move to Group to assign a calendar to a group or move it from one group to another.
Note: A calendar can belong to only one group at a time. Moving it to a new group removes it from its current group.
Rearranging Calendars Within a Group
To change the order of calendars inside a group, click the ⋮ menu on the group and select Rearrange Calendars. Drag the calendars into the order you want, then click Save.
Bulk Enable / Disable Calendars in a Group
One of the most useful features of groups is toggling all calendars at once.
- Deactivate All — Deactivates every calendar in the group, hiding them from the public booking page without deleting them.
- Toggle back on to re-activate all calendars in the group.
Click the Deactivate All option from the group's ⋮ more actions menu.
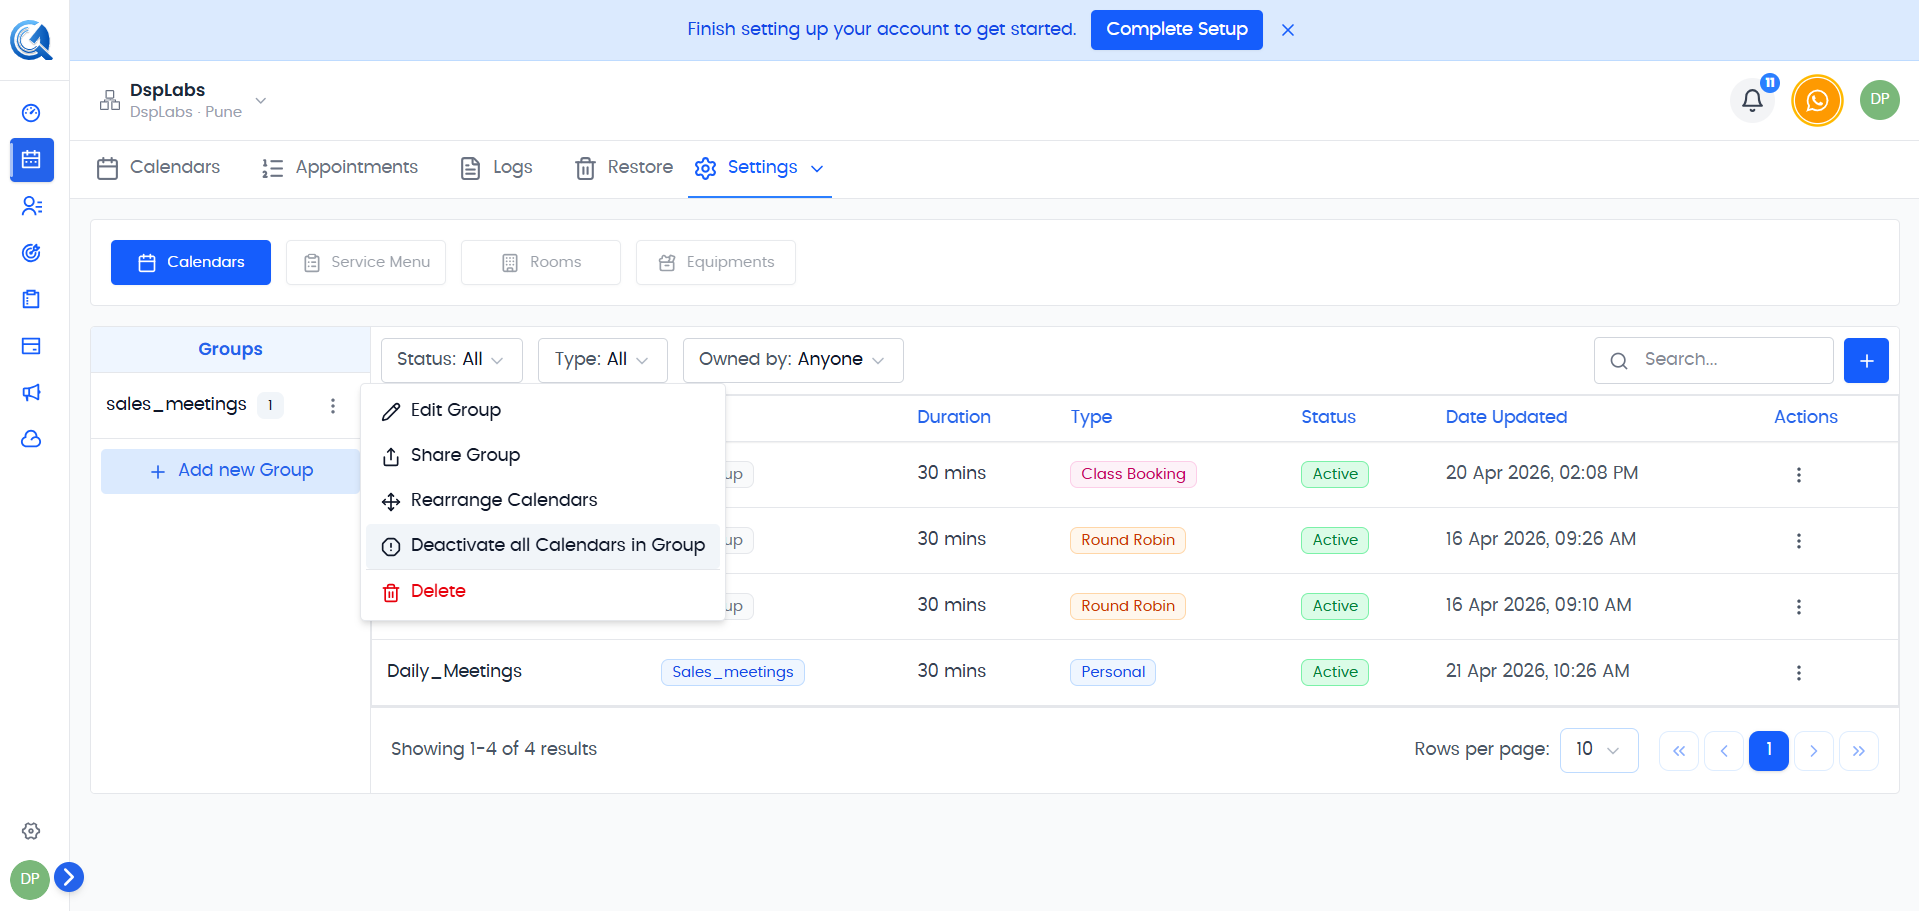 Use the group's more actions menu to deactivate all calendars in the group at once.
Note: Disabling a calendar through a group has the same effect as disabling it individually — it becomes invisible on the booking page. Existing appointments are not cancelled.
Sharing a Group
You can share all calendars in a group with a single scheduling link. Click the ⋮ menu on the group and select Share Group. Copy the link and share it with clients.
Editing a Group
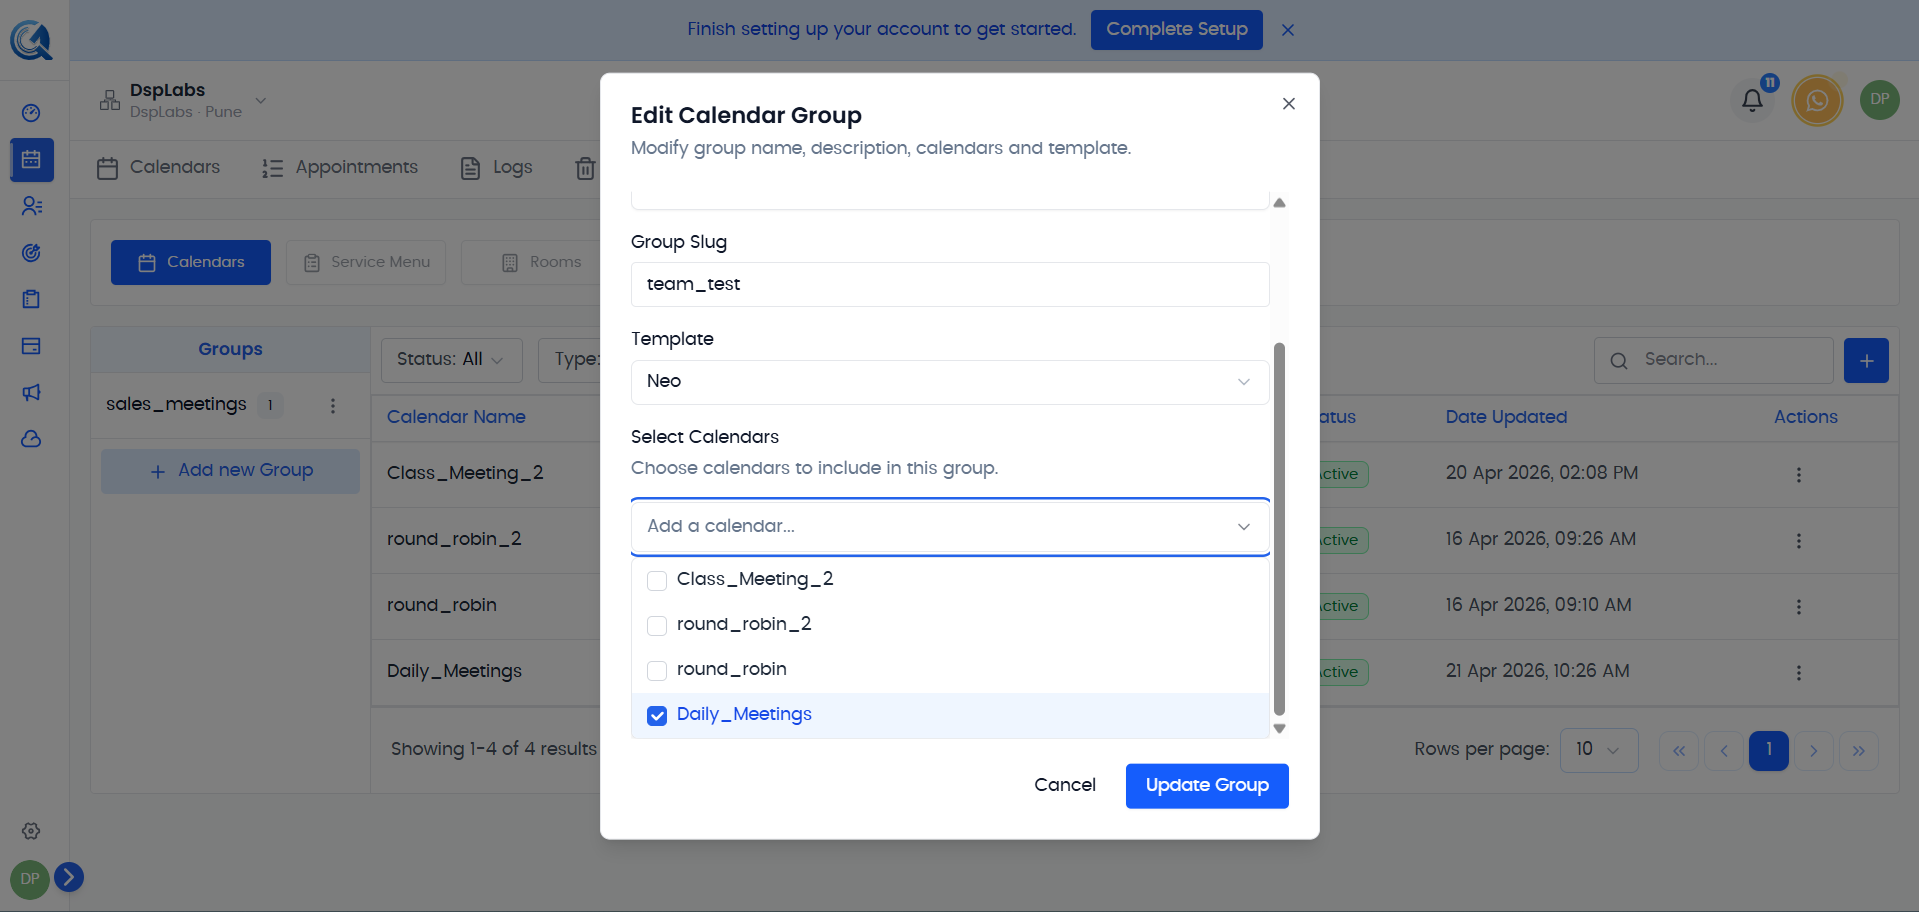
To rename a group or update its description, click the ⋮ menu on the group and select Edit Group. Update the name or description and click Update.
 Update the group name or description and click Update to save changes.
Deleting a Group
Click the ⋮ menu on the group and select Delete Group, then confirm.
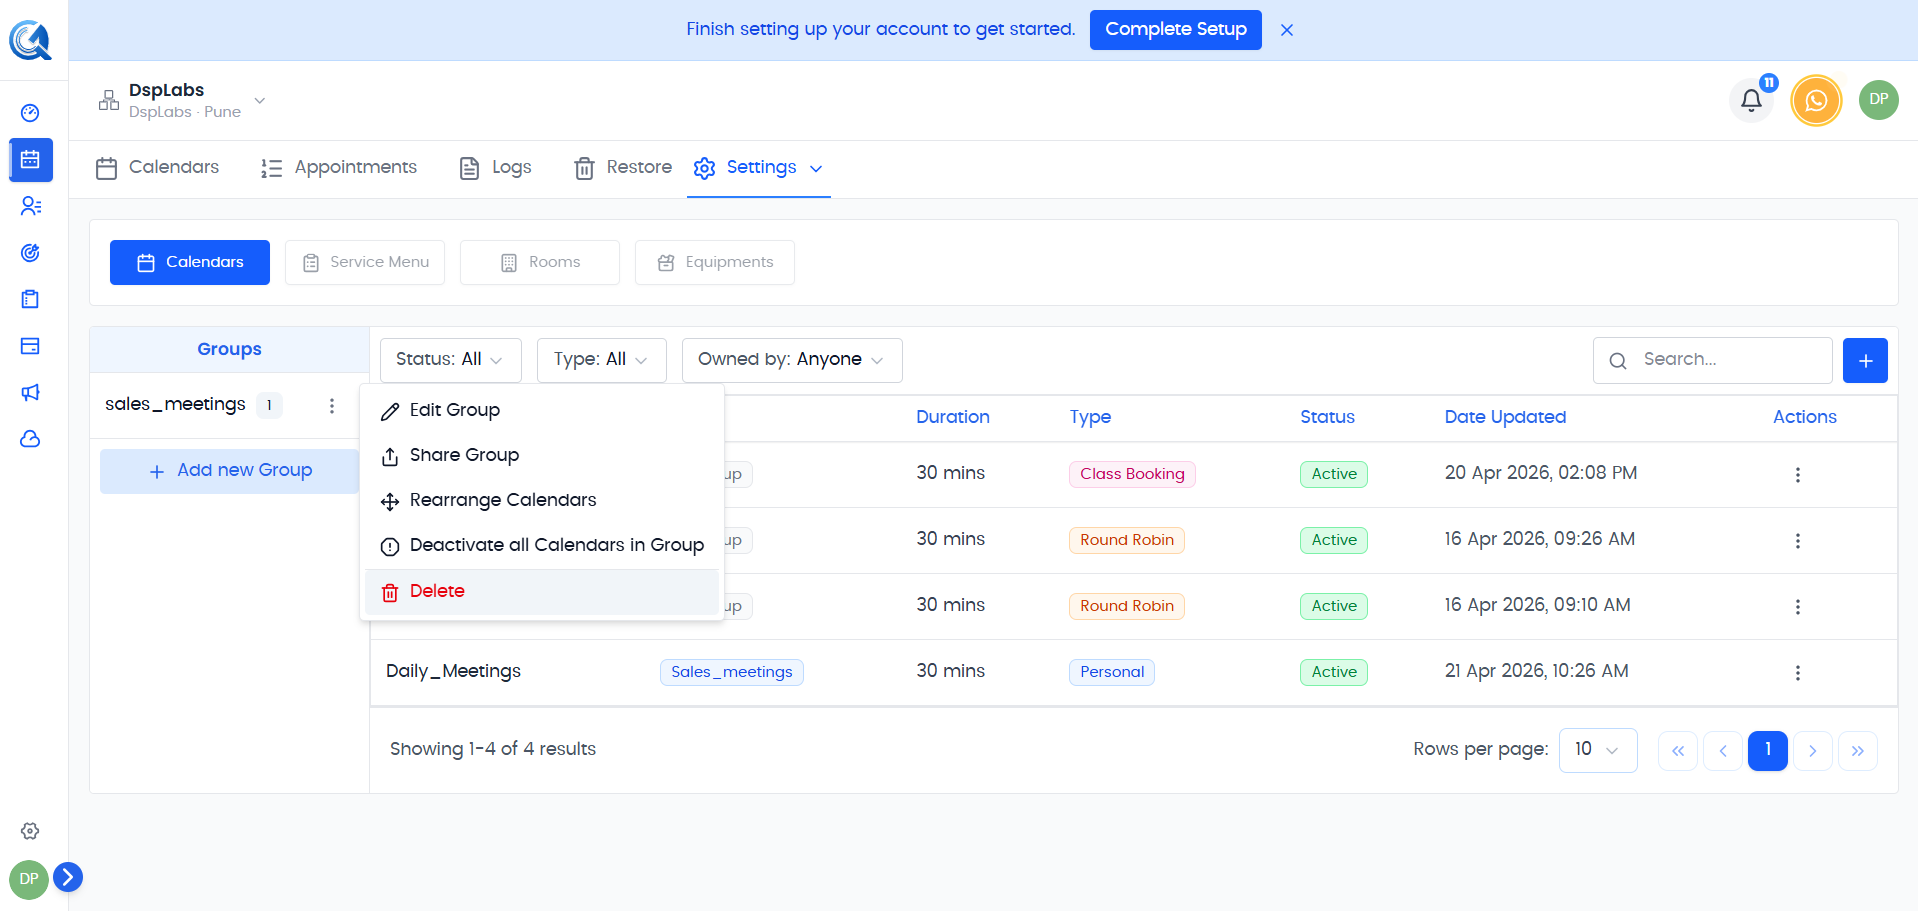 Confirm the deletion. Deleting a group does not delete the calendars inside it — they remain intact and move back to the ungrouped section.
Video Walkthrough
Watch the walkthrough below to see how to create and manage calendar groups in QuantixOne.