Calendar Overview
The Calendar section in QuantixOne is your central hub for scheduling appointments, managing team availability, and sharing booking pages with your clients. Whether you need to book one-on-one meetings or coordinate multi-member team schedules, the calendar keeps everything organised in one place.
Basic Setup Flow
The diagram below shows the end-to-end journey of setting up a calendar in QuantixOne — from connecting your external calendars all the way through to a booked meeting being recorded and the transcript delivered to your media storage.
 The complete calendar setup and booking lifecycle in QuantixOne.
View as Mermaid source
flowchart TD
    Start([User logs in to QuantixOne CRM])
    Sidebar[Open Calendar from the left sidebar]
    Start --> Sidebar

    subgraph Connect[1 - Connect external accounts]
        direction TB
        ConnOpen[Settings → Connections]
        ConnGoogle[Connect Google Calendar]
        ConnOutlook[Connect Outlook Calendar]
        ConnZoho[Connect Zoho Calendar]
        ConnZoom[Connect Zoom pool account]
        ConnOpen --> ConnGoogle
        ConnOpen --> ConnOutlook
        ConnOpen --> ConnZoho
        ConnOpen --> ConnZoom
    end
    Sidebar --> Connect

    subgraph Template[2 - Create a Template]
        direction TB
        TmplOpen[Settings → Templates]
        TmplCreate[Create Template: logo, primary color, background color, button text]
        TmplOpen --> TmplCreate
    end
    Connect --> Template

    subgraph Contacts[3 - Define Custom Fields - if needed]
        direction TB
        CFOpen[Contacts Settings → Custom Fields]
        CFCreate[Create custom fields - text, dropdown, checkbox, etc]
        CFOpen --> CFCreate
    end
    Template --> Contacts

    subgraph Calendar[4 - Create a Calendar]
        direction TB
        CalOpen[Settings → Calendars → Create Calendar]
        CalType{Pick calendar type}
        CalPersonal[Personal Booking]
        CalRR[Round Robin]
        CalClass[Class Booking]
        CalDetails[Fill in details: name, slug, slot duration, open hours]
        CalTeam[Assign team members]
        CalTmpl[Select the Template]
        CalCC[Add CC Emails - optional]
        CalForm[Configure Booking Form: system fields + pick custom fields from dropdown]
        CalSave[Save calendar]
        CalOpen --> CalType
        CalType --> CalPersonal
        CalType --> CalRR
        CalType --> CalClass
        CalPersonal --> CalDetails
        CalRR --> CalDetails
        CalClass --> CalDetails
        CalDetails --> CalTeam --> CalTmpl --> CalCC --> CalForm --> CalSave
    end
    Contacts --> Calendar

    subgraph Booking[5 - Booking happens]
        direction TB
        BookSource{How is the appointment booked?}
        BookInternal[Internal: user books on behalf of a lead from the Appointments tab]
        BookPublic[Public: anonymous client books via the public booking page]
        BookConfirm[Confirmation email sent to booker and lead with Reschedule and Cancel links]
        BookSource --> BookInternal --> BookConfirm
        BookSource --> BookPublic --> BookConfirm
    end
    Calendar --> Booking

    subgraph Meeting[6 - Meeting day]
        direction TB
        T10[10 minutes before start: Zoom link generated and emailed to client]
        Join[Attendees join the meeting]
        Record[Cloud recording starts automatically]
        T10 --> Join --> Record
    end
    Booking --> Meeting

    subgraph Post[7 - After the meeting]
        direction TB
        Process[Zoom processes the recording]
        Pull[QuantixOne pulls the recording + transcript]
        Store[Saved to the user's Media storage, attached to the appointment]
        Process --> Pull --> Store
    end
    Meeting --> Post

    End([User accesses recording and transcript from the appointment])
    Post --> End

    classDef stage fill:#EEF4FF,stroke:#1F6FEB,color:#0B2545;
    classDef terminal fill:#1F6FEB,color:#FFFFFF,stroke:#0B2545;
    class Start,End terminal;
Tip: Each stage in the diagram links to a dedicated section later in this page or to its own integration guide (Google, Outlook, Zoho, Zoom, Templates, Creating a Calendar).
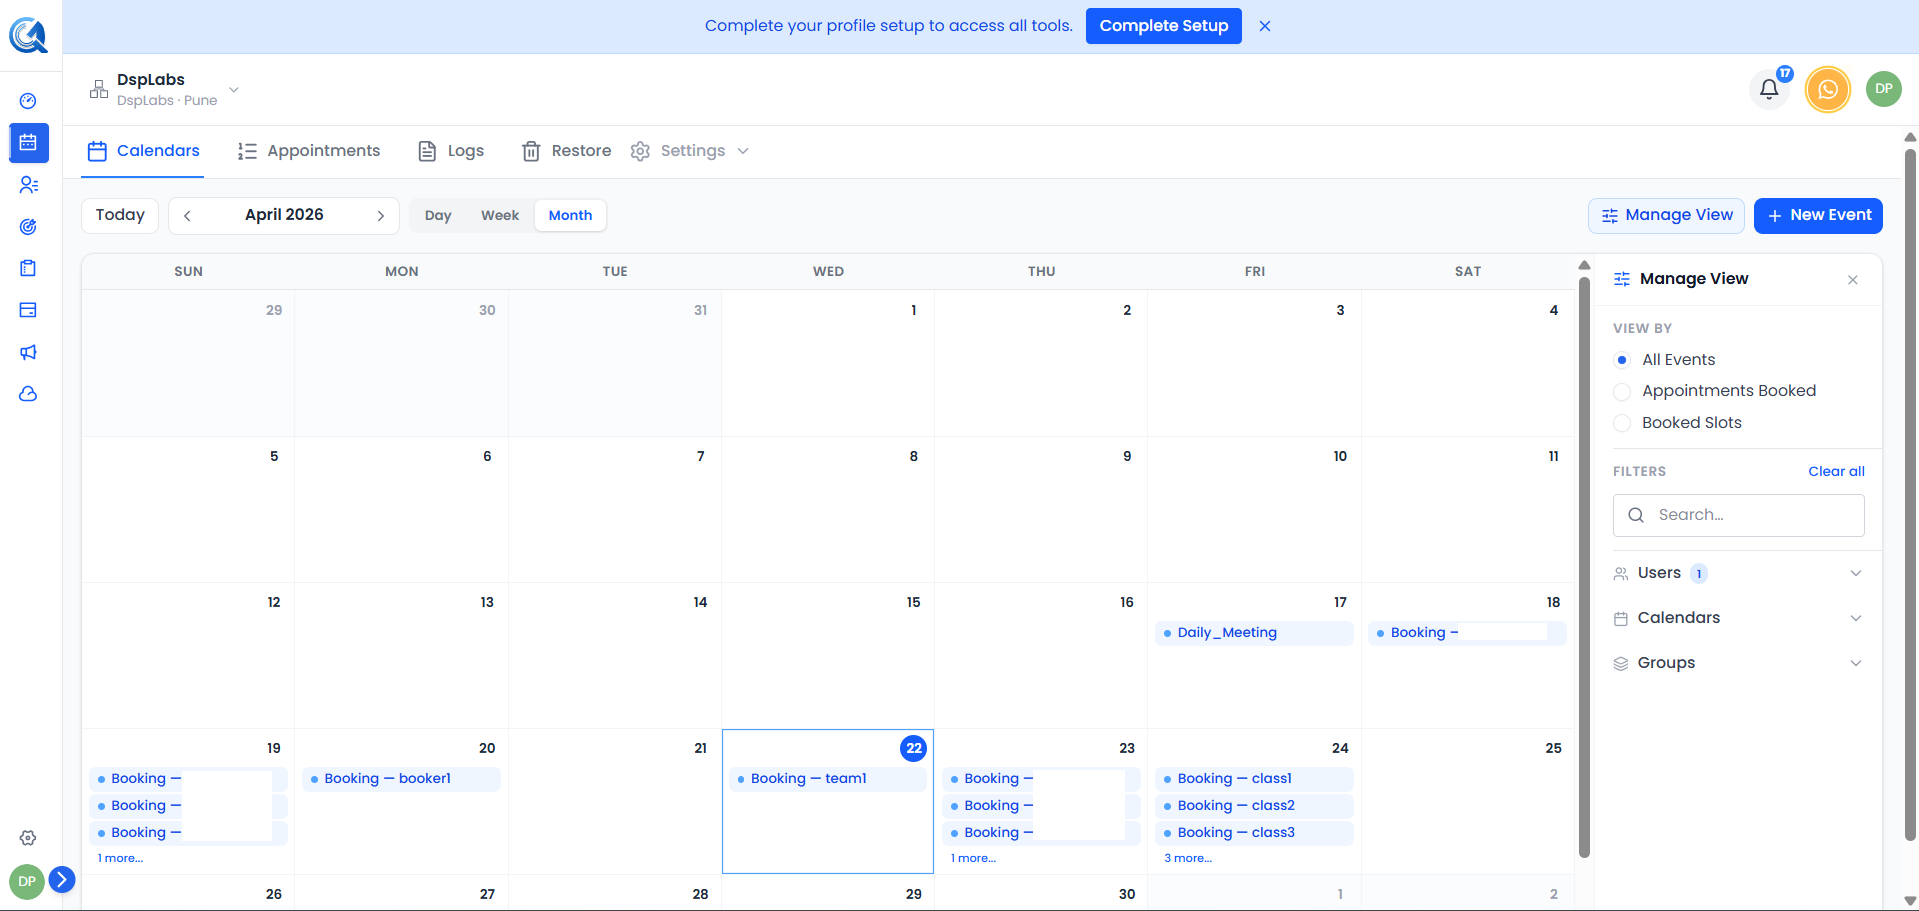
Navigating to the Calendar
Click Calendar in the left sidebar to open the Calendar section.
 Click Calendar in the left sidebar to open the scheduling hub.
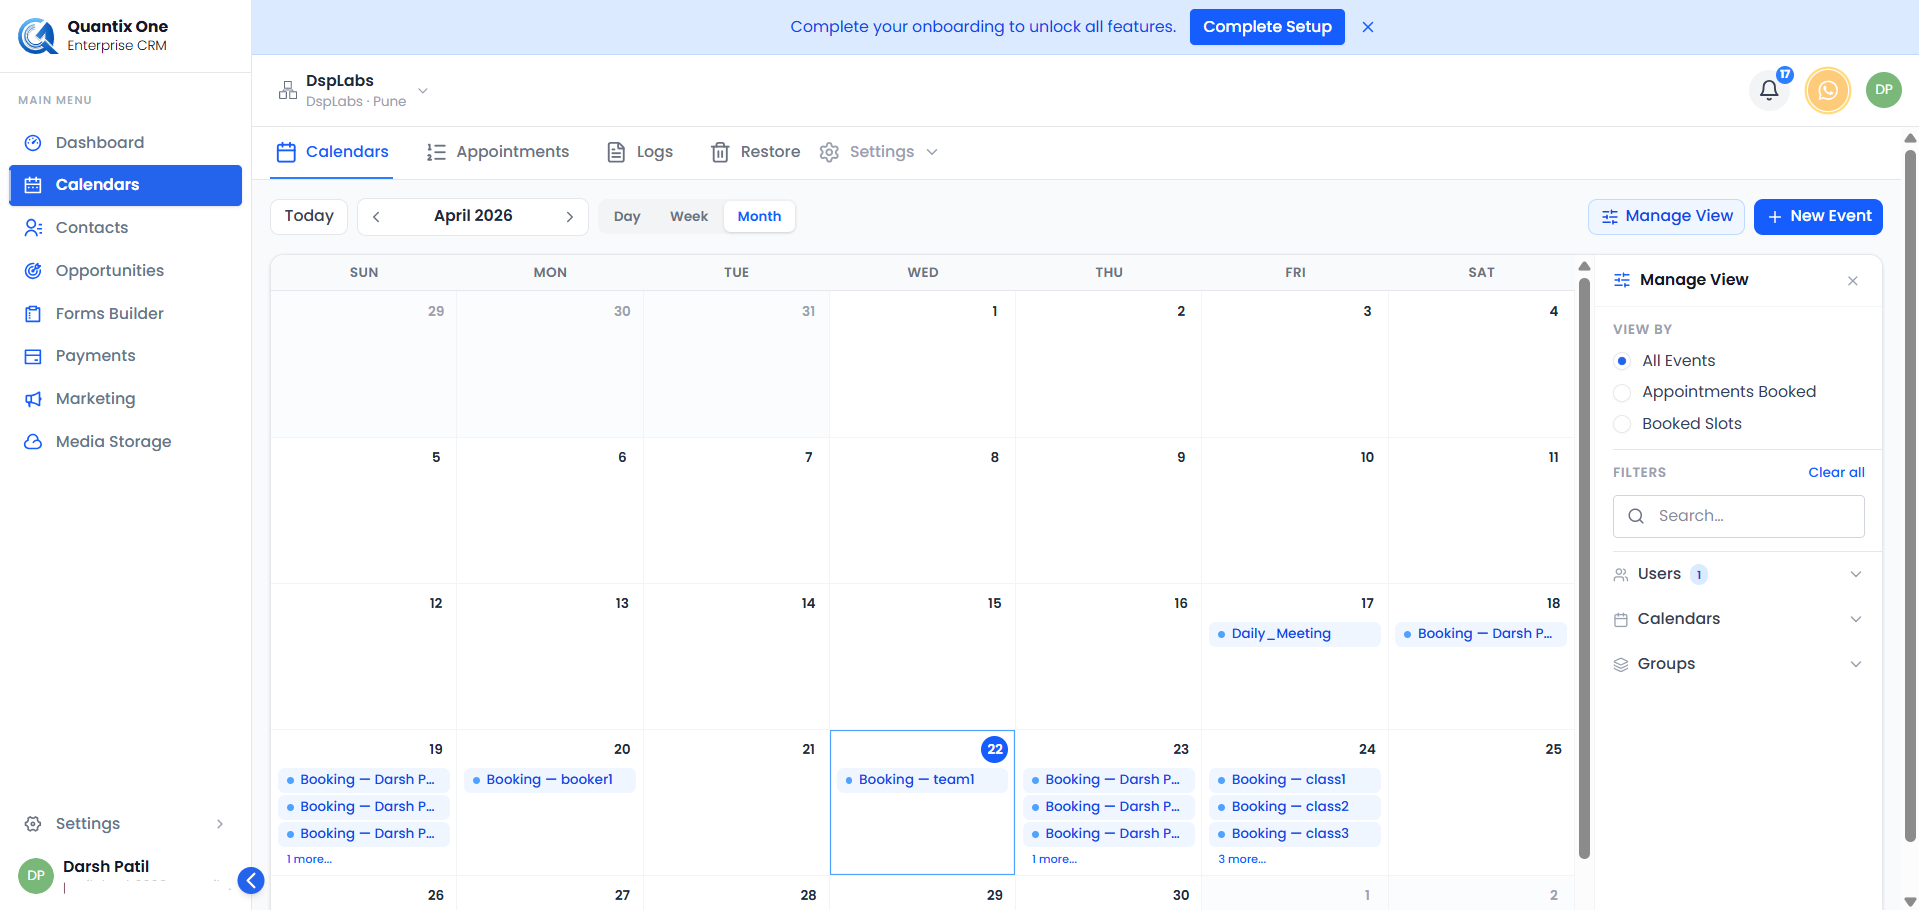
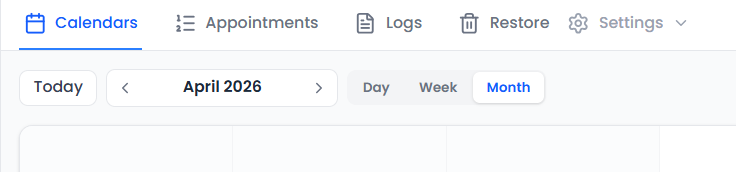
The Calendar Section
When you open the Calendar section, you will see a top navigation bar with the following tabs:
- Calendars — View and manage all your calendars, organised by groups.
- Appointments — View, search, filter, and manage all appointments across your calendars.
- Logs — A full audit trail of all calendar-related actions.
- Restore — Recover or permanently delete previously deleted calendars.
At the top right, a Settings dropdown gives you access to:
- Calendars Settings — Create and configure calendars.
- Templates — Create and manage booking-widget styling templates (logo, colors, button text).
- Preferences — Set your meeting location and timezone preferences.
- Availability — Set your working hours per day.
- Connections — Connect Google Calendar or Microsoft Outlook.
 The Calendar section with its main tabs and Settings dropdown.
Calendars Tab
The Calendars tab lists all your calendars, grouped by calendar group. From here you can:
- Create a new calendar using the Create Calendar button.
- Search and filter calendars by active status, calendar type, or ownership.
- Toggle a calendar active or inactive using the status switch on each row.
- Use the more actions menu on each calendar to: Edit, Share, Move to Group, Duplicate, Deactivate, or Delete.
- Create and manage Calendar Groups to organise multiple calendars together.
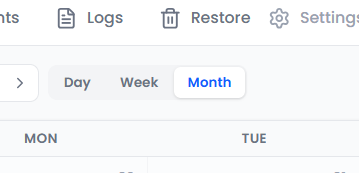 The Calendars tab. Use the Create Calendar button to add a new calendar, or manage existing ones from the list.
Appointments Tab
The Appointments tab shows all appointments across your calendars in a table view. Each row shows:
- Title — The appointment title.
- Calendar — Which calendar the appointment belongs to.
- Contact — The contact linked to the appointment.
- Assigned User — The team member assigned to the appointment.
- Start Time / End Time — Date and time of the appointment.
- Status — Booking status: Booked, Cancelled, Rescheduled, or Pending.
- Confirmation — Confirmation status: Pending, Confirmed, Declined, Unconfirmed, or Cancelled.
- Timezone — The timezone the appointment was booked in.
 The Appointments tab. Use the search bar, filter panel, and column manager to find exactly what you need.
Creating an Appointment
Click the Create button at the top right to open the Create Appointment modal. You can choose between two tabs:
- Appointments — Book a standard appointment for a contact. Fill in the calendar, contact, assigned user, title, description, date and time, timezone, and recurrence options.
- Block off time — Reserve time on a calendar without booking a contact. Fill in the calendar, title, timezone, and date/time range.
Filtering and Searching
- Use the Search bar to find appointments by title.
- Click the Filter icon to open the filter panel. You can filter by calendar, contact, assigned user, date range, booking status, confirmation status, source, and more.
- Click the Manage Fields icon to show, hide, or reorder table columns.
Viewing Appointment Details
Click the eye icon on any row, or click the appointment title, to open the Details drawer on the right. The drawer has four tabs:
- Details — Shows the appointment time, contact, calendar, assigned user, conference link (if any), and status badges. From here you can also edit or delete the appointment.
- Form — Shows any custom form fields captured during booking.
- Notes — Shows the appointment description or notes.
- Activity — Shows the activity history and audit trail for the appointment.
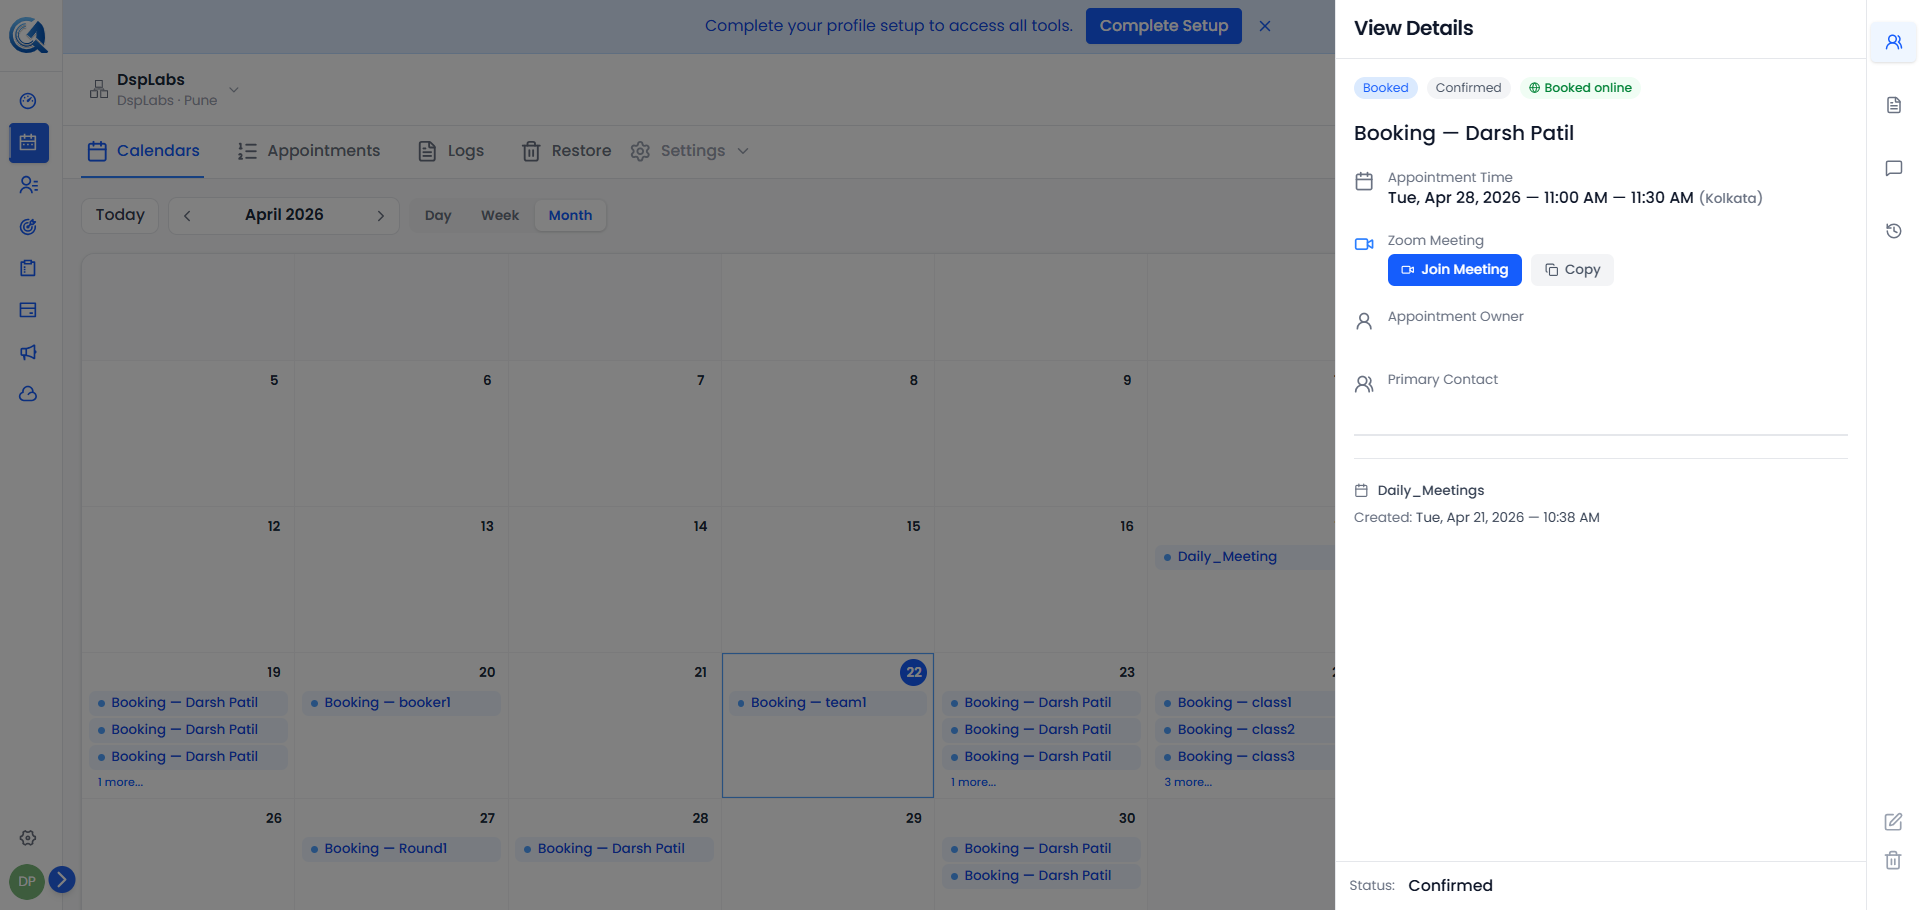 The details drawer gives you a full view of any appointment without leaving the page.
Logs Tab
The Logs tab shows an audit trail of all actions performed in the Calendar section — such as creating, editing, or deleting calendars and appointments. You can filter logs by action type, entity type, user, and date range.
Restore Tab
The Restore tab lists any calendars that have been deleted. From here you can:
- Restore a calendar to make it active again.
- Permanently delete a calendar, which cannot be undone.
Calendar Access & Permissions
QuantixOne enforces a strict per-calendar access model. Belonging to the same organization is not enough to see another user's calendars — you need an explicit relationship to each calendar.
Who Can See a Calendar
A calendar appears in a user's Calendars tab only if they are at least one of the following:
- The owner (the person who created the calendar).
- A team member added to the calendar (on Round Robin, Class, or Collective calendars).
- An org admin with administrative access to the location/organization.
All other users in the same organization will not see the calendar in their list, even if they know its name.
Who Can Edit or Delete a Calendar
The same three roles — owner, team member, or org admin — can edit and delete a calendar. Anyone else who tries to open the calendar (for example via a direct URL) will see a "Calendar not found" message rather than a permission error. This is intentional: it avoids leaking the existence of calendars a user has no access to.
Tip: If a colleague should be able to manage one of your calendars, add them as a team member on that calendar. They will immediately see it in their list and gain edit/delete access.
UI Consequences
- Calendars list — filters automatically; users see only the calendars they're a part of (plus all calendars if they're an admin).
- More-actions menu — Edit, Move to Group, Duplicate, Deactivate, and Delete are hidden for users who are not a member or admin of the calendar.
- Shared booking links — these are public; sharing a booking link with a client does not give that client (or any internal user) access to the calendar's settings.
Quick Navigation
Use the pagination controls at the bottom of the Appointments table to move between pages. You can also change how many items are shown per page (10, 25, 50, or 100).
 Use the pagination controls to navigate through your appointments.
Video Walkthrough
Watch the walkthrough below to get familiar with the Calendar section in QuantixOne.