Public Booking Page
The Public Booking Page is a shareable link where your clients can view your available time slots and book appointments themselves — no login required. It is automatically created for every calendar you set up in QuantixOne.
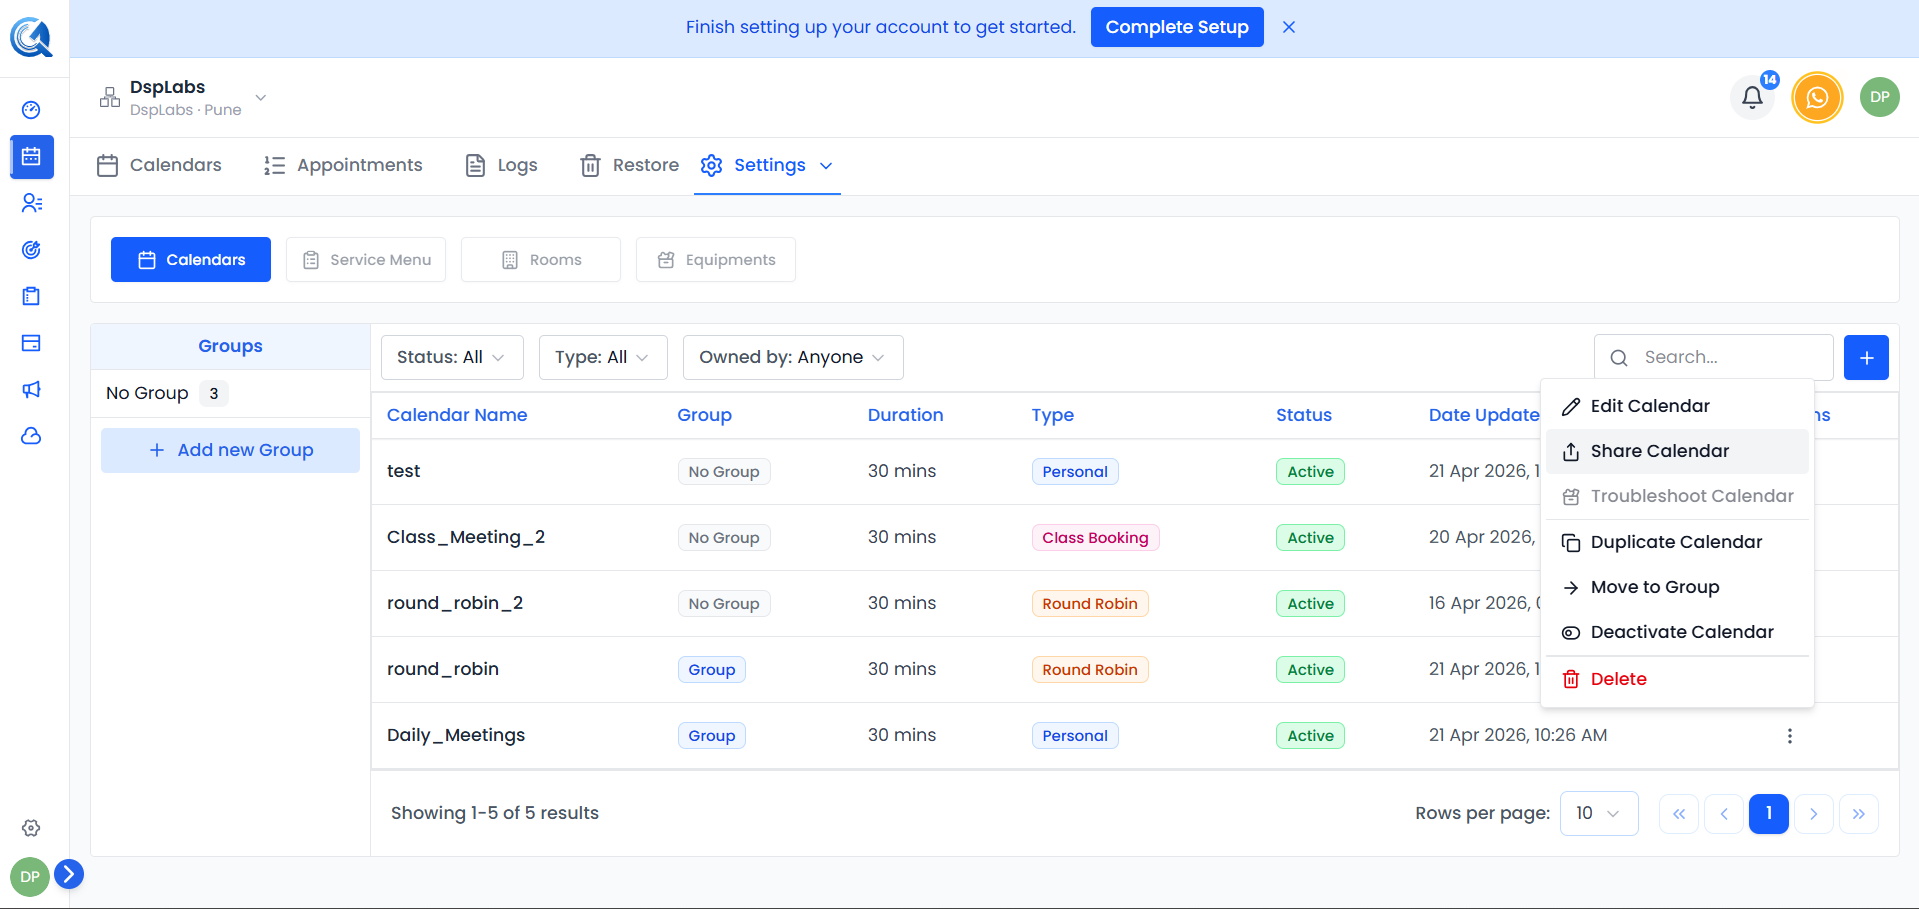
Finding Your Booking Link
From Calendar Settings, find the calendar in the list, click the ⋮ more actions menu, and select Share. In the Share dialog, the Scheduling Link tab shows your public booking URL.
 Your calendar's public booking URL is shown in the Scheduling Link tab. Click the Copy icon to copy it.
The link is based on the Widget Slug you set when creating the calendar. For example:
https://yourcompany.quantixone.com/book/discovery-call
What Your Clients See
When a client opens the booking link, they land on your public booking page.
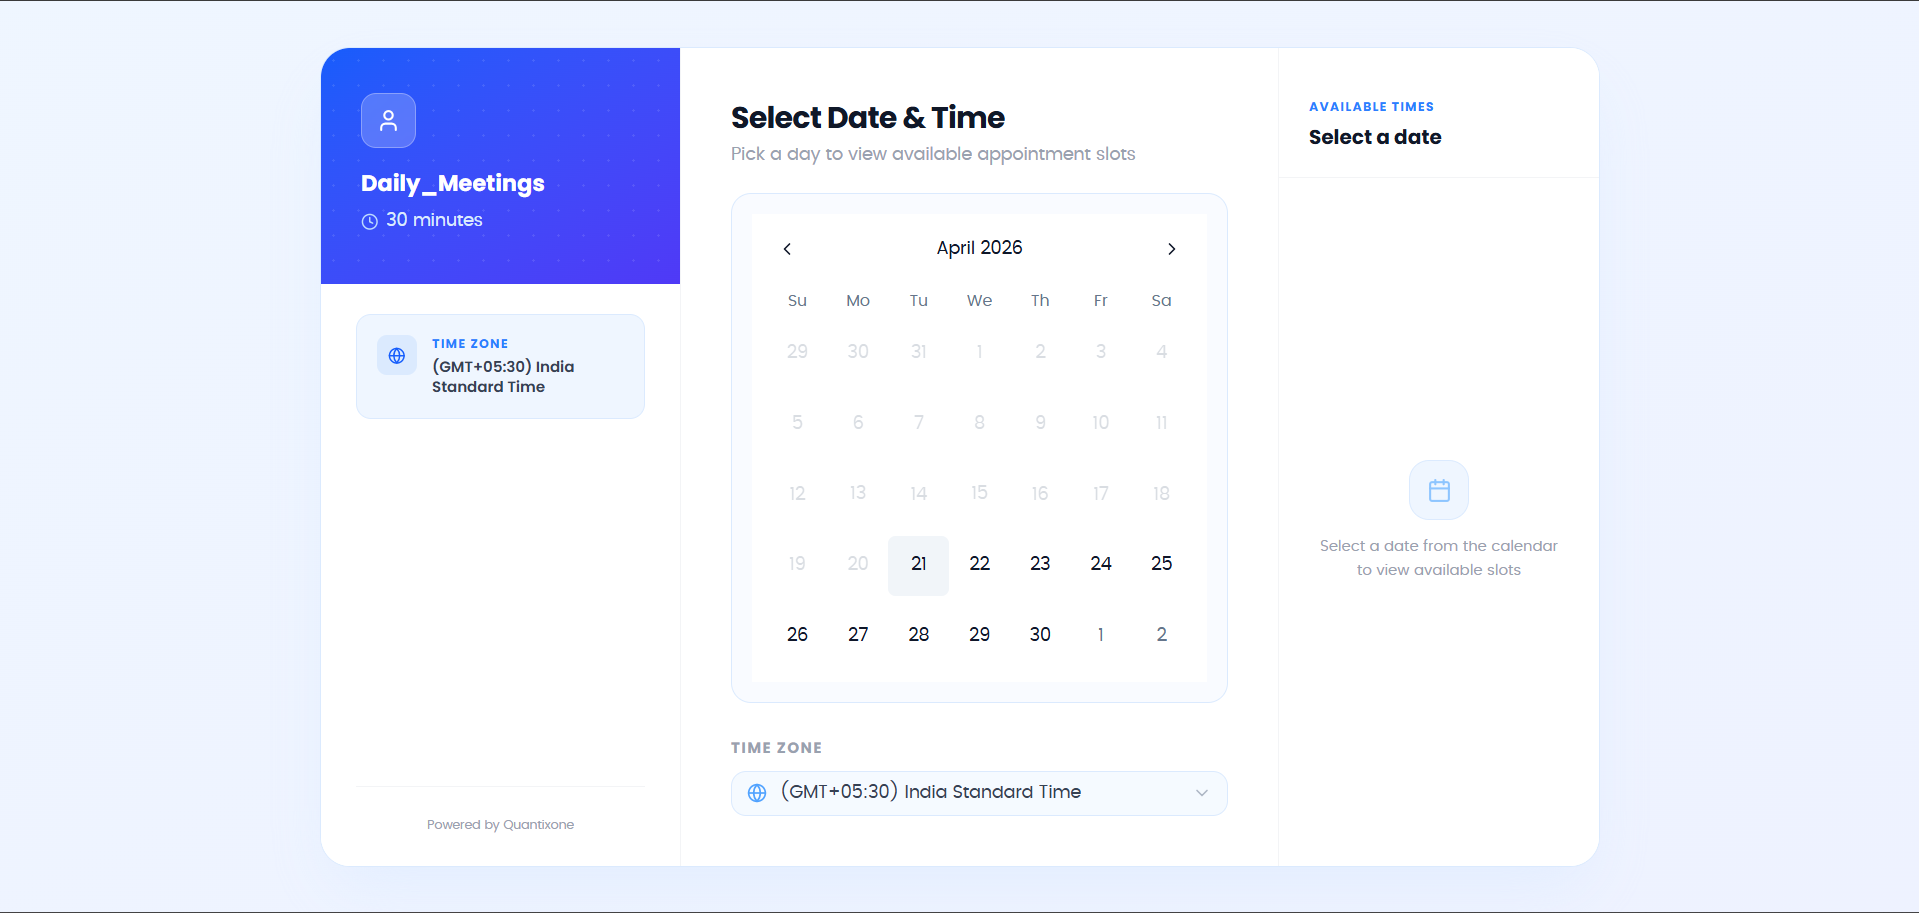 Clients see a clean calendar with your available days and time slots. Unavailable slots appear greyed out.
Selecting a Date and Time
The client selects a timezone from the dropdown at the top, then clicks an available date on the calendar. Available time slots for that date appear as selectable buttons.
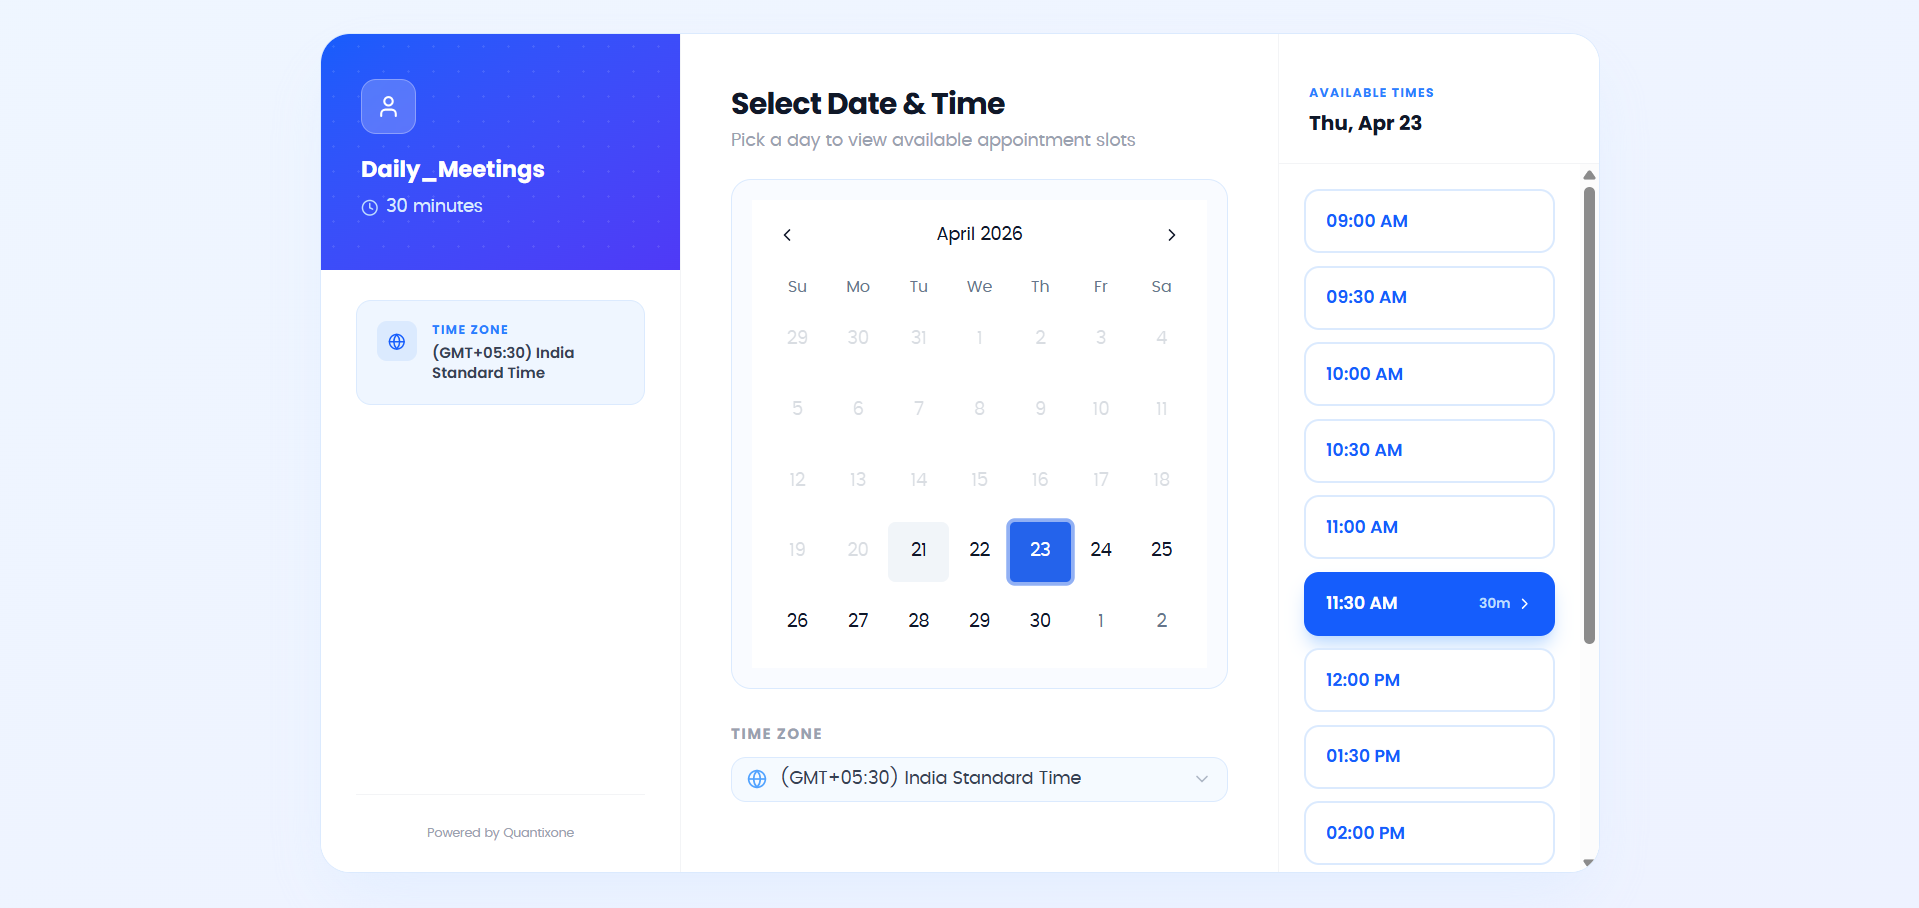 Clients pick a date then select a time slot. All times are displayed in the timezone they select.
Note: Clients always see available slots in their chosen timezone. Your availability settings are converted automatically.
Filling In Their Details
After selecting a time, the client is prompted to enter their details:
- Full Name — Required.
- Email — Optional, but either email or phone must be provided to confirm the booking.
- Phone — Optional, but either email or phone must be provided to confirm the booking.
- Notes — Optional. Any additional information the client wants to share before the meeting.
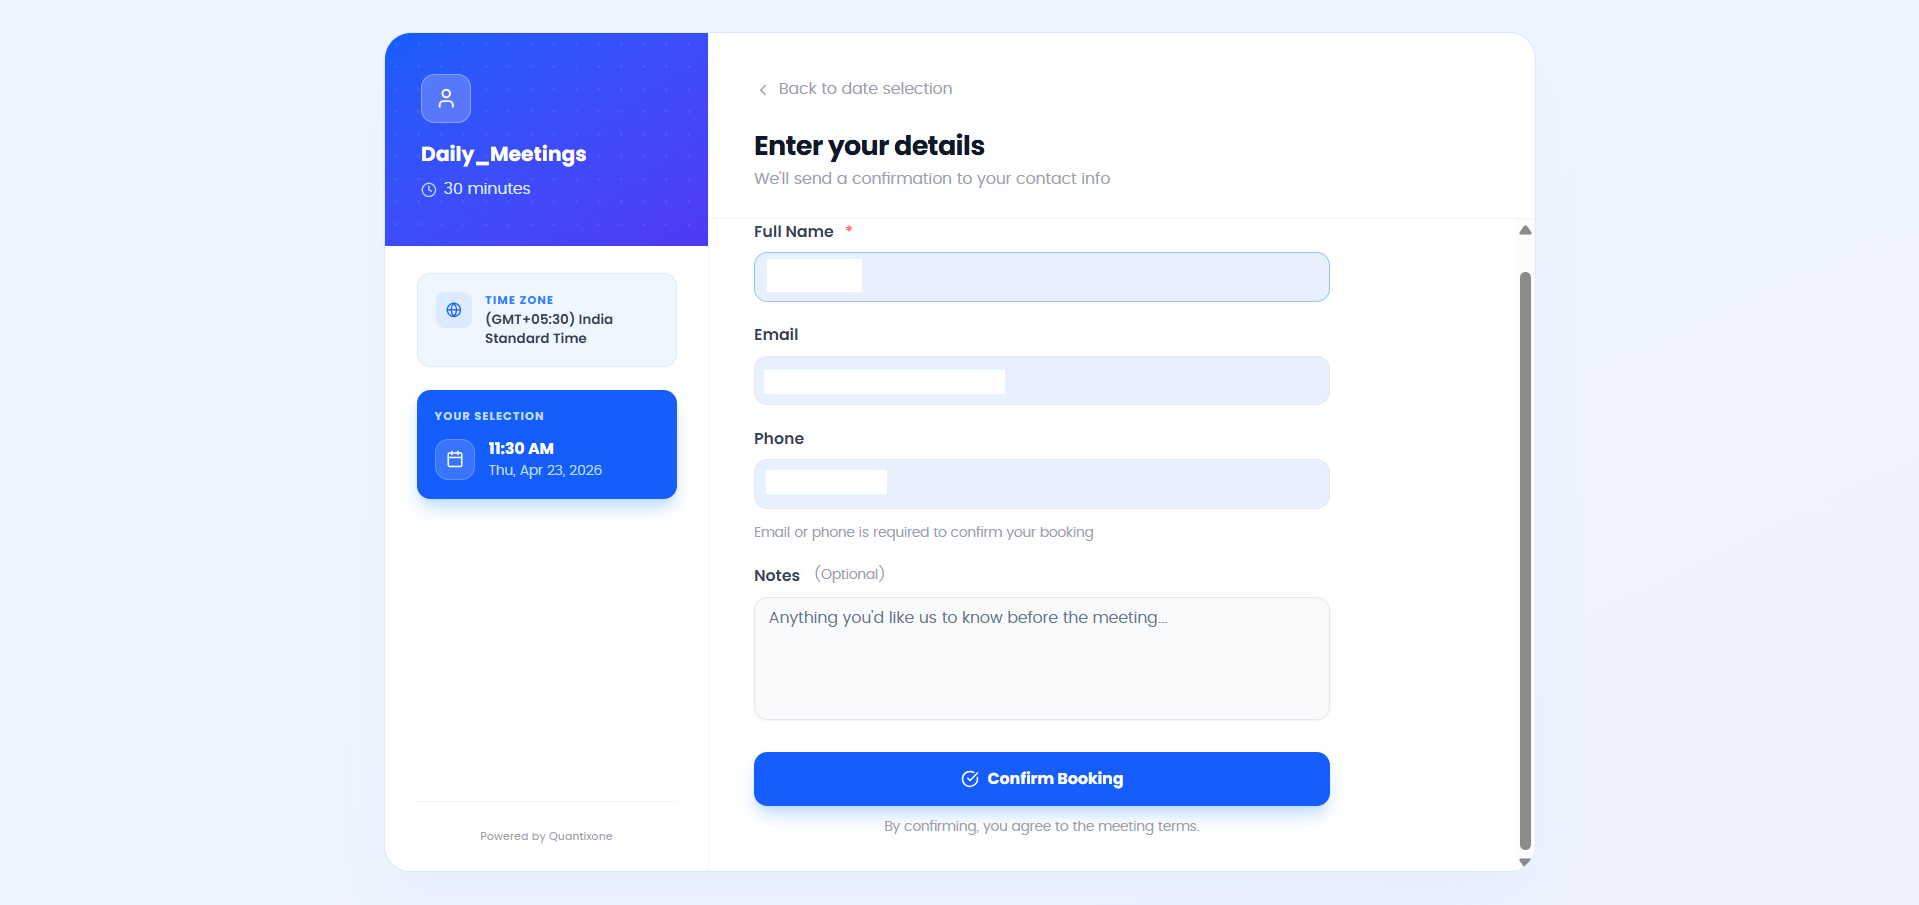 The client fills in their details and clicks Confirm Booking to complete the booking.
Booking Confirmation
Once the client submits the form, they see a confirmation screen with the appointment details — including the date, time, timezone, and conference link if one was set up.
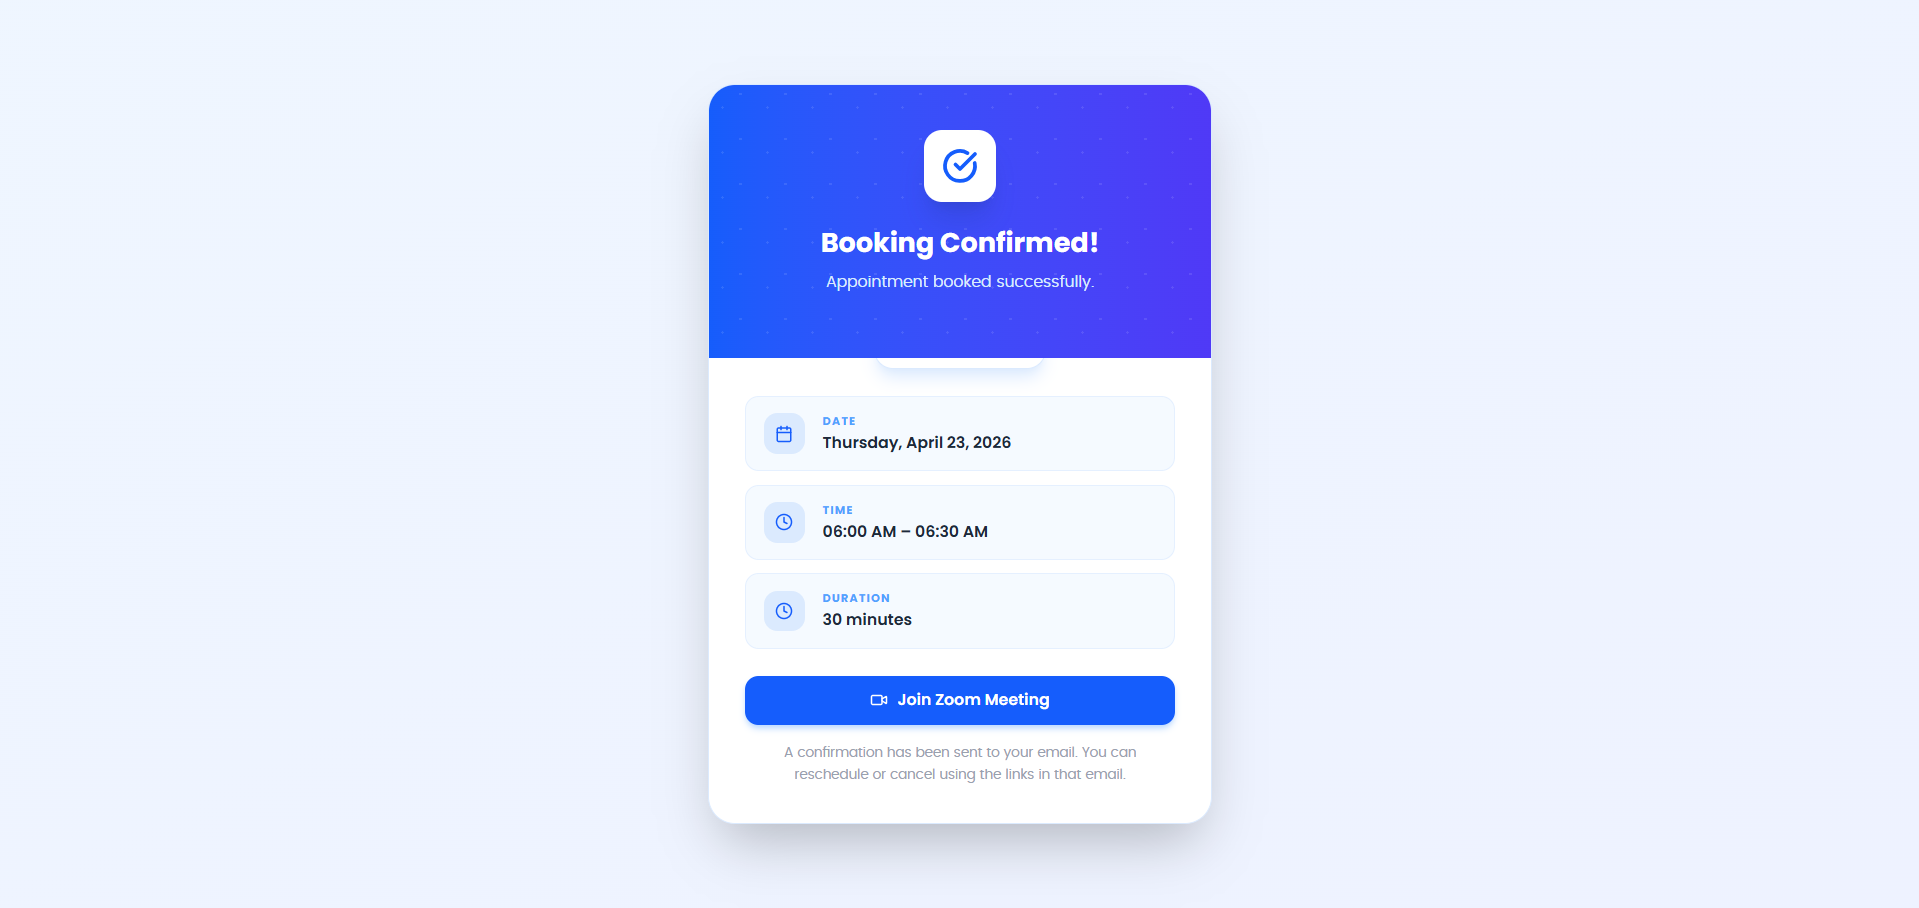 The client sees a confirmation with the appointment details and any video call link.
The appointment appears immediately in your QuantixOne Appointments tab.
Rescheduling and Cancelling (Client-Facing)
The booking confirmation screen includes two secure links:
- Reschedule — Lets the client pick a new date and time without contacting you.
- Cancel — Lets the client cancel the appointment on their own.
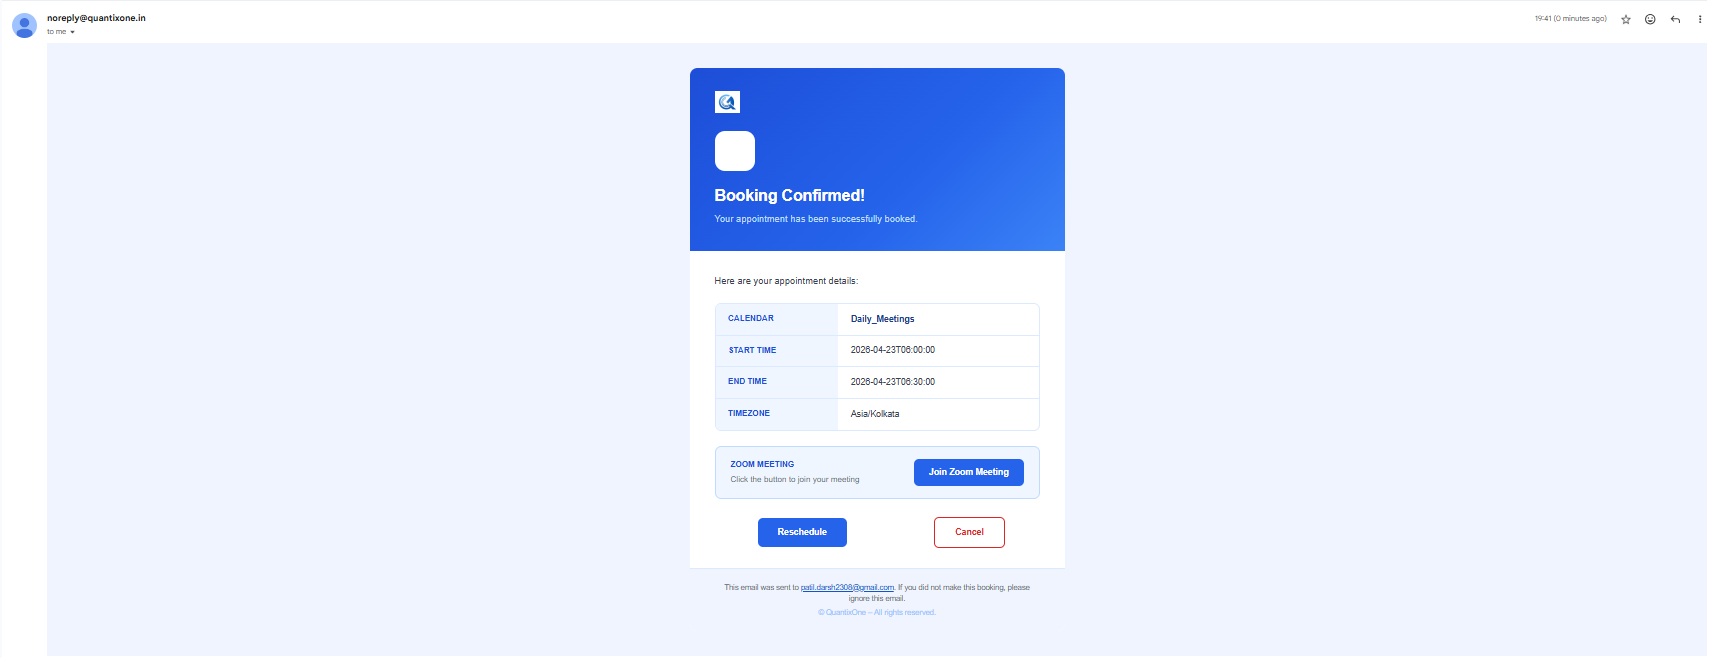 Clients can self-manage their bookings using the reschedule and cancel links shown after booking.
Note: These links are unique to each booking. A client who cancels cannot use the same link to reschedule — they would need to book again through the public booking page.
Embedding the Booking Page
You can embed the booking page on your website. In the Share dialog, the Embed Code tab is planned for a future release. Check back for updates on when this feature becomes available.
 The Embed Code tab will provide an iframe snippet to embed the booking widget on your website.
Video Walkthrough
Watch the walkthrough below to see the public booking page in action — from the client's perspective.