Calendar Templates
A Template in QuantixOne is a reusable visual style for your booking widgets. Instead of styling every calendar from scratch, you can define a template once — logo, colors, and call-to-action text — and apply it to as many calendars as you like. When you update the template, every calendar that uses it picks up the new look automatically.
Note: Templates control the look and feel of the public booking page only. They do not affect availability, team members, booking form fields, or any scheduling rules.
Opening Templates
From the Calendar section, click the Settings dropdown in the top navigation and select Templates.
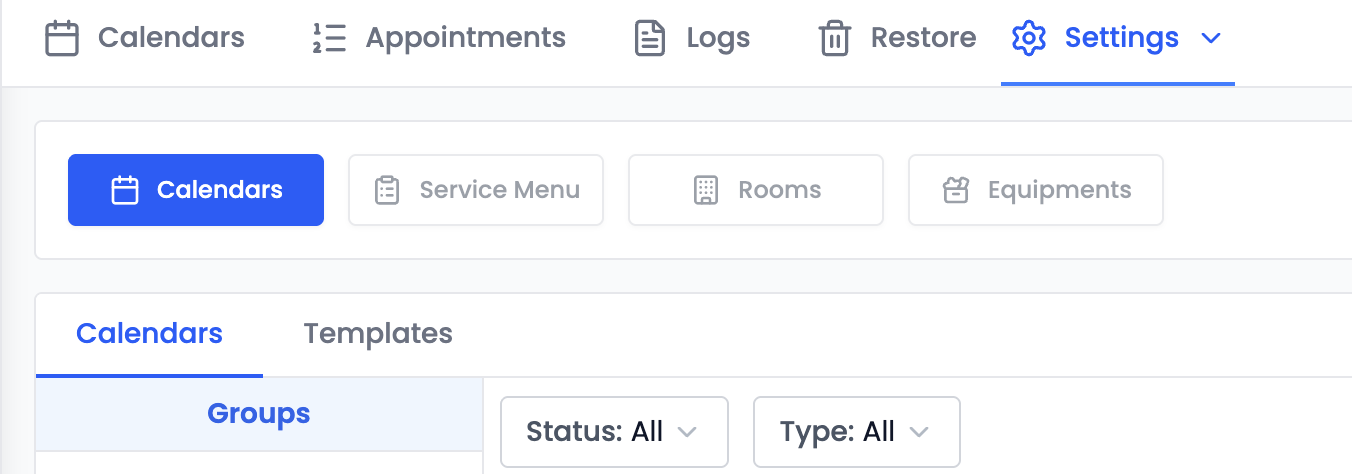 Open the Templates page from the Calendar Settings dropdown.
The Templates page lists every template in your location. From here you can create a new template, edit an existing one, or delete a template that is no longer in use.
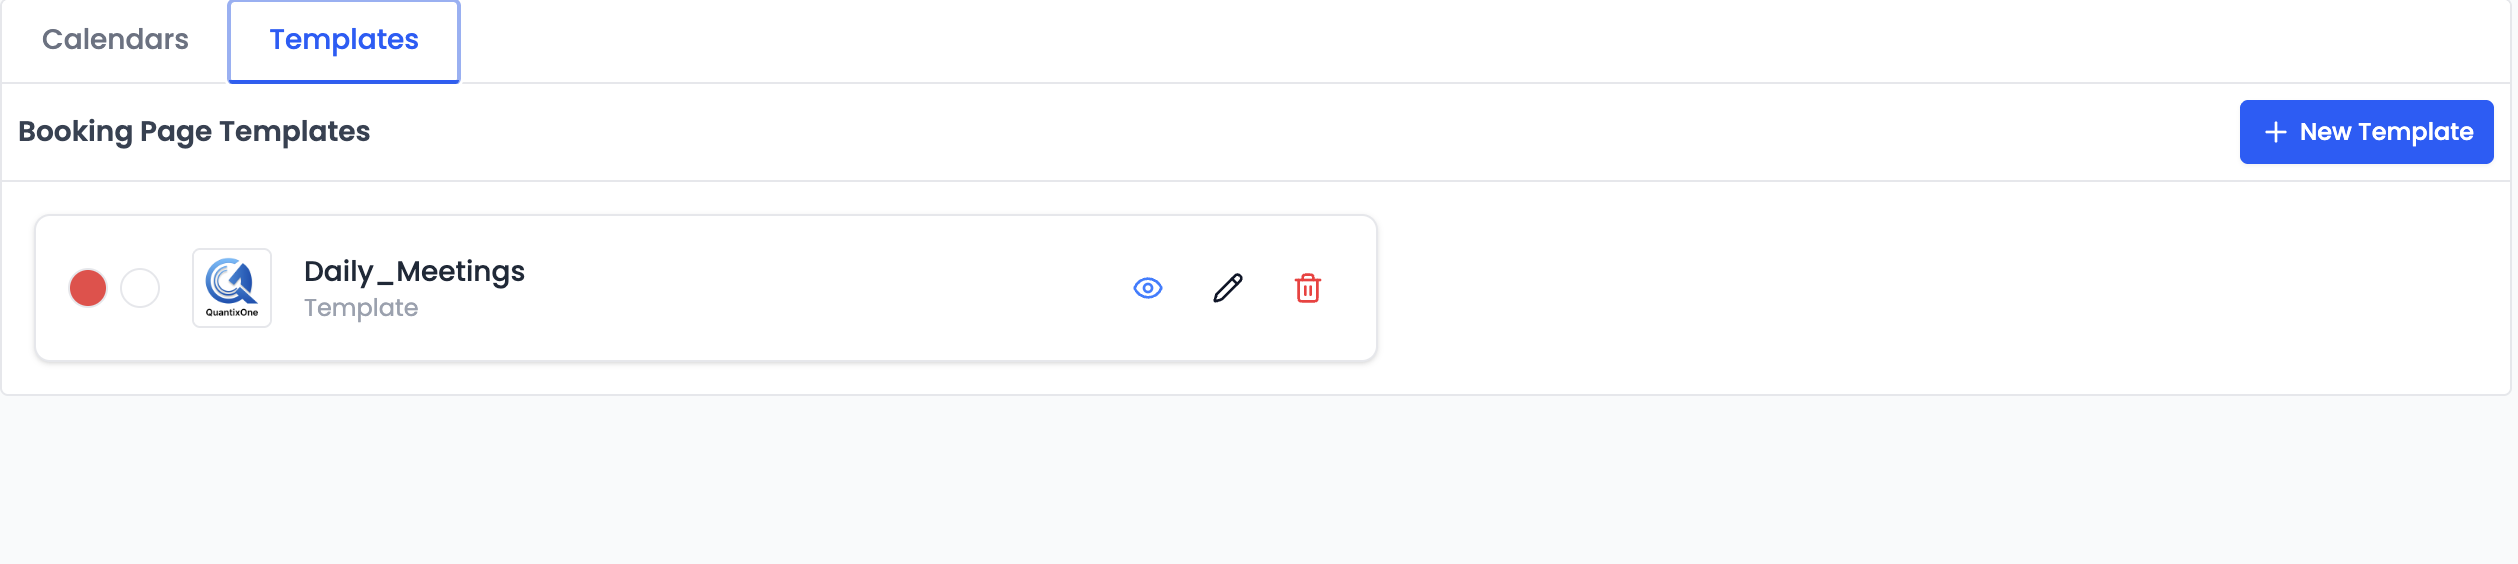 The Templates page lists all your existing templates. Click Create Template to add a new one.
Creating a Template
Click the Create Template button in the top-right corner of the Templates page. A setup dialog opens with the following fields:
Template Name
Enter a descriptive name (e.g., "Brand — Light", "Discovery Call Style"). The name is shown only inside QuantixOne — clients never see it.
Logo
Upload an image to appear at the top of the booking widget. The file is stored securely and served from QuantixOne's media bucket.
- Recommended format: PNG with a transparent background
- Recommended size: at least 200×200 px, square aspect ratio works best
- The logo is shown above the calendar title on the public booking page
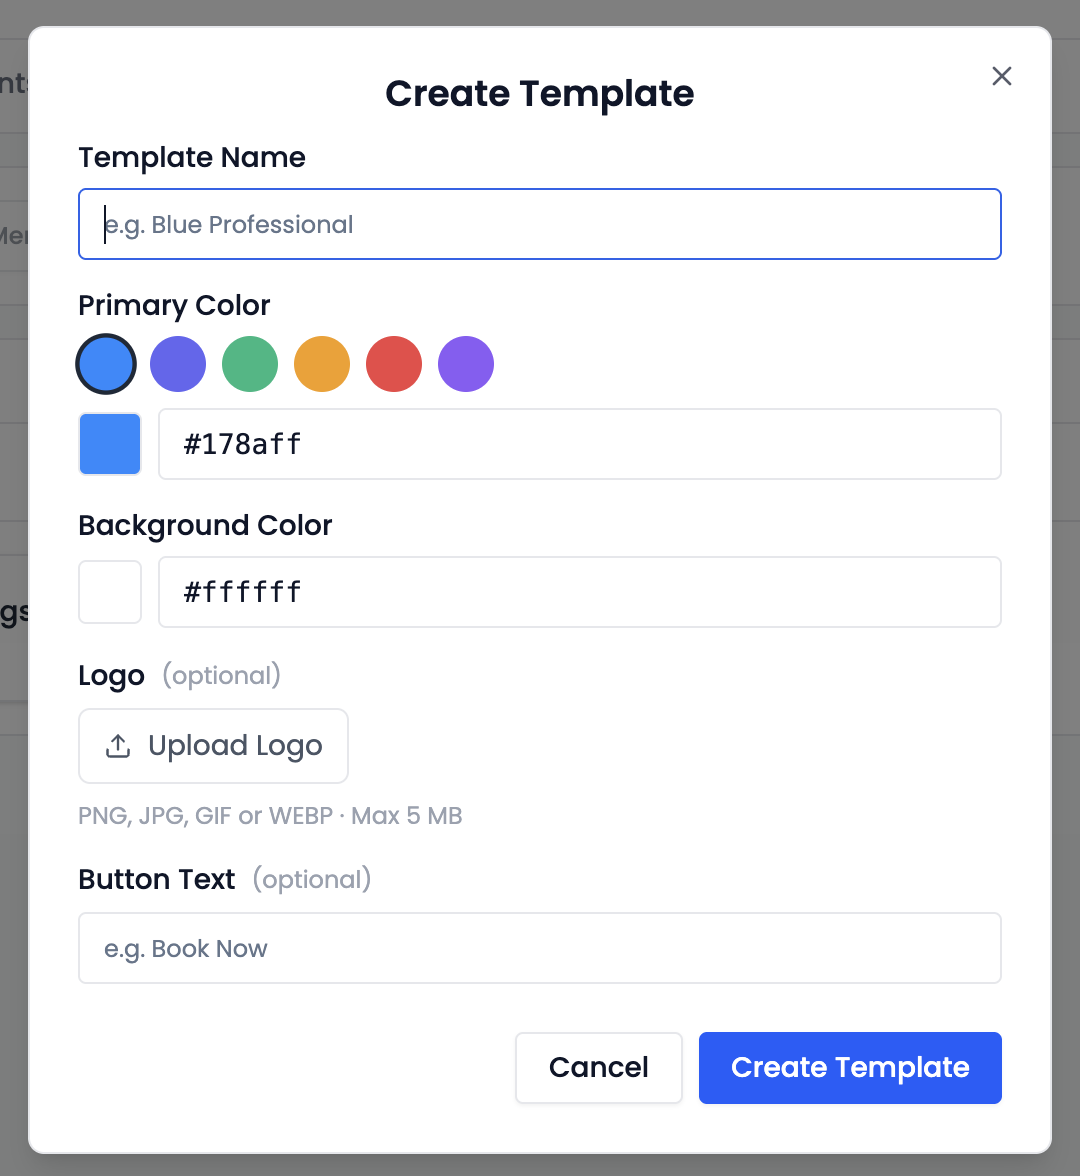 Drag and drop a logo or click to browse. The image uploads as soon as you select it.
Primary Color
The brand color used for the Book button, accent highlights, and selected date/time chips on the booking page. Pick one of the preset swatches or enter a custom hex code (e.g., #1F6FEB).
Background Color
The page background behind the booking widget. Use a hex code or a preset swatch. For most brands, a neutral light or dark shade works best so the widget itself stands out.
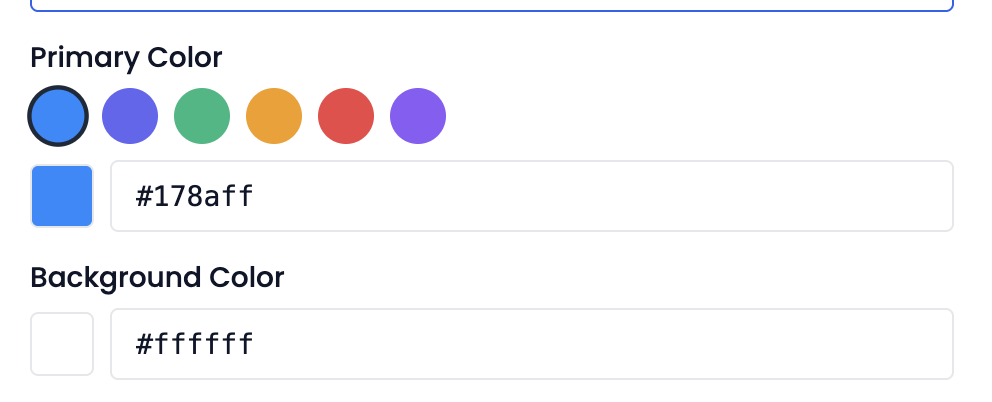 Pick a preset swatch or enter a hex code for primary and background colors.
Button Text
The call-to-action text shown on the booking page's confirm button (e.g., "Book Now", "Schedule a Call", "Reserve My Seat"). Keep it short — 2 to 4 words works best.
Saving the Template
Click Save to create the template. It now appears in the Templates list and is immediately available to select while creating or editing a calendar.
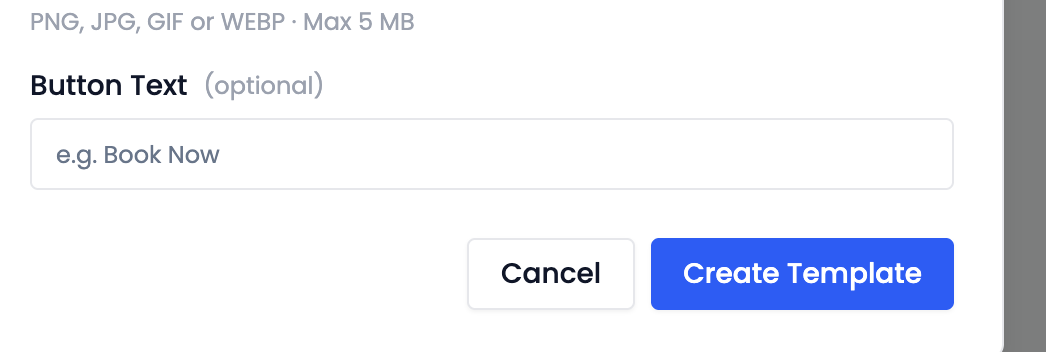 Click Save to create the template.
Editing a Template
To edit an existing template, click its row on the Templates page (or the Edit action in the more-actions menu). Change any of the fields and click Save.
Important: Updates to a template flow through to every calendar that references it. If you change the primary color, every booking page using this template reflects the new color on the next page load. There is no need to re-save each calendar.
Deleting a Template
To delete a template, open its more-actions menu on the Templates page and choose Delete.
Note: Calendars that were using the deleted template fall back to their saved color and button-text values. They are not unlinked or hidden — only the live connection to the template is removed.
Applying a Template to a Calendar
Templates are applied while creating or editing a calendar. In the calendar form, the Template dropdown lists every template in your location. Selecting one pre-fills the calendar's primary color, background color, and button text from the template's values.
See Creating a Calendar → Select a Template for the full flow.
Video Walkthrough
Watch the walkthrough below to see how to create a template and apply it to a calendar.