Inviting Users
Start building your team by inviting staff members into QuantixOne CRM. Each invited user gets an email with a link to join your organization — you control their role, sub-account, and location access before they ever log in.
Step 1 — Open My Staff
Go to Settings from the bottom-left of the dashboard, then click the My Staff tab.
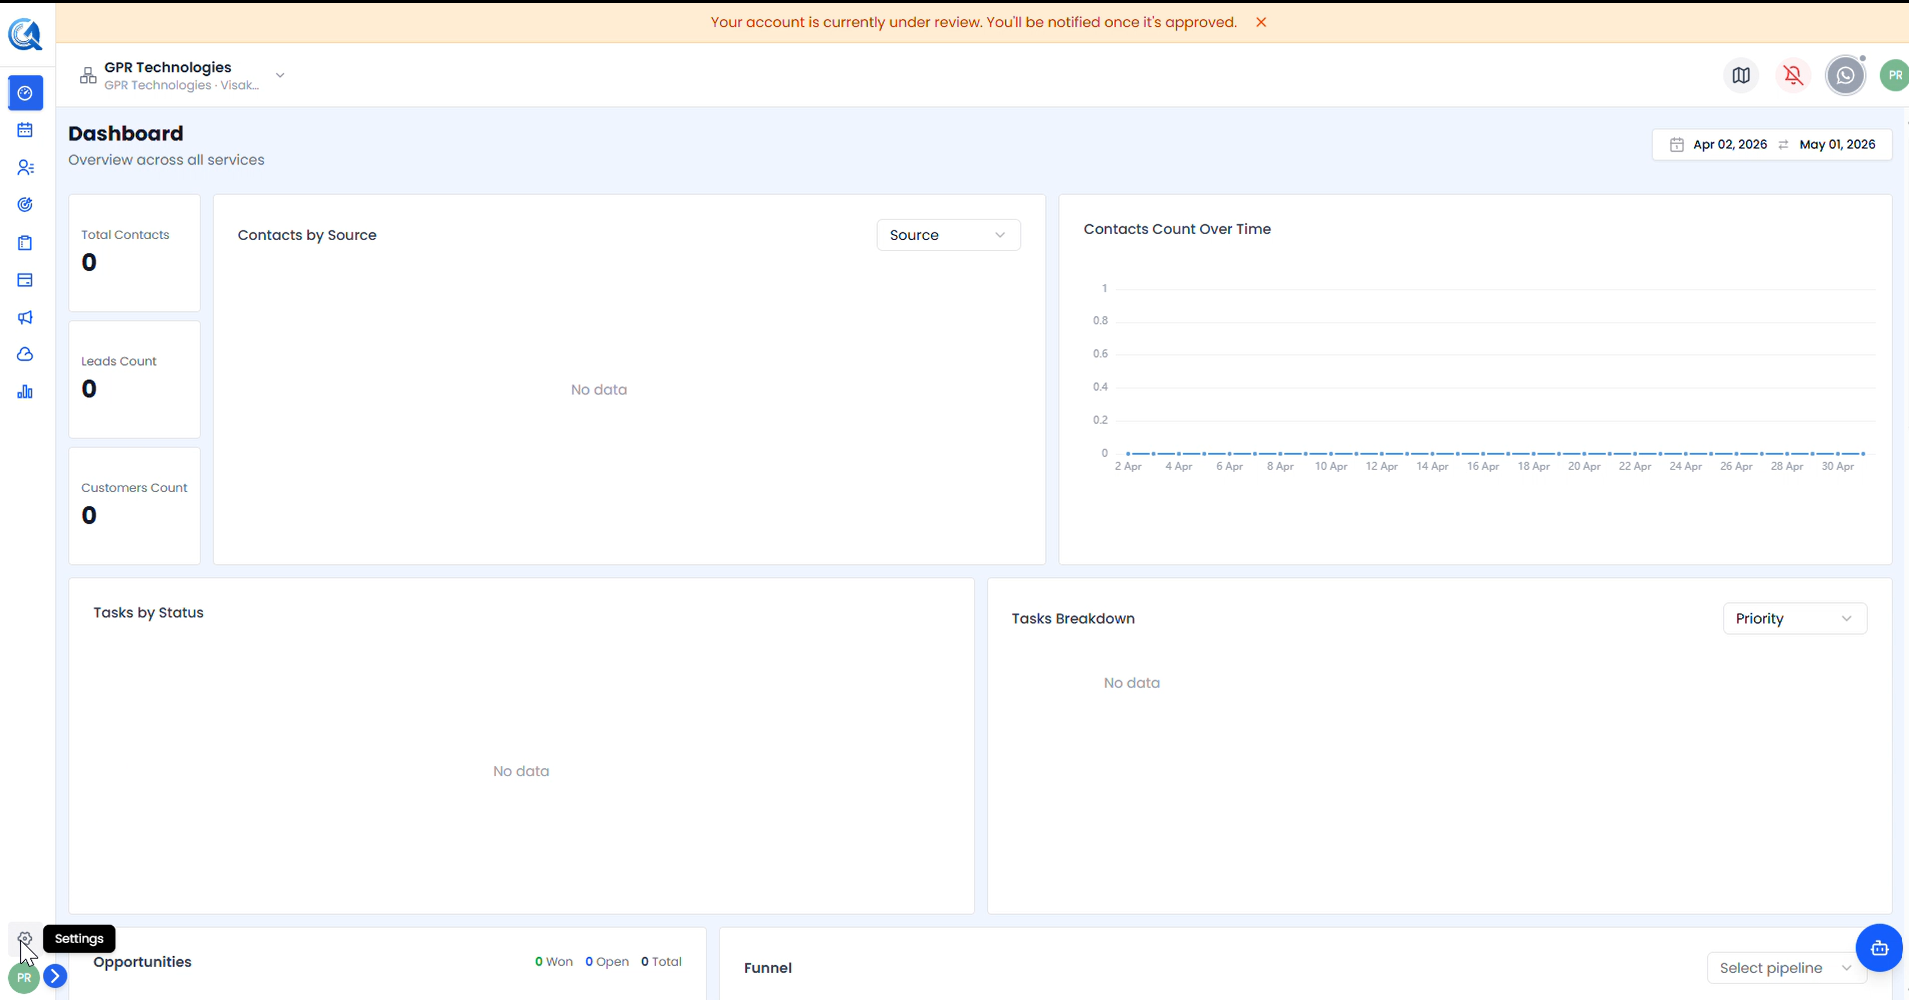 Click the Settings icon on the bottom-left of the dashboard to open the Settings page.
You'll land on the My Staff page, which has five tabs — Staffs, Invited Users, Deactivated Users, Roles, and Email Allow List.
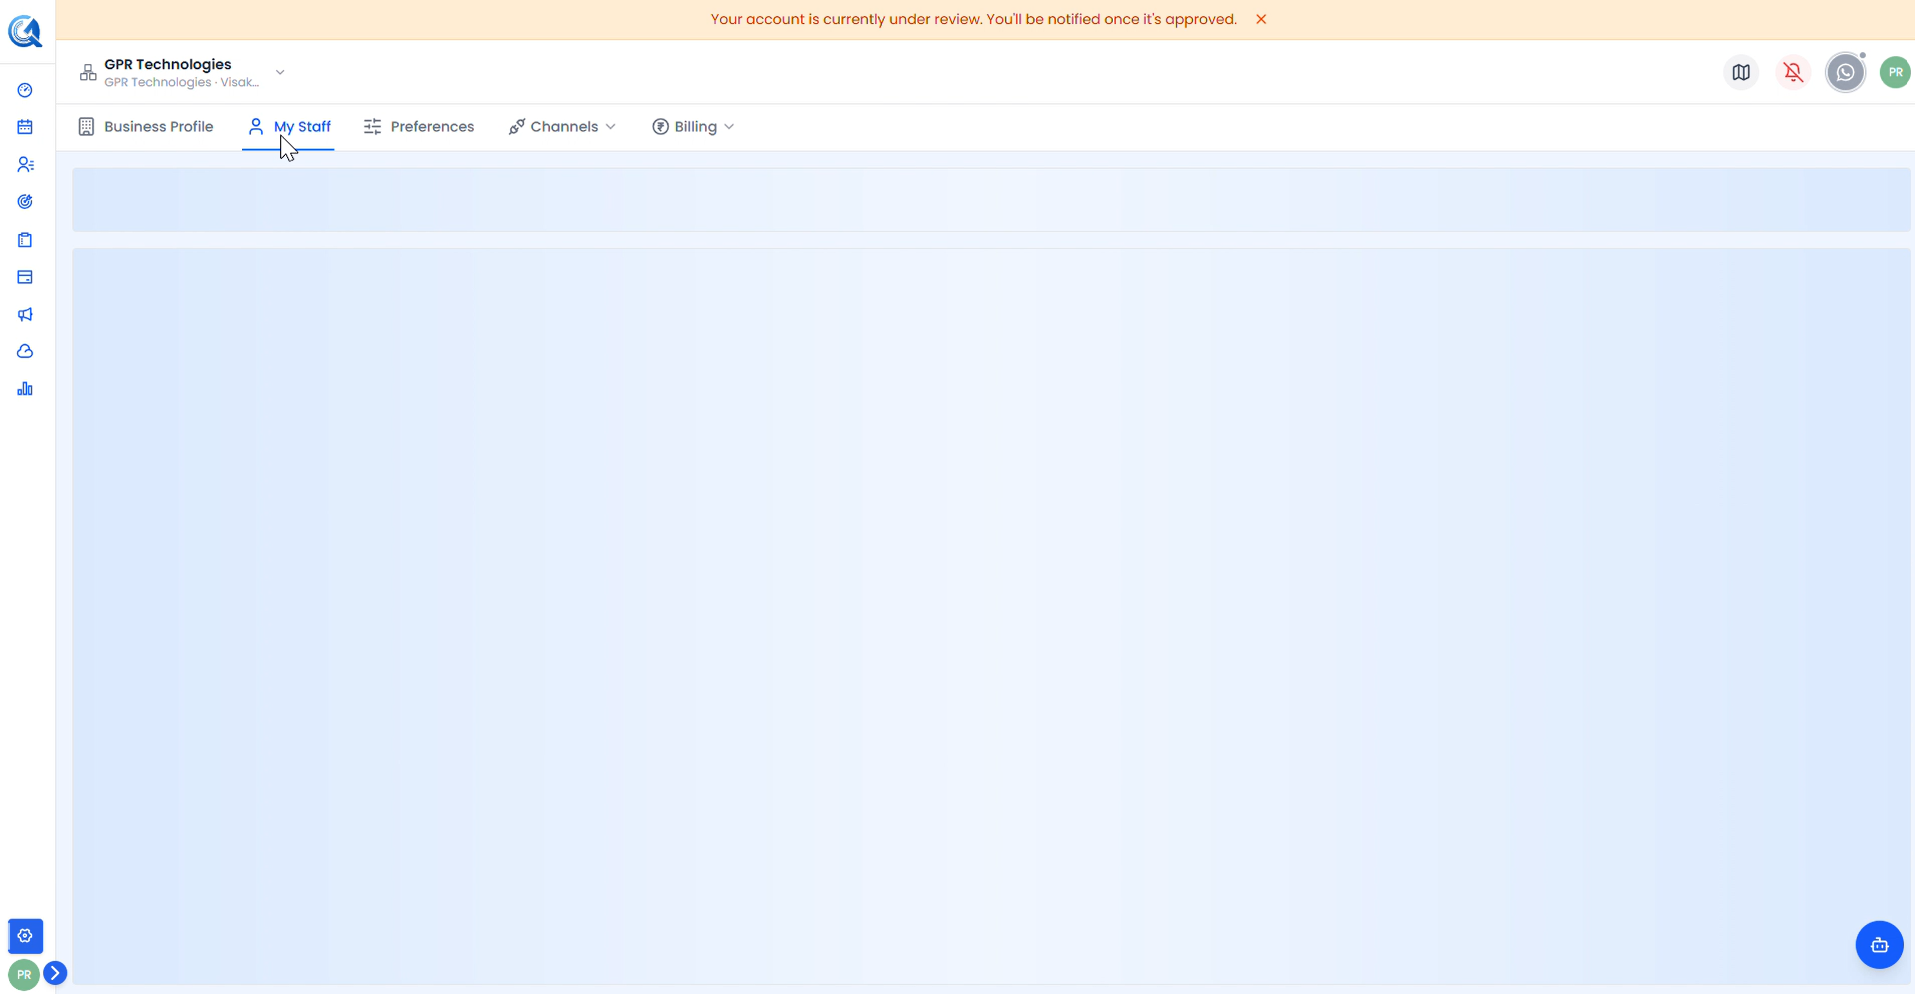 The My Staff tab loads empty until staff members are added. Click Invite new at the top right to begin.
Step 2 — Open the Invite Form
Click Invite new at the top right. This opens the Invite New Staff Member form.
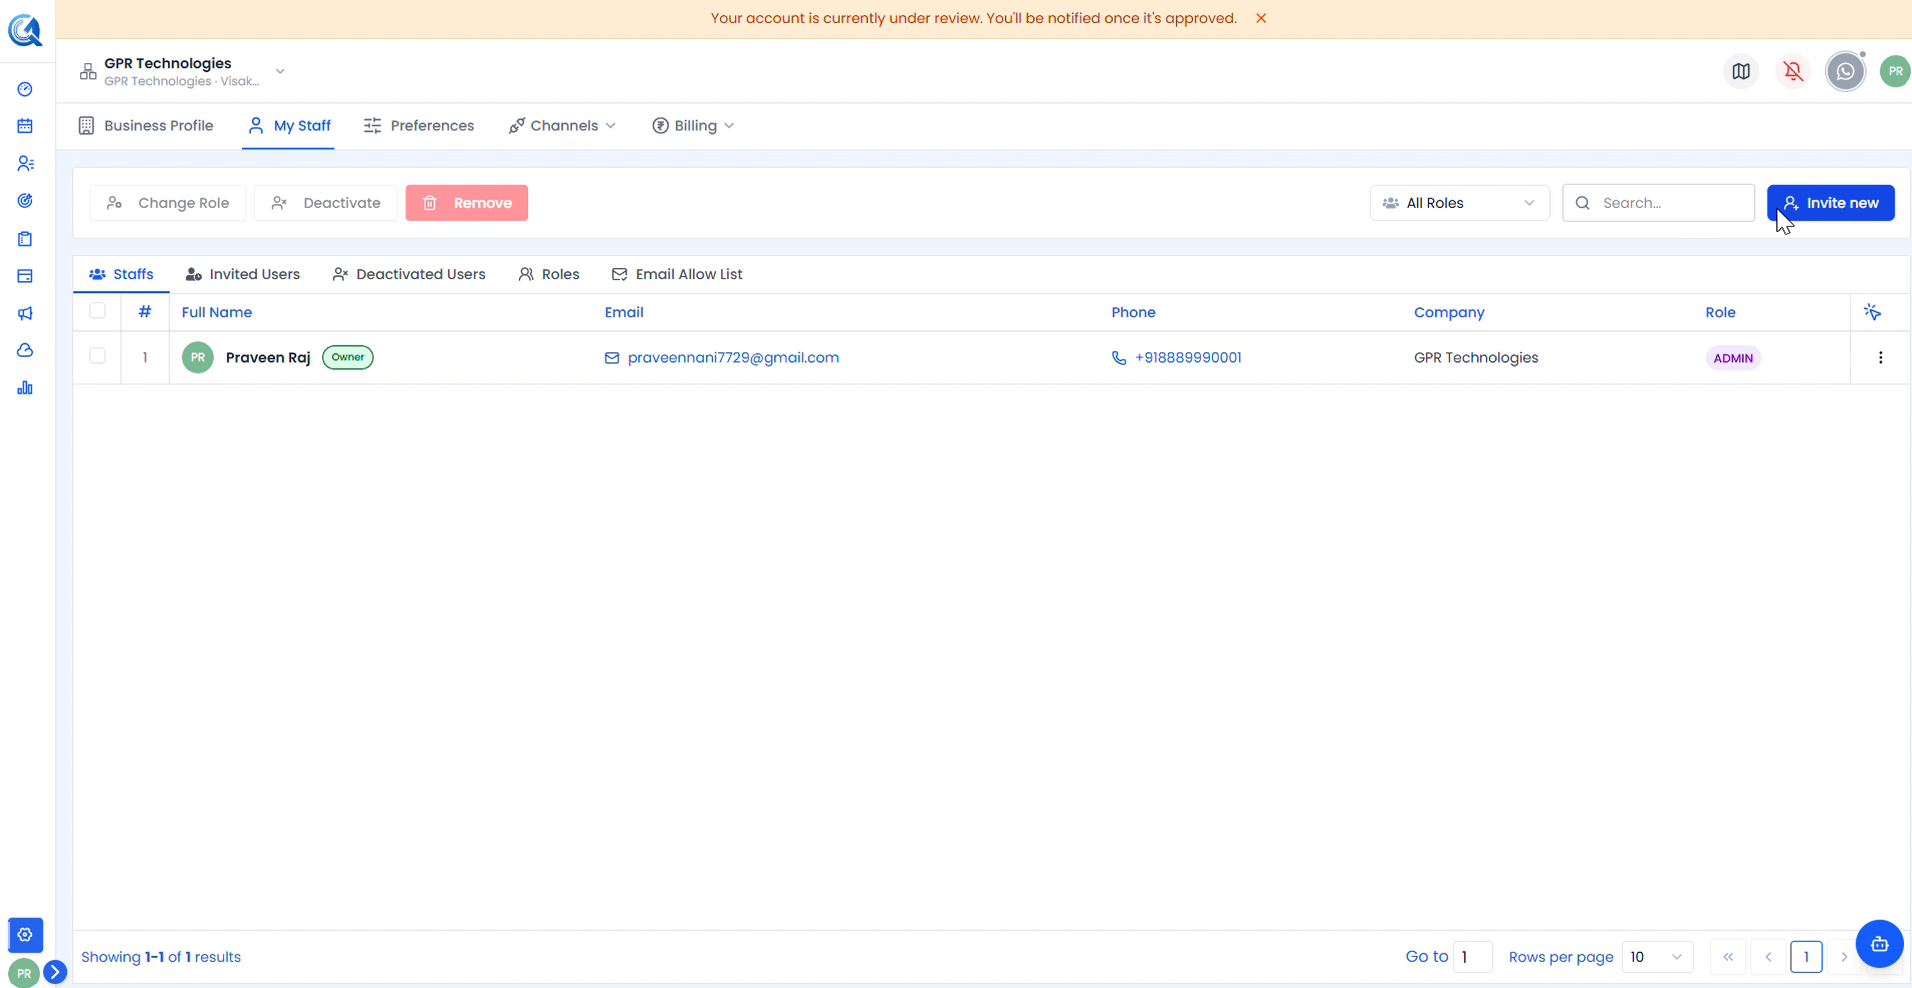 The Staffs tab shows existing members. The Invite new button is at the top right. Only the account owner appears here initially.
Step 3 — Fill in the Staff Member's Details
The invite form collects the new user's personal and contact details.
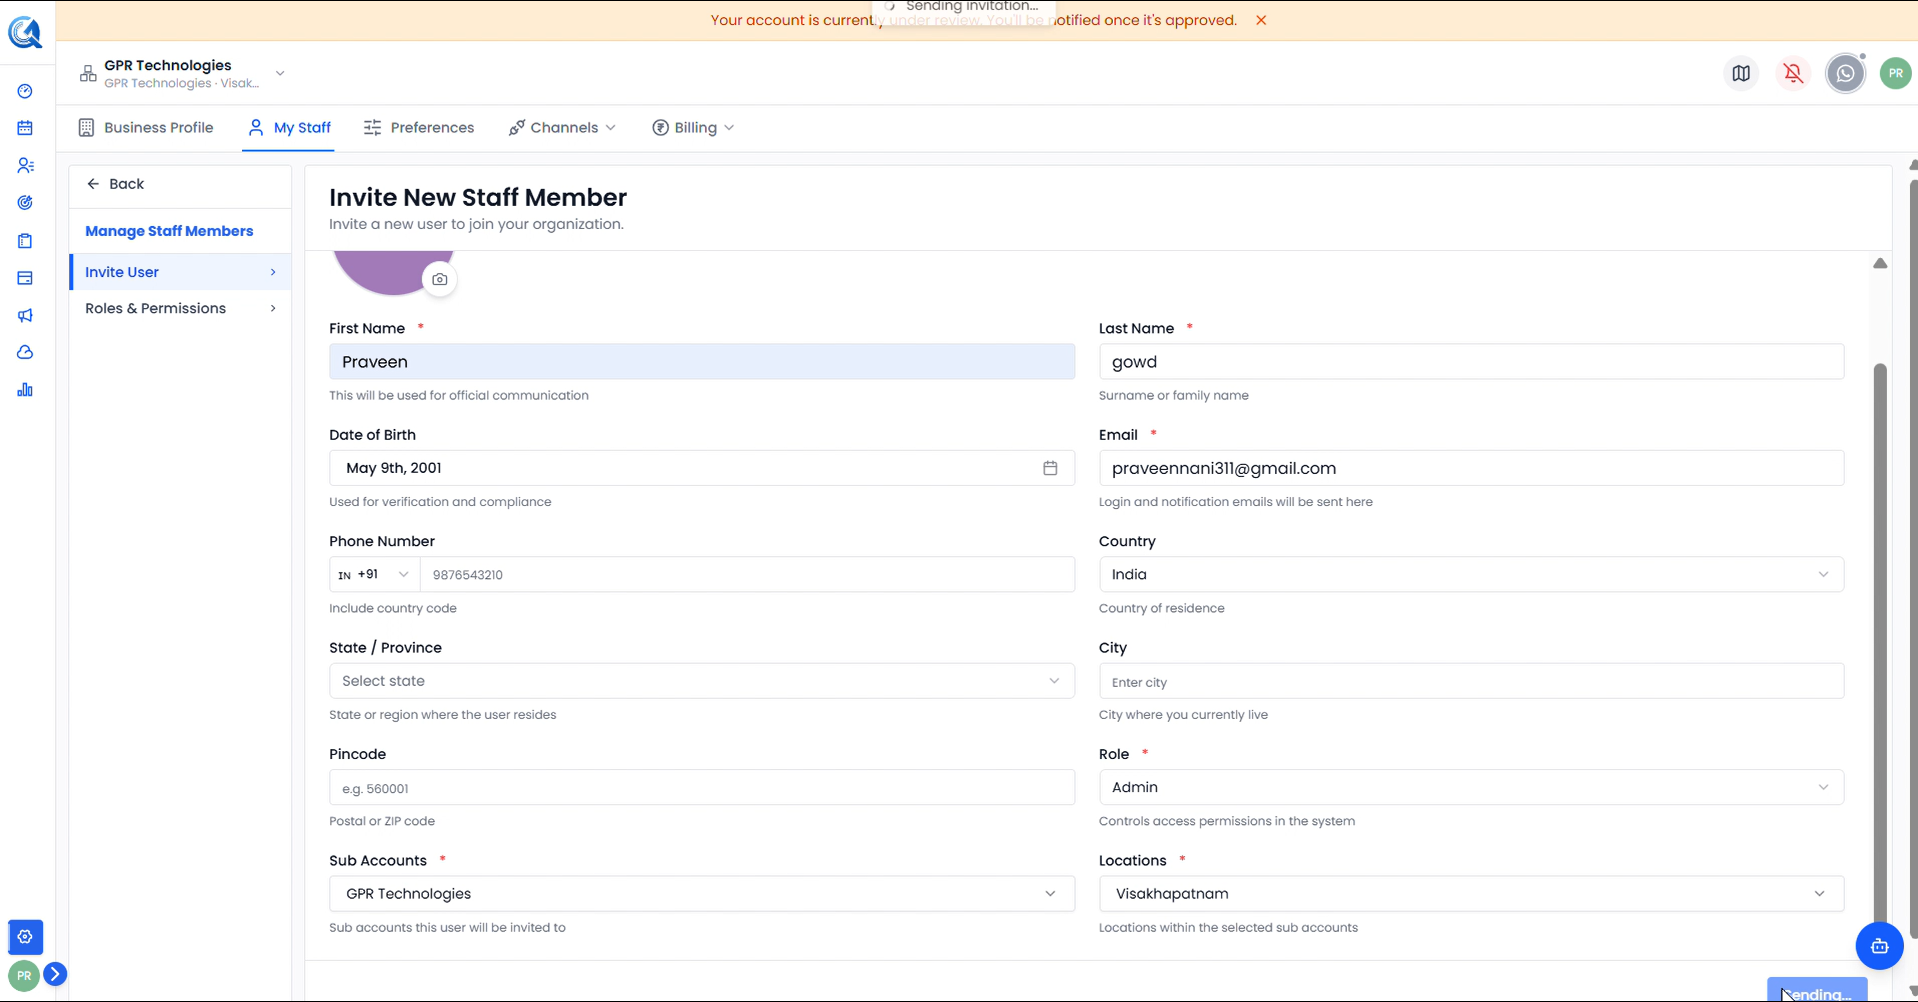 Fill in all required fields marked with a red asterisk ( * ). The email entered here is where the invitation will be sent.
| Field | Description |
|---|---|
| First Name | Used for official communication |
| Last Name | Surname or family name |
| Date of Birth | Used for verification and compliance |
| Login and notification emails will be sent here | |
| Phone Number | Include country code |
| Country | Country of residence |
| State / Province | State or region where the user resides |
| City | City where the user currently lives |
| Pincode | Postal or ZIP code |
In the lower section, assign the user's access configuration:
 Select the Role, Sub Accounts, and Locations for the new user. These control what they can access after joining.
| Field | Description |
|---|---|
| Role | Controls access permissions in the system (e.g. Admin) |
| Sub Accounts | Sub accounts this user will be invited to |
| Locations | Locations within the selected sub accounts |
Once all fields are complete, click Invite User to send the invitation.
Step 4 — Invitation Sent
After clicking Invite User, QuantixOne sends an invitation email to the address provided. A "Sending invitation…" toast notification confirms the invite is being dispatched.
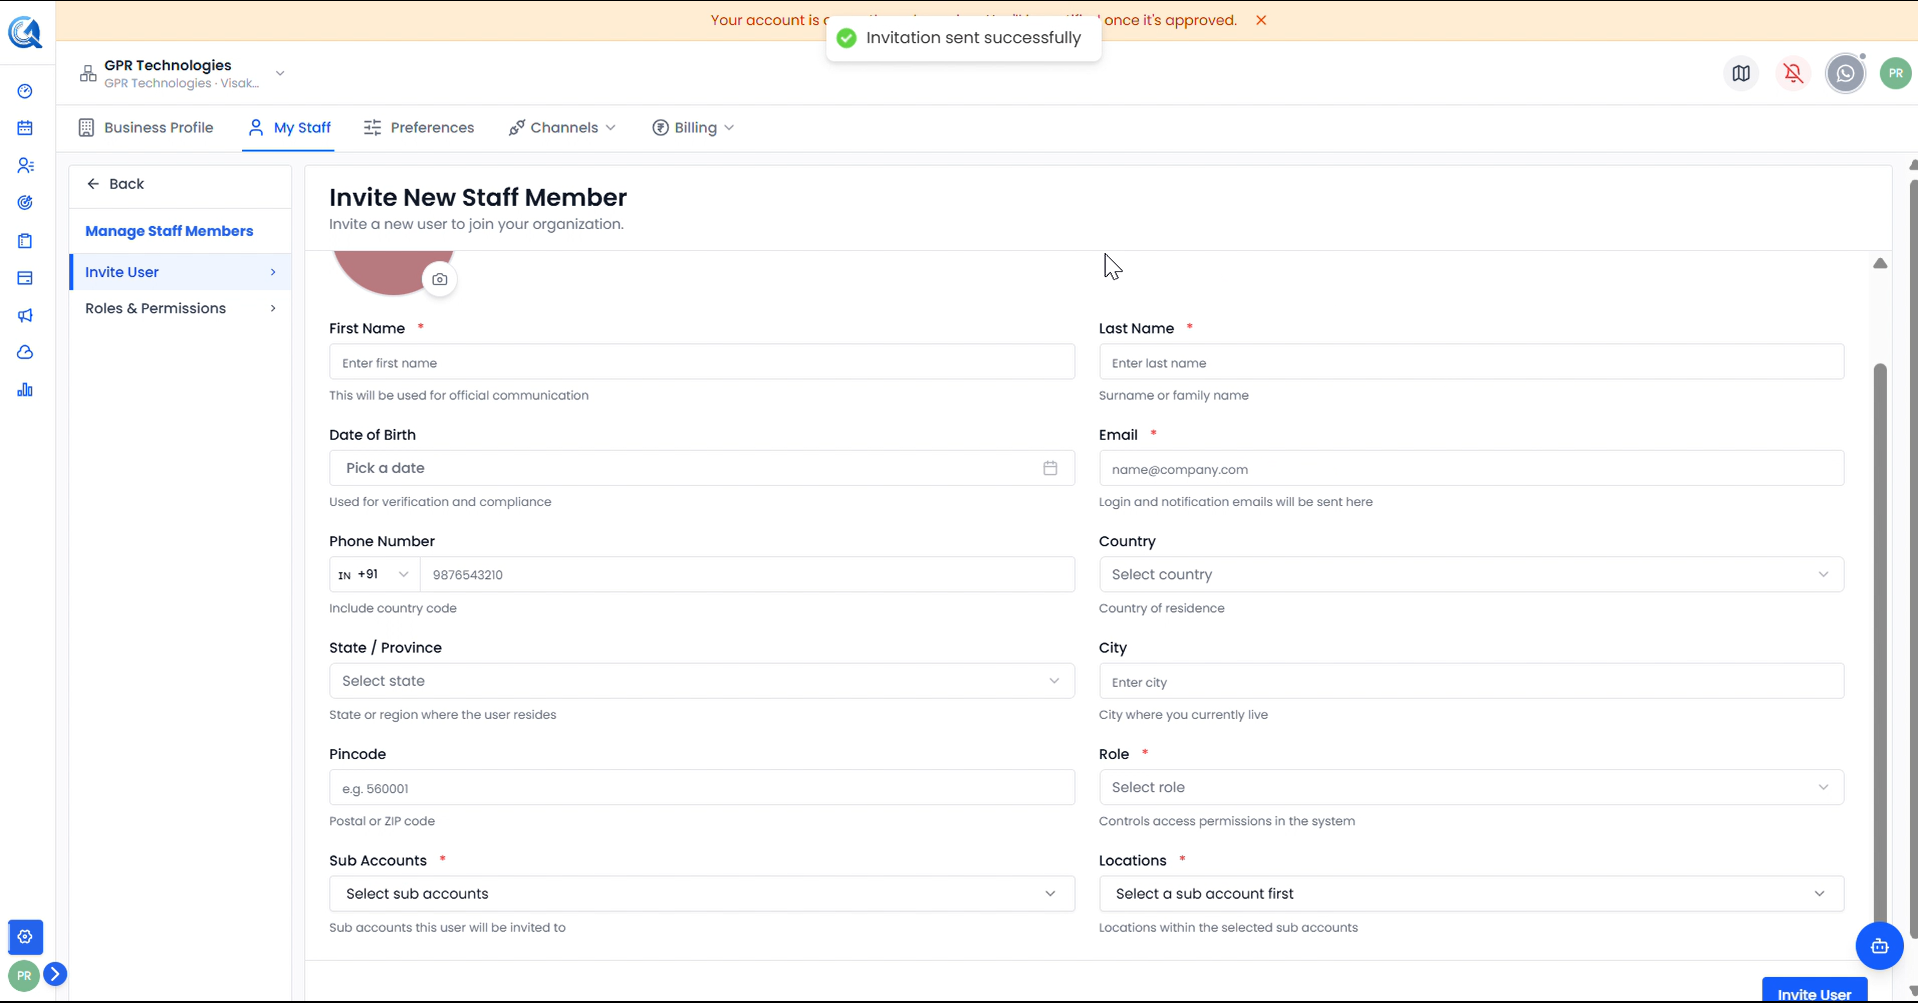 The toast notification confirms the invitation has been sent. The invited user will receive an email with a link to join your organization.
The invited user will now appear under the Invited Users tab with a Pending status until they accept the invite.
Note: Invitations expire after a set period. If the user hasn't accepted in time, you can resend the invite from the Invited Users tab.
Video Walkthrough
Watch the full invite flow from Settings to confirmation.