Sub-accounts
Sub-accounts let you create separate workspaces under your main organization — each with its own name and location. Use them to manage multiple branches, offices, or divisions from a single QuantixOne account without mixing their data.
What is a Sub-account?
A sub-account is a child workspace linked to your main organization. Each sub-account has its own name and location, and can be switched to from the account switcher in the top navigation bar.
| Main Account | Sub-account | |
|---|---|---|
| Ownership | Root organization | Belongs to the parent account |
| Data | Independent | Separate from other sub-accounts |
| Switching | — | Switch via the top navbar dropdown |
Step 1 — Open the Account Switcher
Click the account name dropdown in the top navigation bar (next to the QuantixOne logo). This opens the account switcher, showing all existing sub-accounts under your organization along with an Add Sub-account option at the bottom.
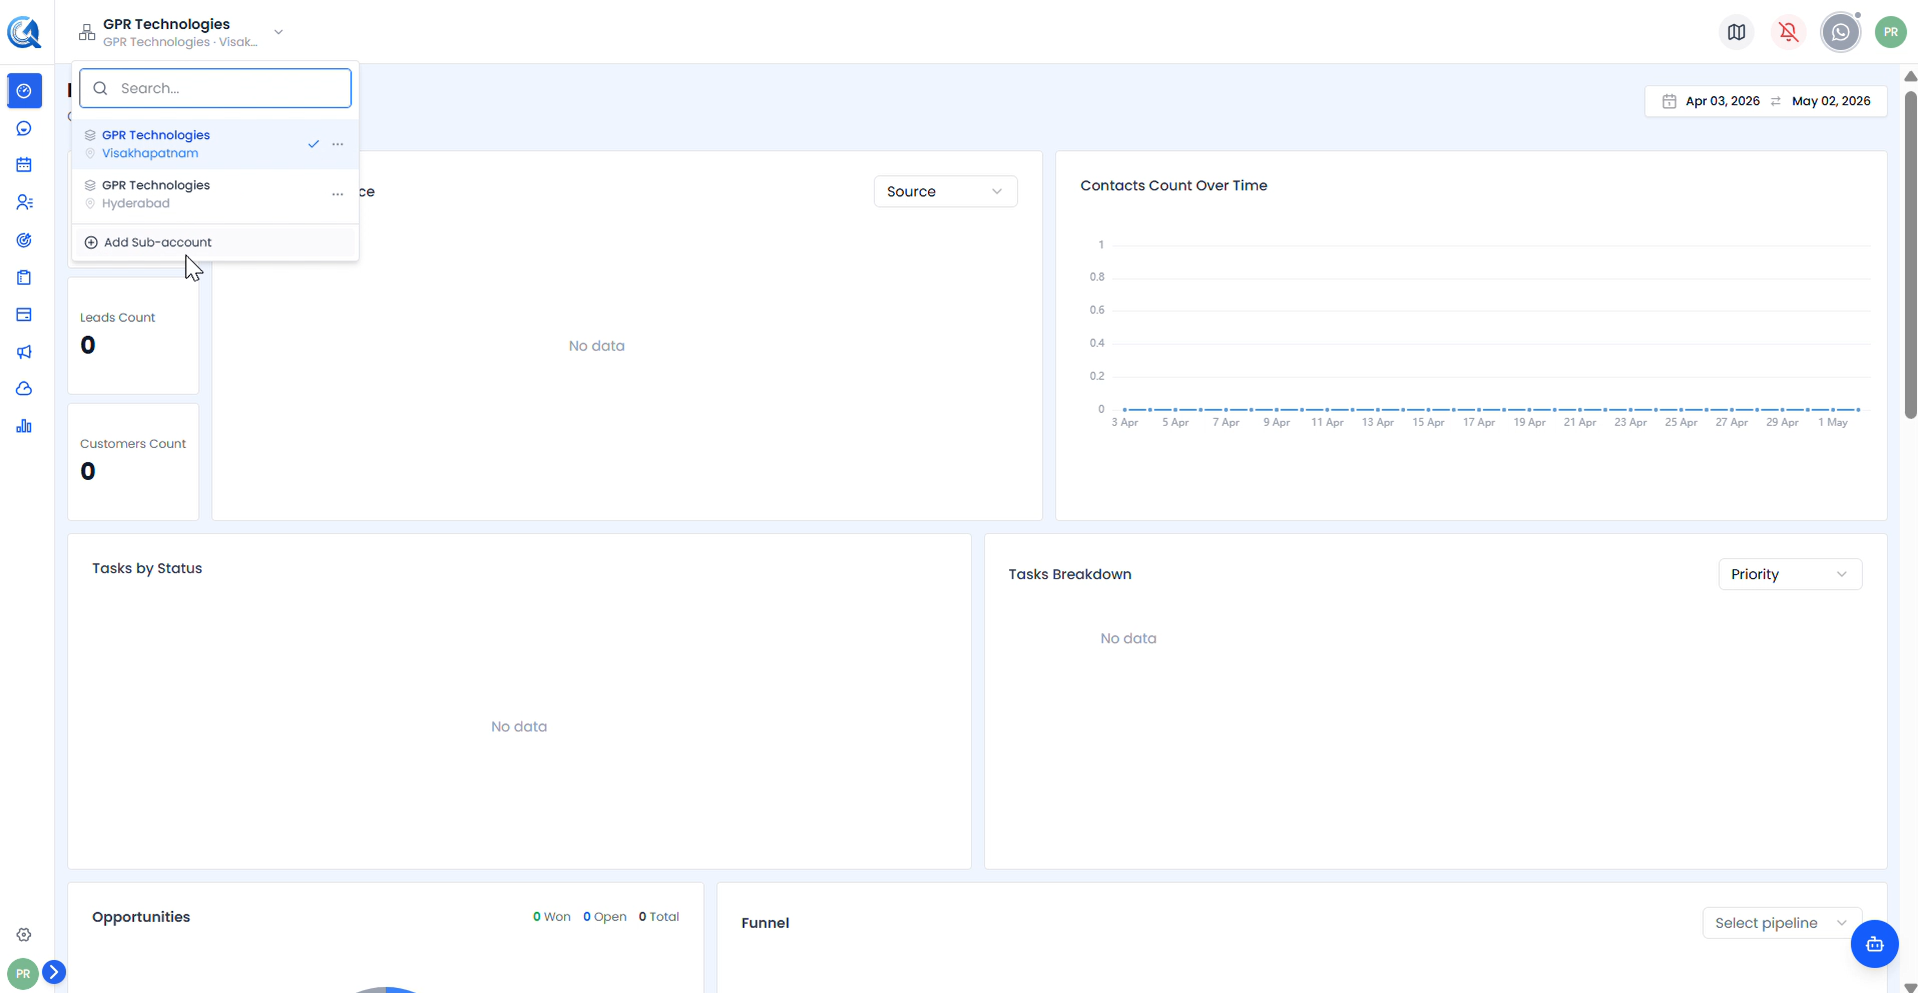 The account switcher lists all sub-accounts under your organization. Each entry shows the sub-account name and location. Click Add Sub-account to create a new one.
Step 2 — Add a Sub-account
Click Add Sub-account at the bottom of the dropdown. The Add Sub-account modal opens.
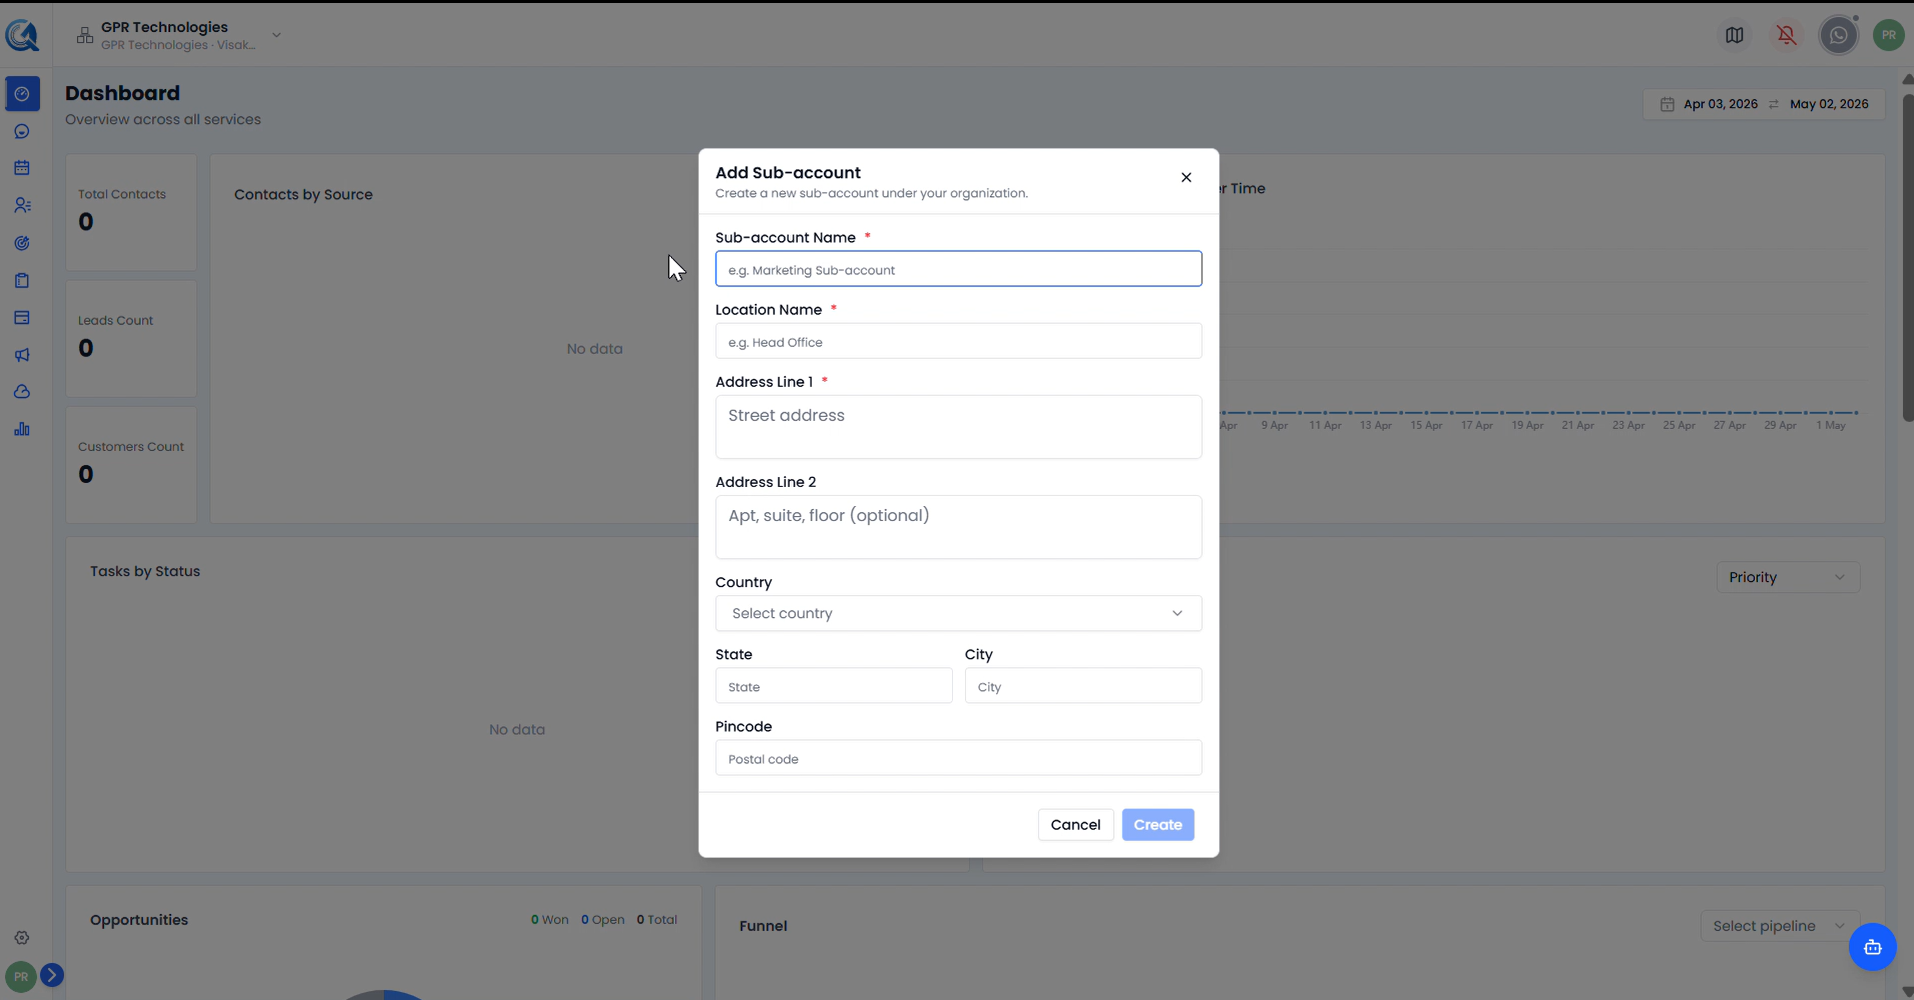 The Add Sub-account form. Fields marked with a red asterisk ( * ) are required.
Fill in the following fields:
| Field | Description |
|---|---|
| Sub-account Name | The name of the new sub-account (e.g. GPR Solutions) |
| Location Name | The office or branch name for this sub-account (e.g. Bangalore) |
| Address Line 1 | Street address of this sub-account's location |
| Address Line 2 | Apartment, suite, or floor (optional) |
| Country | Country where this sub-account operates |
| State | State or region |
| City | City |
| Pincode | Postal code for this location |
Step 3 — Create the Sub-account
Once all required fields are filled, click Create.
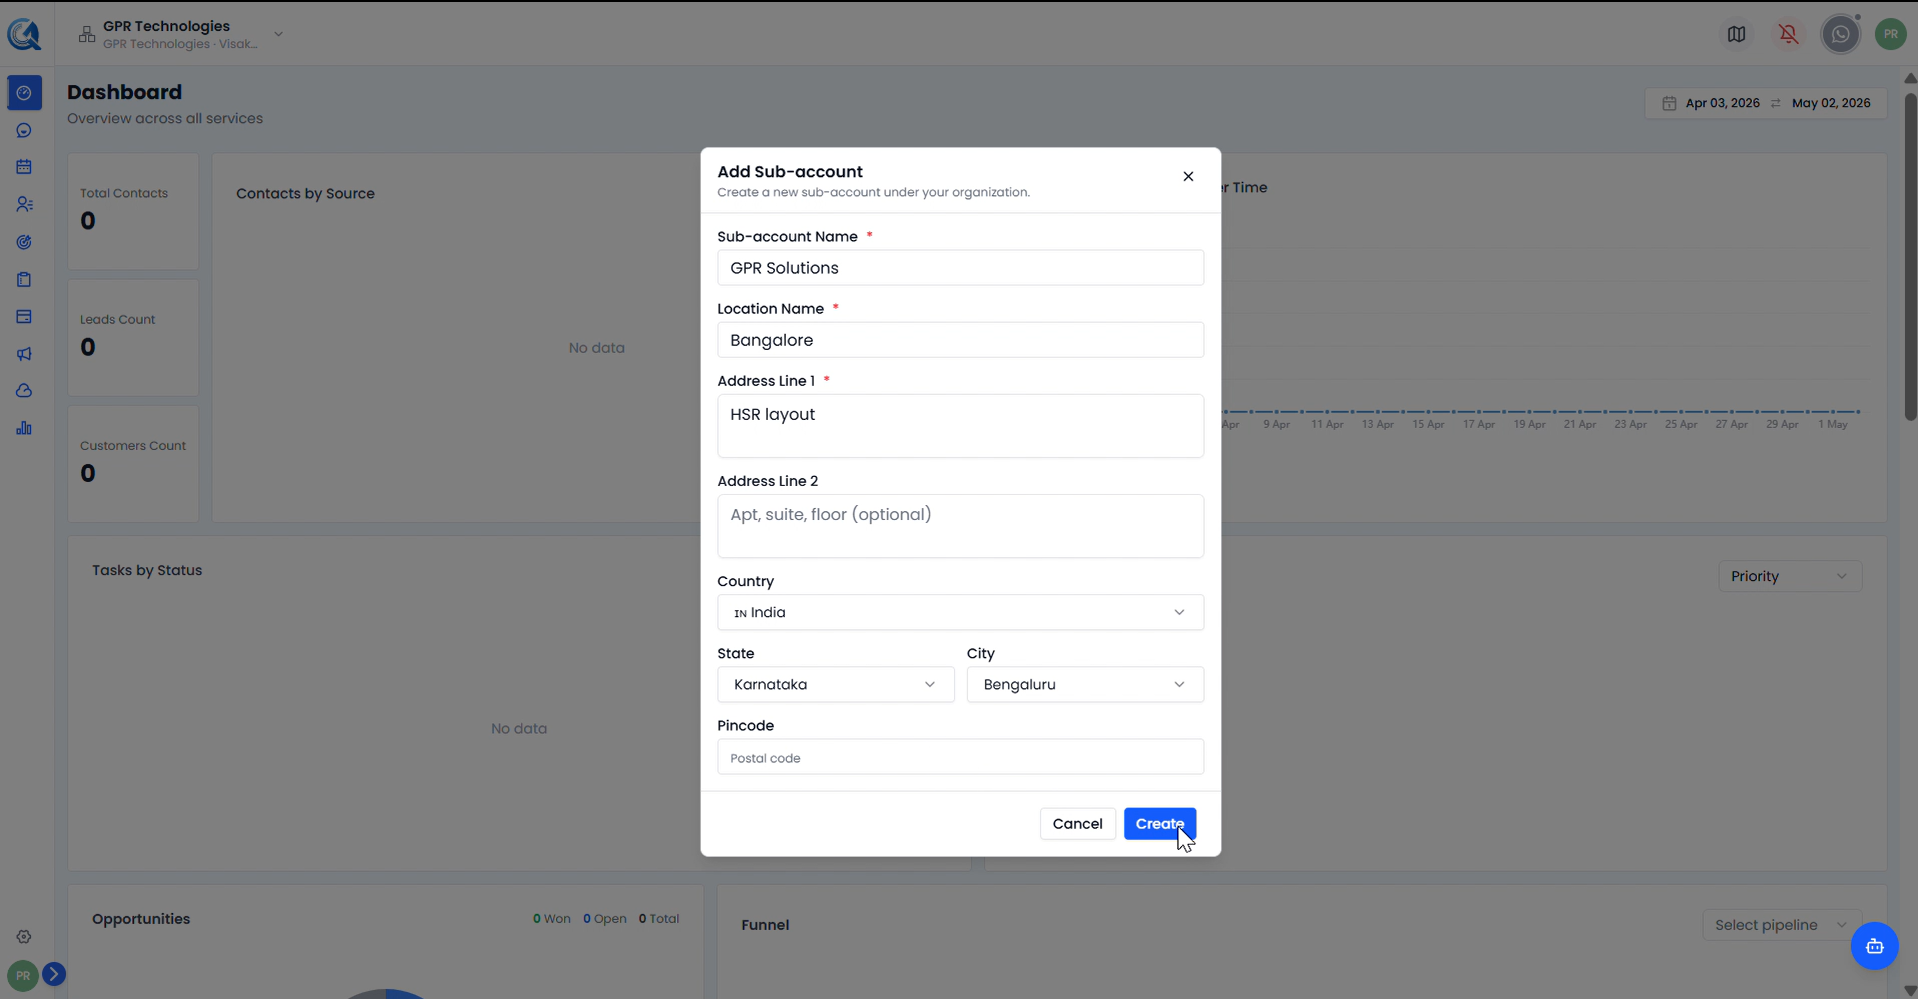 Example: Sub-account Name set to GPR Solutions, Location Name set to Bangalore, Address Line 1 set to HSR Layout, Country set to India, State set to Karnataka, City set to Bengaluru. Click Create to confirm.
The modal closes and the new sub-account appears immediately in the account switcher dropdown.
Step 4 — Switch to the New Sub-account
Open the account switcher again. The new sub-account is now listed alongside the existing ones. Click it to switch into that workspace.
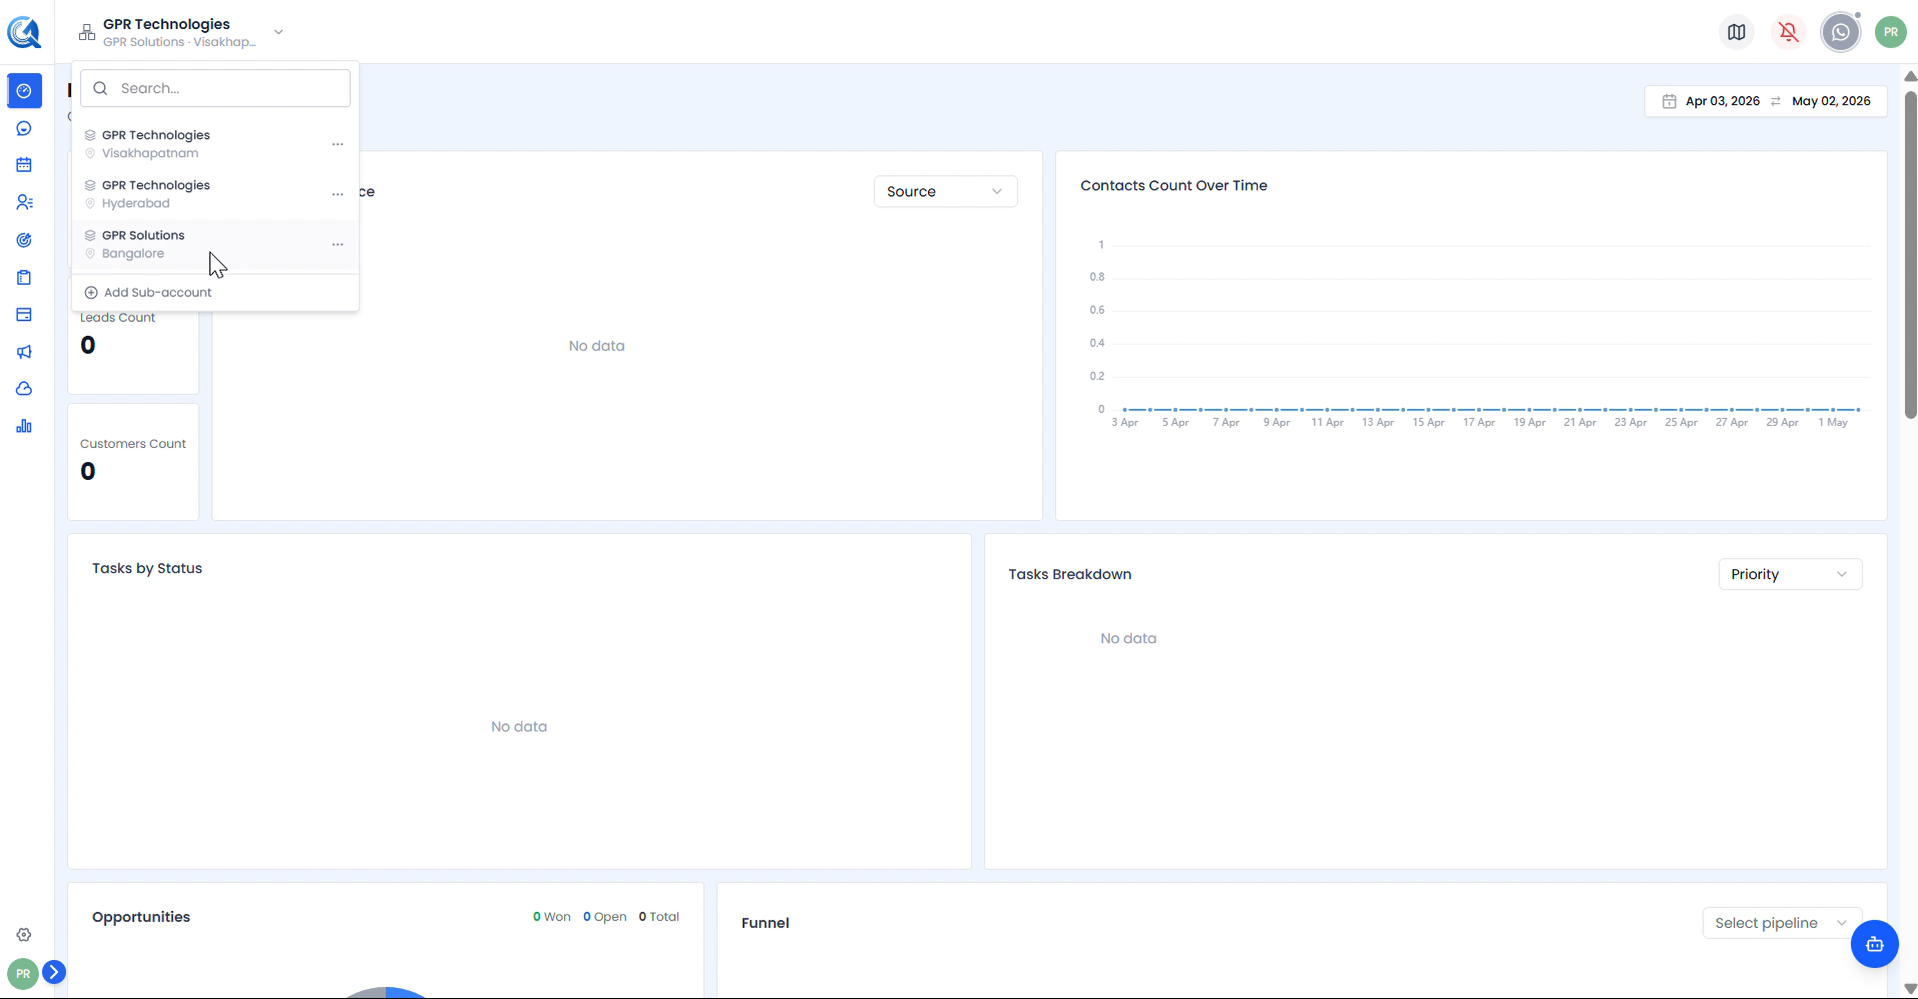 GPR Solutions (Bangalore) now appears in the account switcher. Click it to switch into that sub-account's workspace.
Note: Each sub-account has its own independent data — contacts, conversations, and deals are not shared between sub-accounts.
Video Walkthrough
Watch the complete Sub-accounts walkthrough below.