Creating a New Contact
In QuantixOne CRM, a Contact represents any person your business interacts with — a lead, a customer, a prospect, or a partner. This guide walks you through how to add a new contact and fill in their details.
Creating a New Contact
To add a new contact, navigate to the Contacts section from the left sidebar. Click the + New Contact button in the top-right corner of the contacts list.
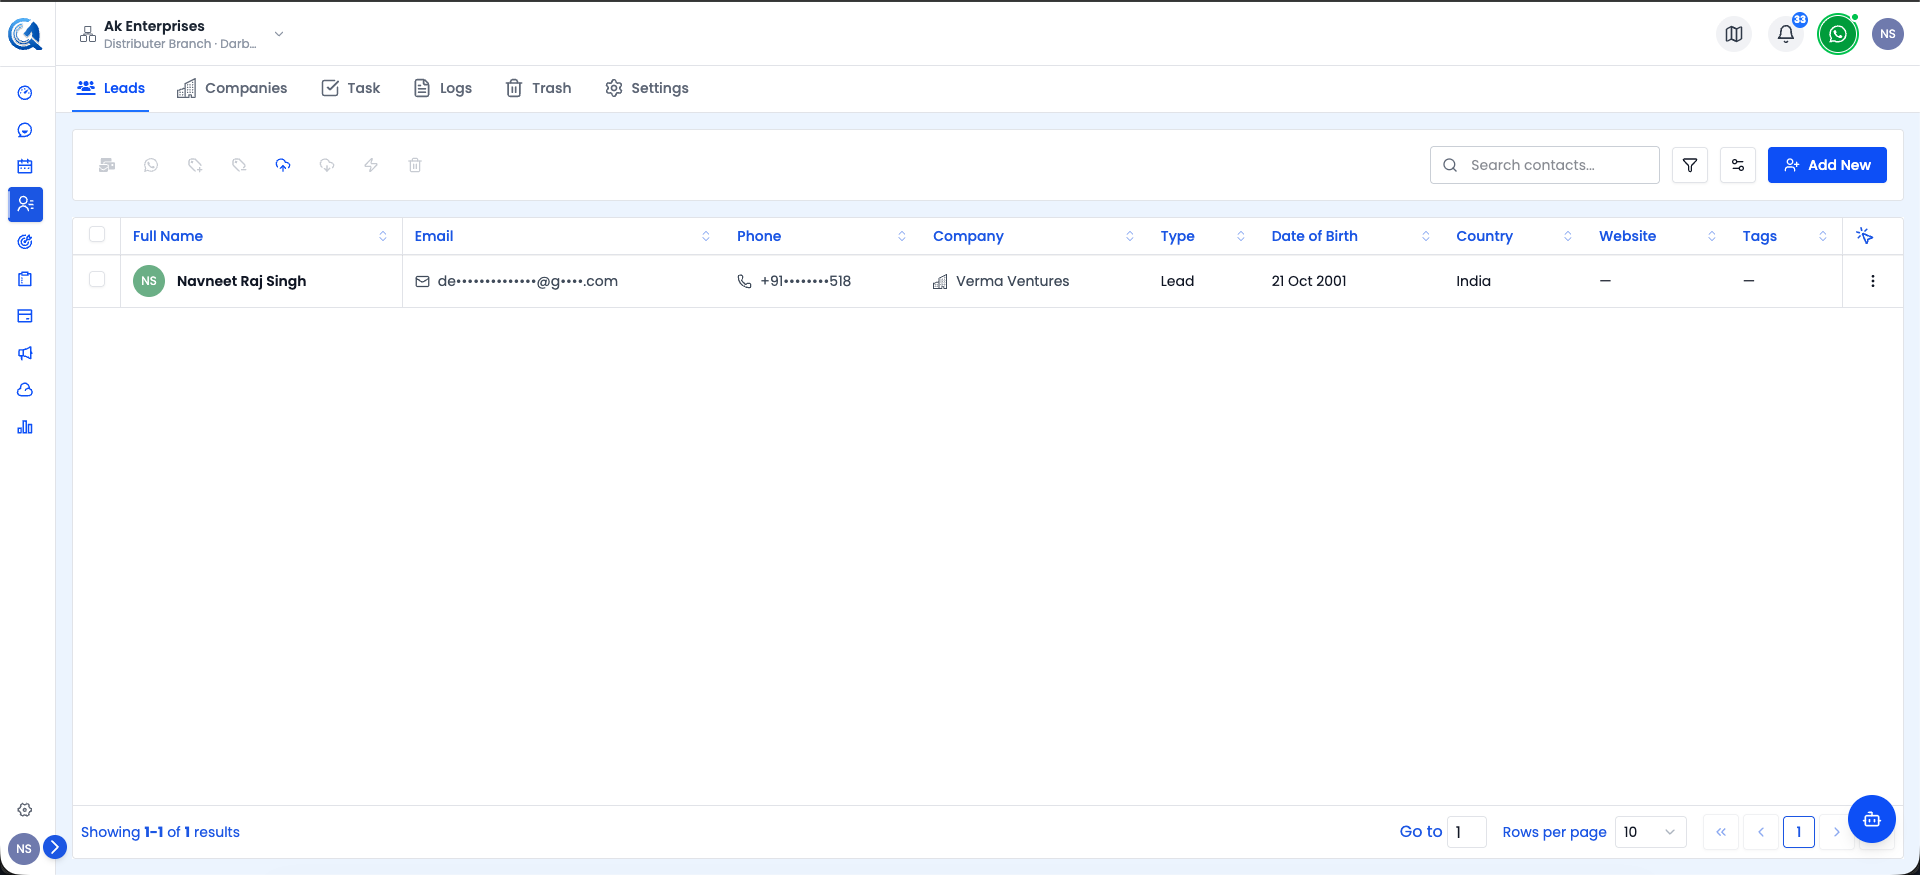 The Leads tab shows all your contacts. Click Add New in the top-right to begin.
A Create Contact panel will slide open on the right side of the screen.
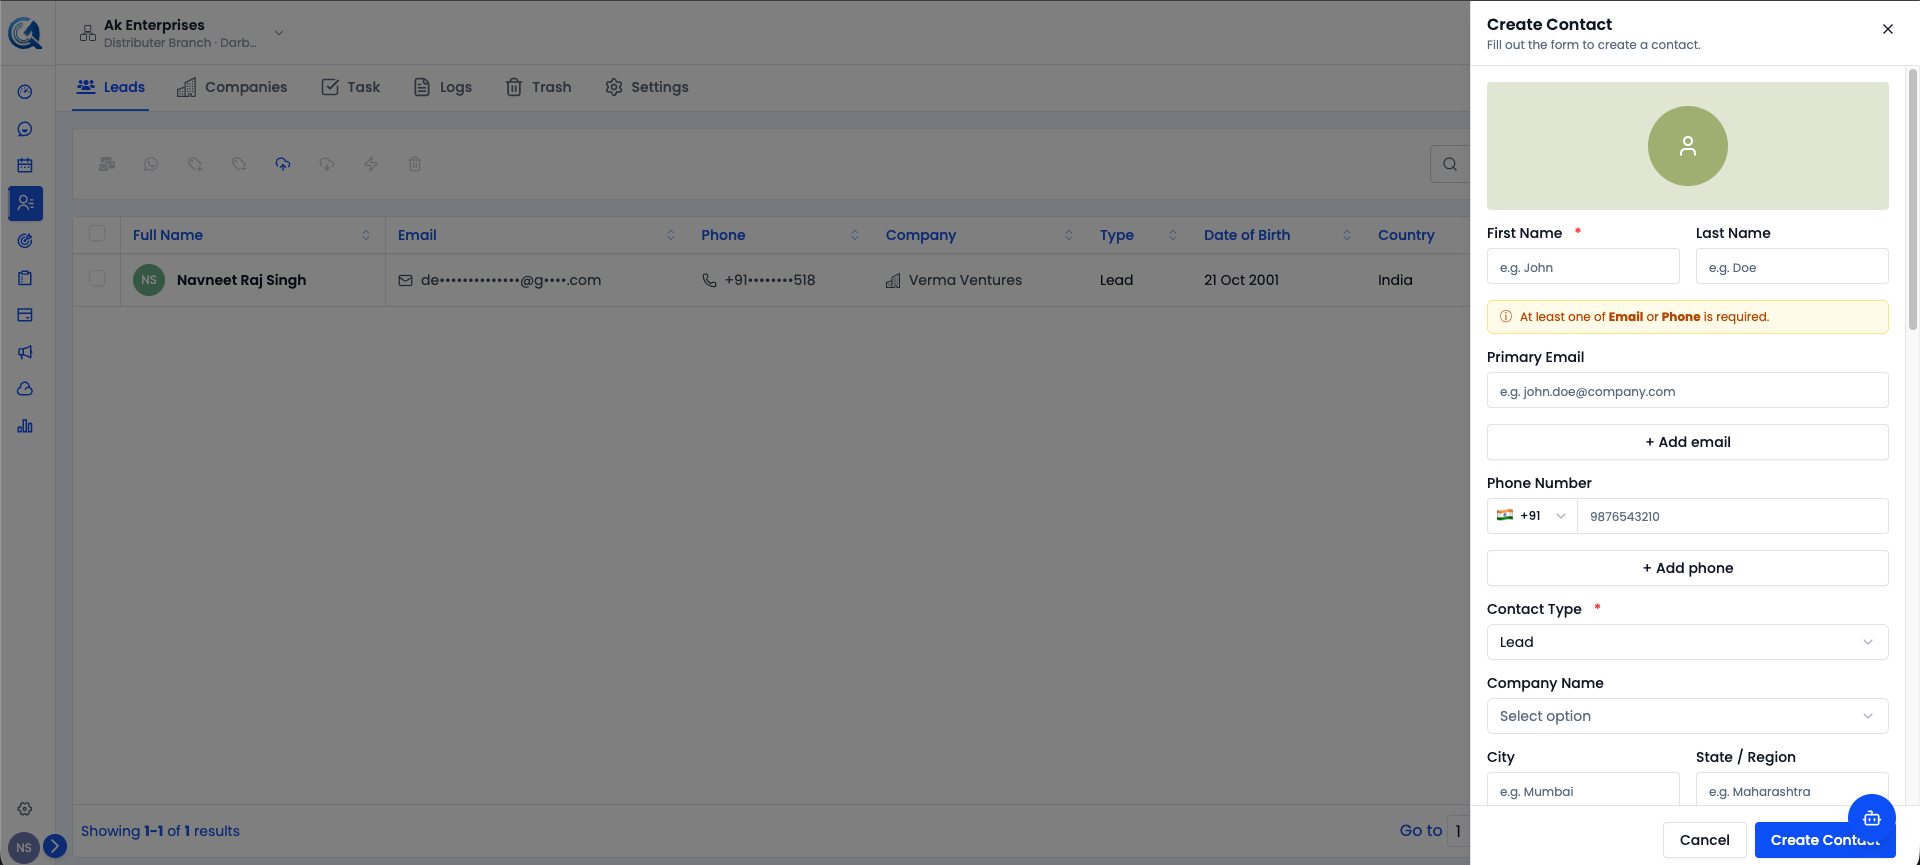 The Create Contact panel. At least one of Email or Phone is required along with the contact's name.
Filling Out Contact Details
The contact form is divided into several sections. You do not need to fill in every field — only the fields relevant to your contact.
Basic Information
Enter the contact's First Name and Last Name. The full name is automatically combined and displayed throughout the CRM.
- Contact Type — Select whether this person is a Lead, Customer, Prospect, or Partner.
- Source — Where this contact came from (e.g., Website, Referral, Import, Manual).
Contact Information
Enter the contact's primary Email Address and Phone Number. These fields are used for communication and deduplication.
- Additional Emails — You can add secondary email addresses if the contact has more than one.
- Additional Phone Numbers — Add alternate phone numbers as needed.
Note: Each email address and phone number must be unique within your location. If the email or phone already belongs to another contact, you will see a duplicate warning.
Company
If this contact is associated with a company, enter the Company Name. QuantixOne will automatically link the contact to an existing company or create a new one if it does not exist yet.
Address
Fill in the contact's location details:
- Address
- City
- State / Province
- Postal Code
- Country
- Timezone
Additional Details
- Date of Birth — Optional. Used for birthday-based automations.
- Website — The contact's personal or business website.
- Tags — Assign one or more tags to categorize this contact (e.g., "VIP", "Newsletter").
- Owner — The team member responsible for this contact.
- Assigned To — Assign additional team members to collaborate on this contact.
Saving the Contact
Once you have filled in the relevant details, click the Save button at the bottom of the form.
The contact will be created and you will be taken to the Contact Details page, where you can view all information, add notes, create tasks, and track activity.
The contact has been created and is now visible in your contacts list.
Note: If a contact with the same email or phone already exists, QuantixOne will notify you before saving. You can choose to update the existing contact or proceed with a new one.
Video Walkthrough
Watch the step-by-step video below to see how to create a contact in QuantixOne CRM.