Form Creation & Publish
The Forms Builder lets you create custom forms from scratch to collect information from leads, customers, or prospects. Once built, forms can be published and shared via a link — making them live and ready to collect responses instantly.
Step 1 — Open the Forms Builder
Go to Forms Builder from the left navigation sidebar. The Forms tab shows all your saved forms. If you're just getting started, it will show "No data available".
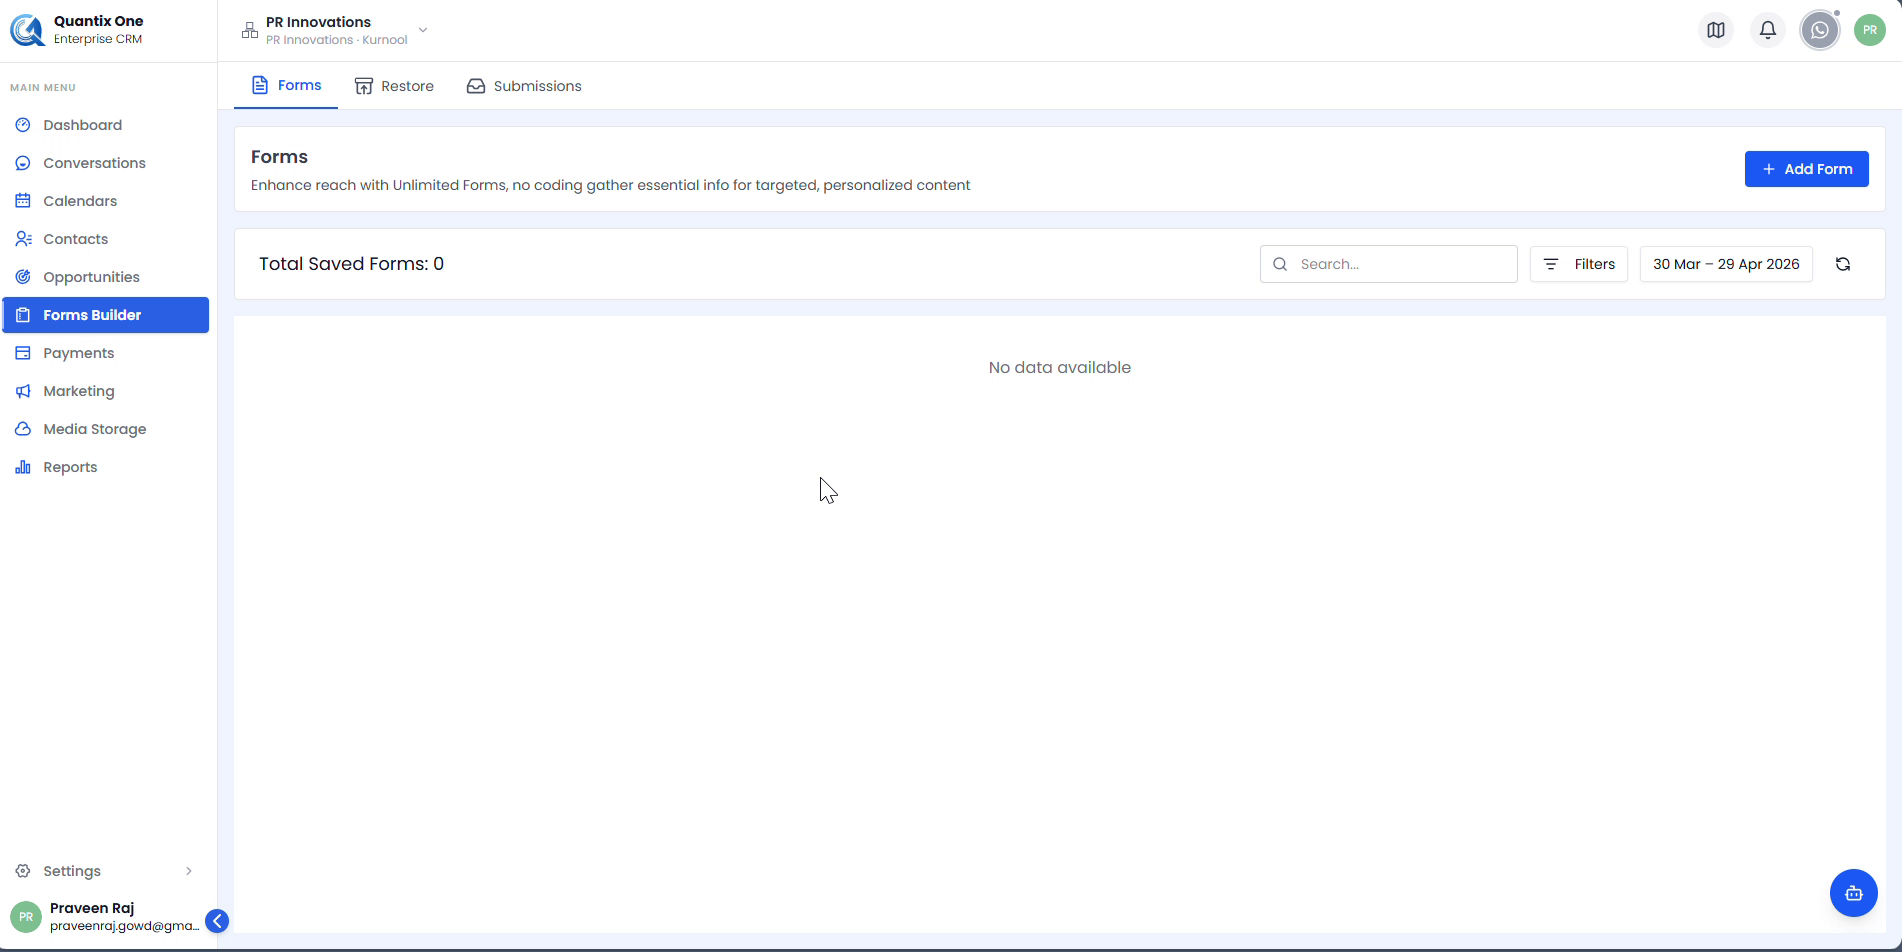 The Forms tab showing Total Saved Forms: 0. Click + Add Form in the top-right to create your first form.
Step 2 — Build Your Form
Clicking + Add Form opens the form builder canvas. The left panel lists all available field types — drag any field onto the canvas to add it.
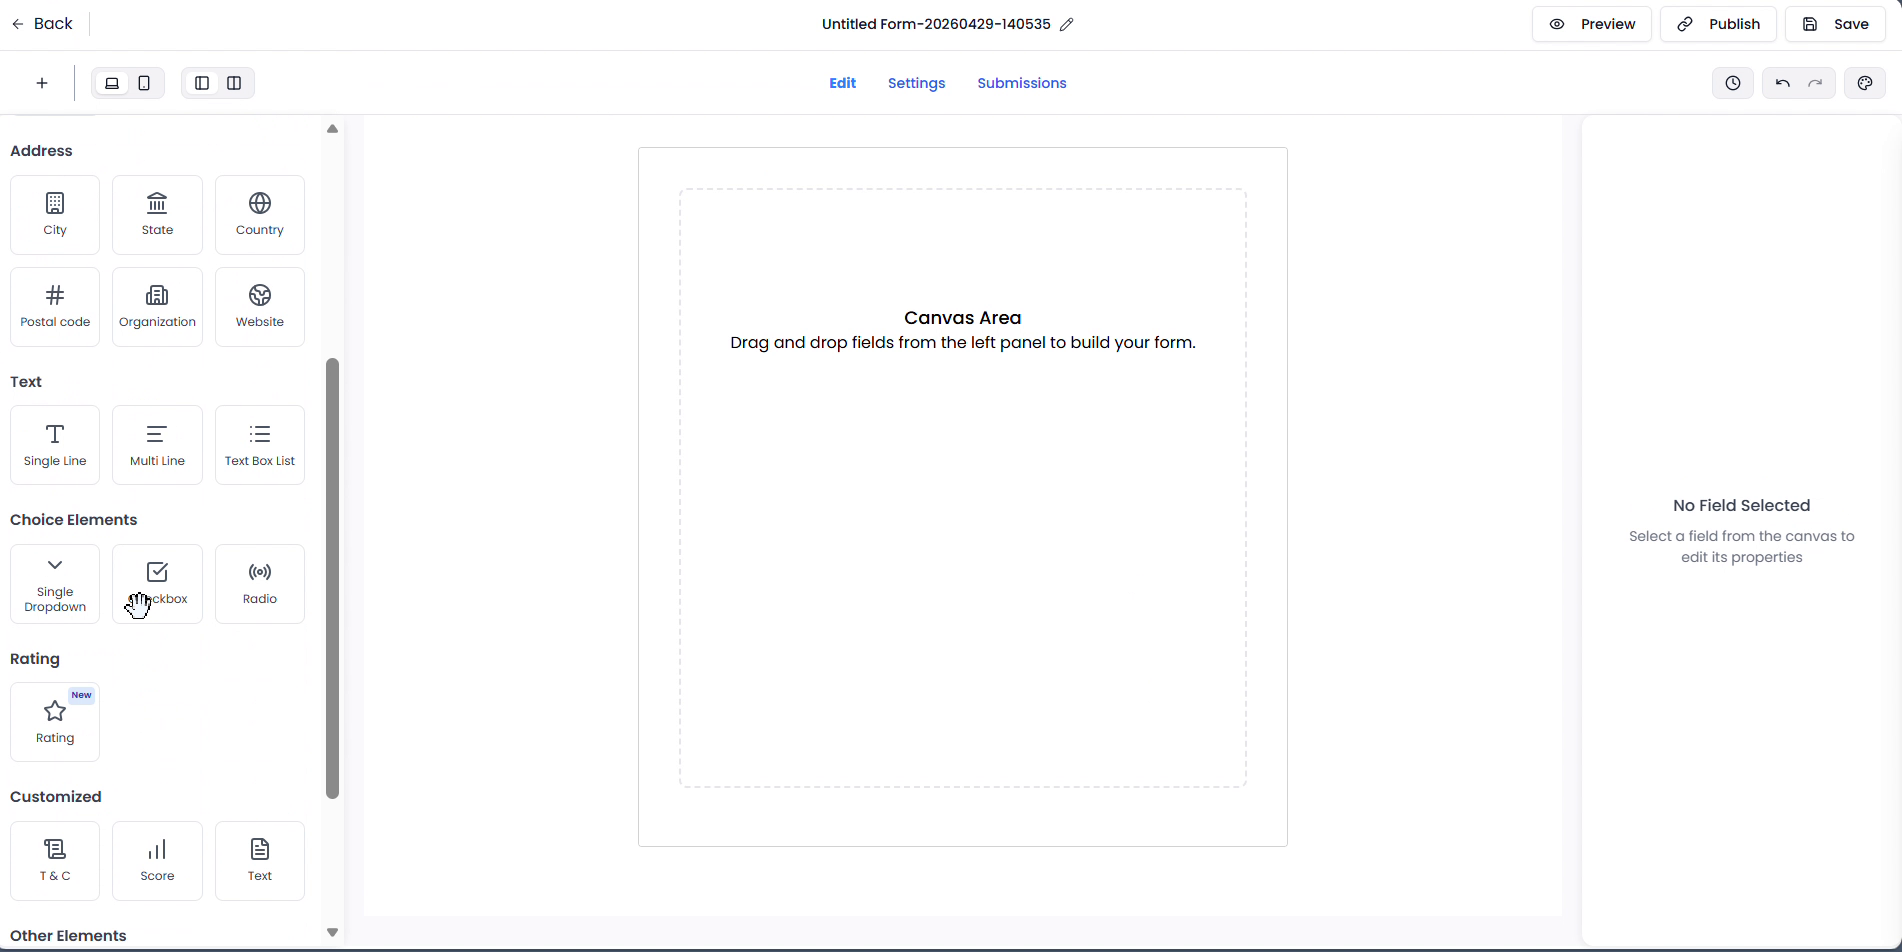 The empty form builder canvas. Available field categories: Personal Info (Full Name, First Name, Last Name, Date of Birth, Phone, Email), Submit, Address, Text, Choice Elements, Rating, Customized, and Other Elements.
Adding & Configuring Fields
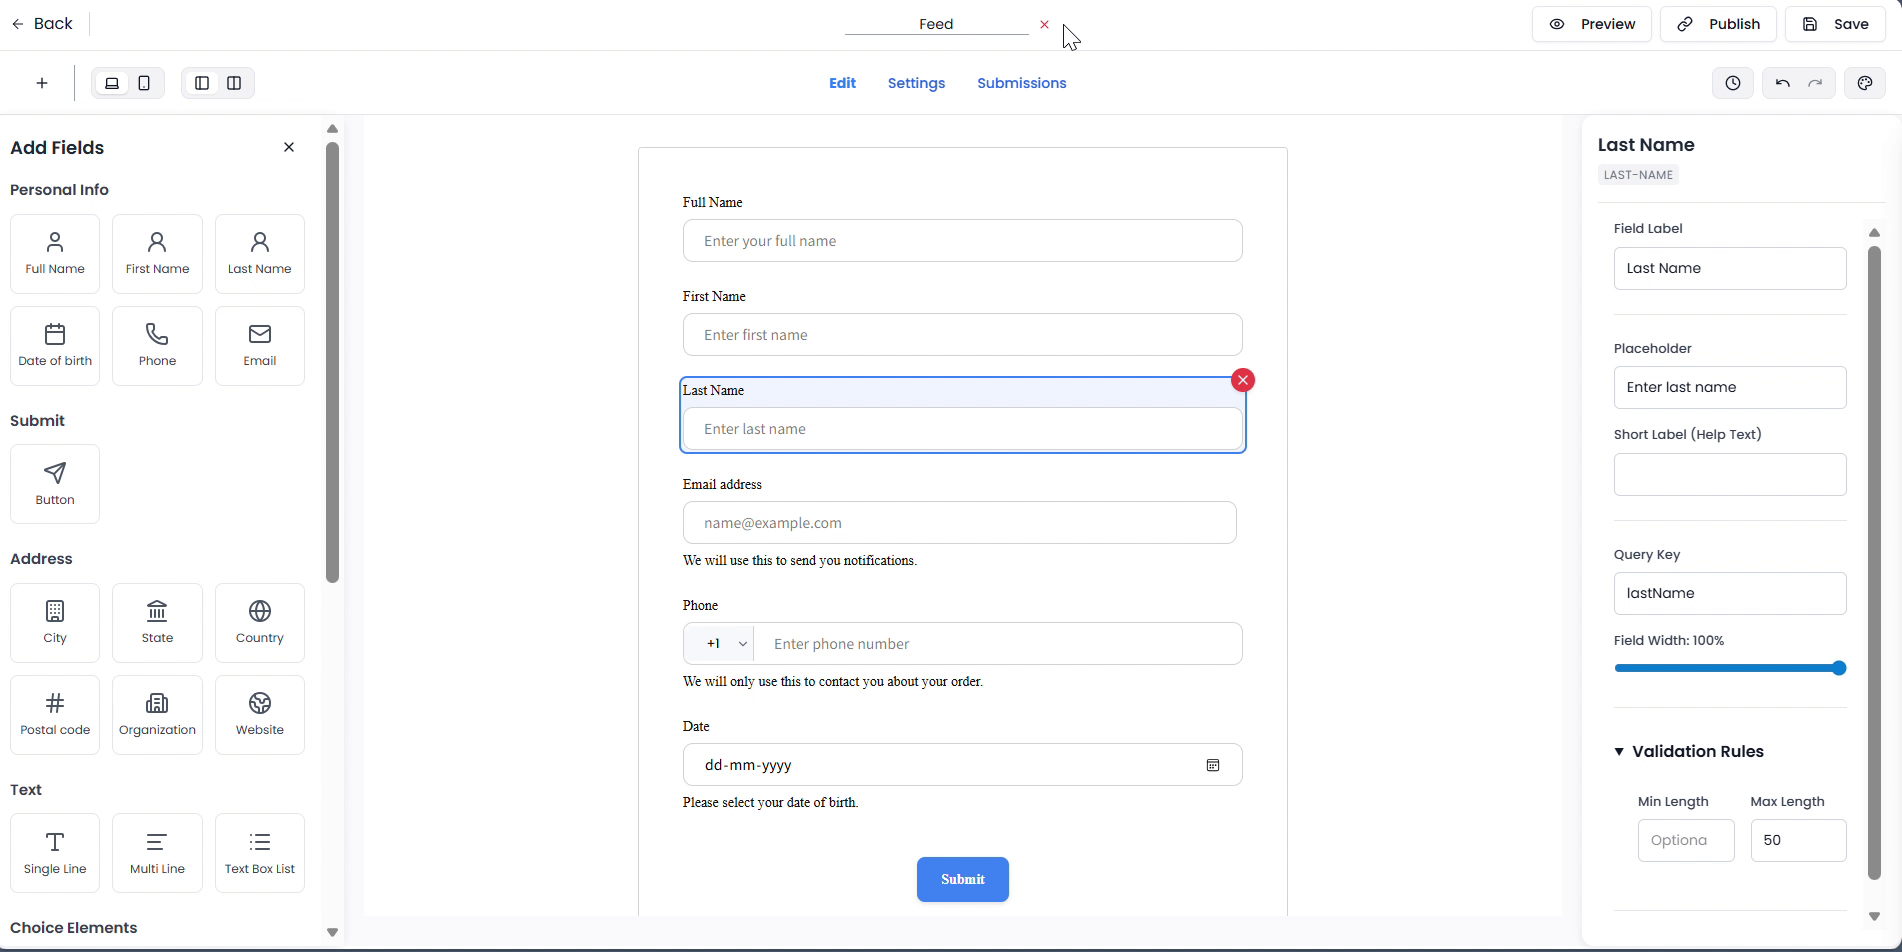
Click or drag a field from the left panel to add it. When selected, its settings appear in the right panel.
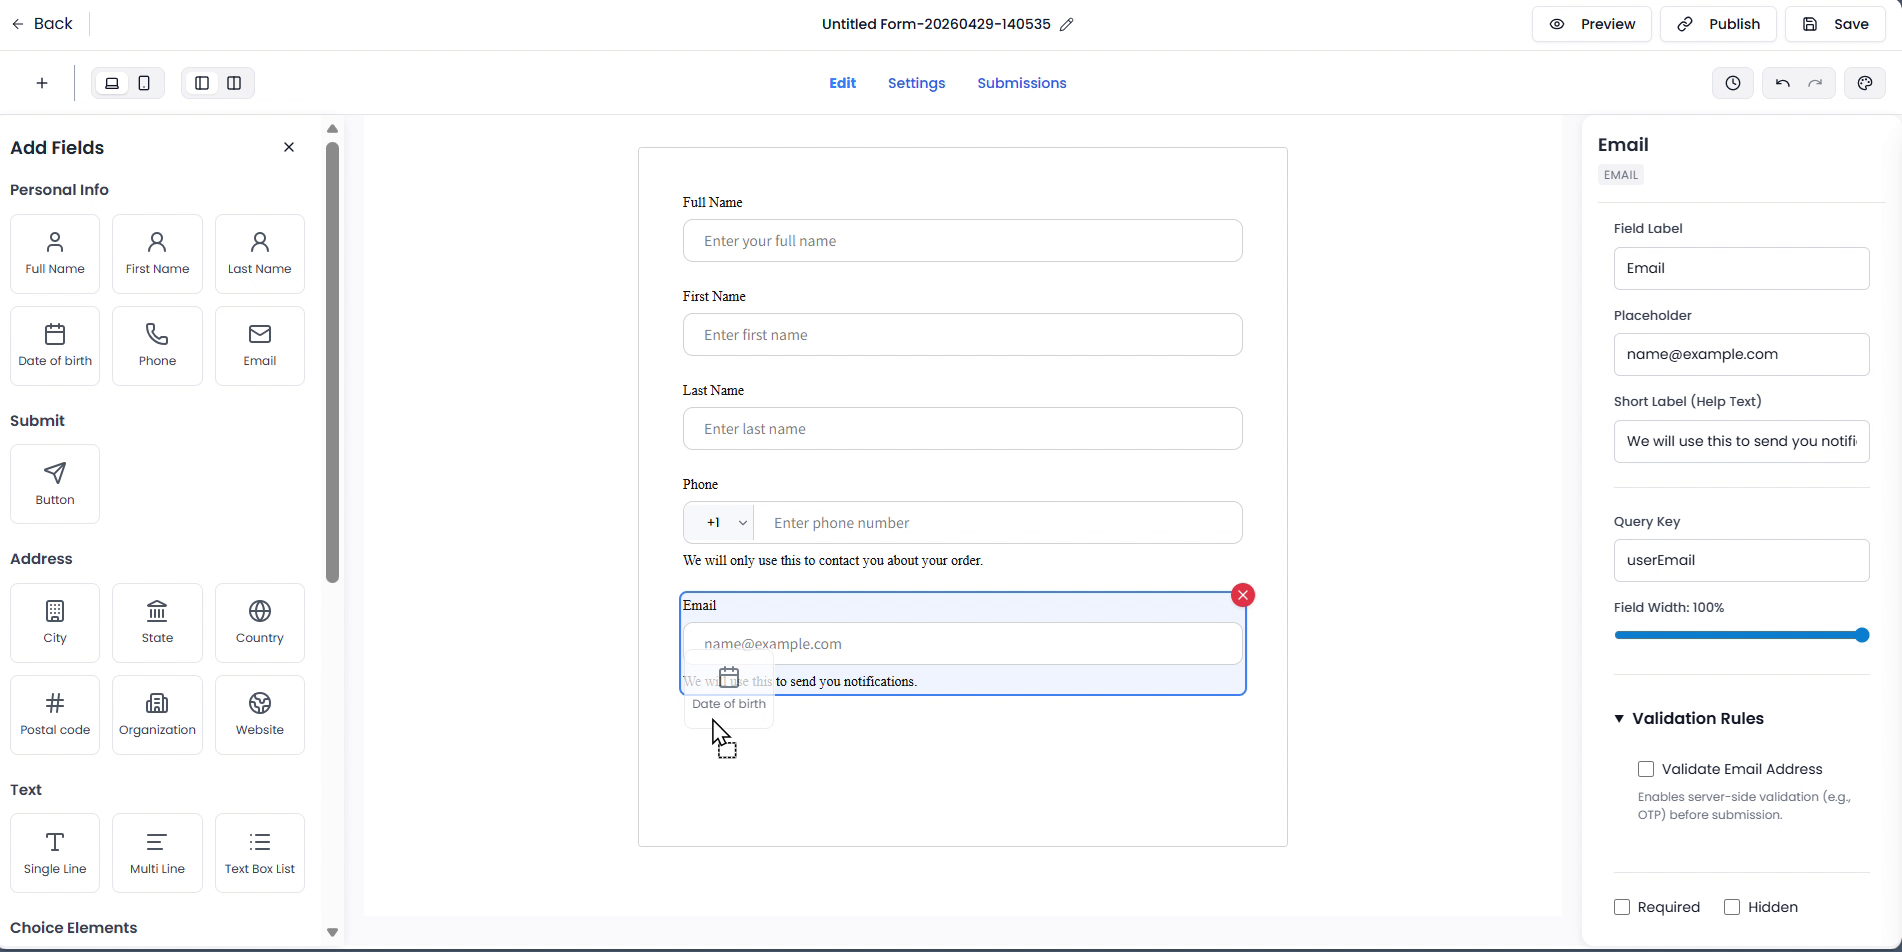 With the Email field selected, the right panel shows its settings. Configure the label, placeholder, help text, query key, field width, and validation rules per field.
| Setting | Description |
|---|---|
| Field Label | The visible label shown above the field |
| Placeholder | Hint text shown inside the field |
| Short Label (Help Text) | Additional guidance shown below the field |
| Query Key | The key used to identify this field in submission data |
| Field Width | Controls how wide the field appears (e.g. 100%) |
| Validation Rules | Required, Hidden, and format-specific validation options |
Editing Field Labels
Click any field on the canvas to select it and update its label directly in the right panel.
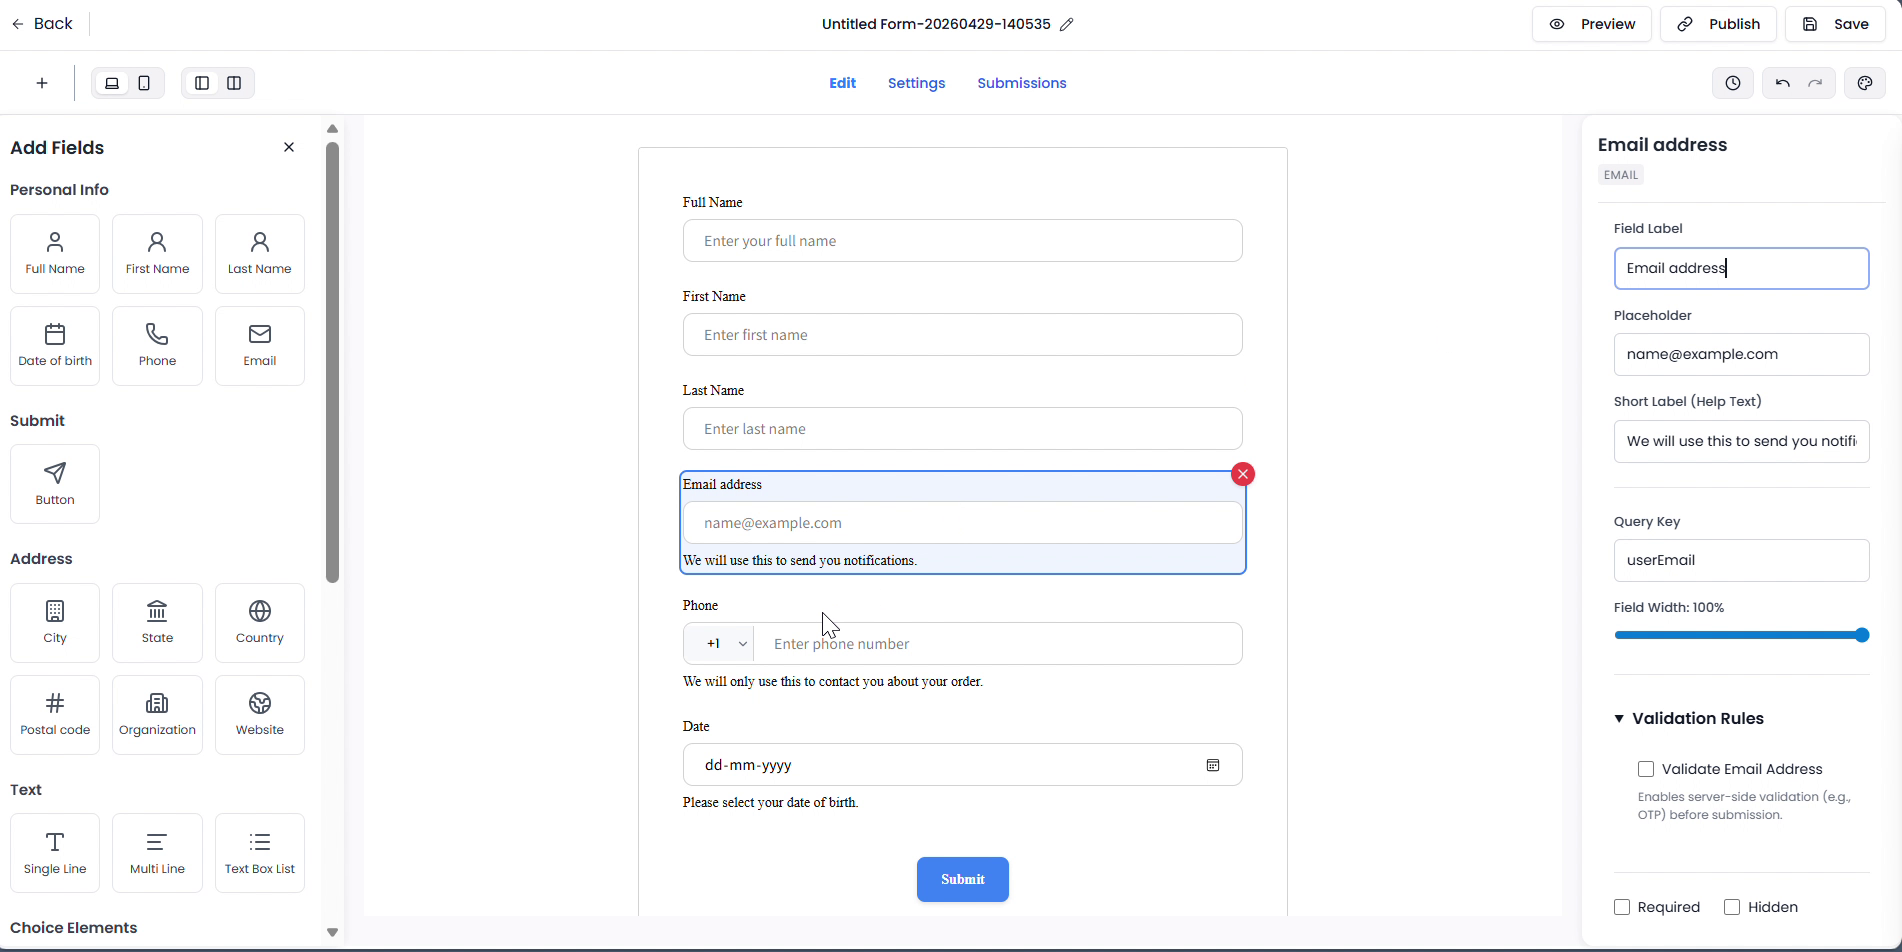 Clicking the Email field opens its settings on the right. Update the Field Label, Query Key, placeholder, and validation rules as needed.
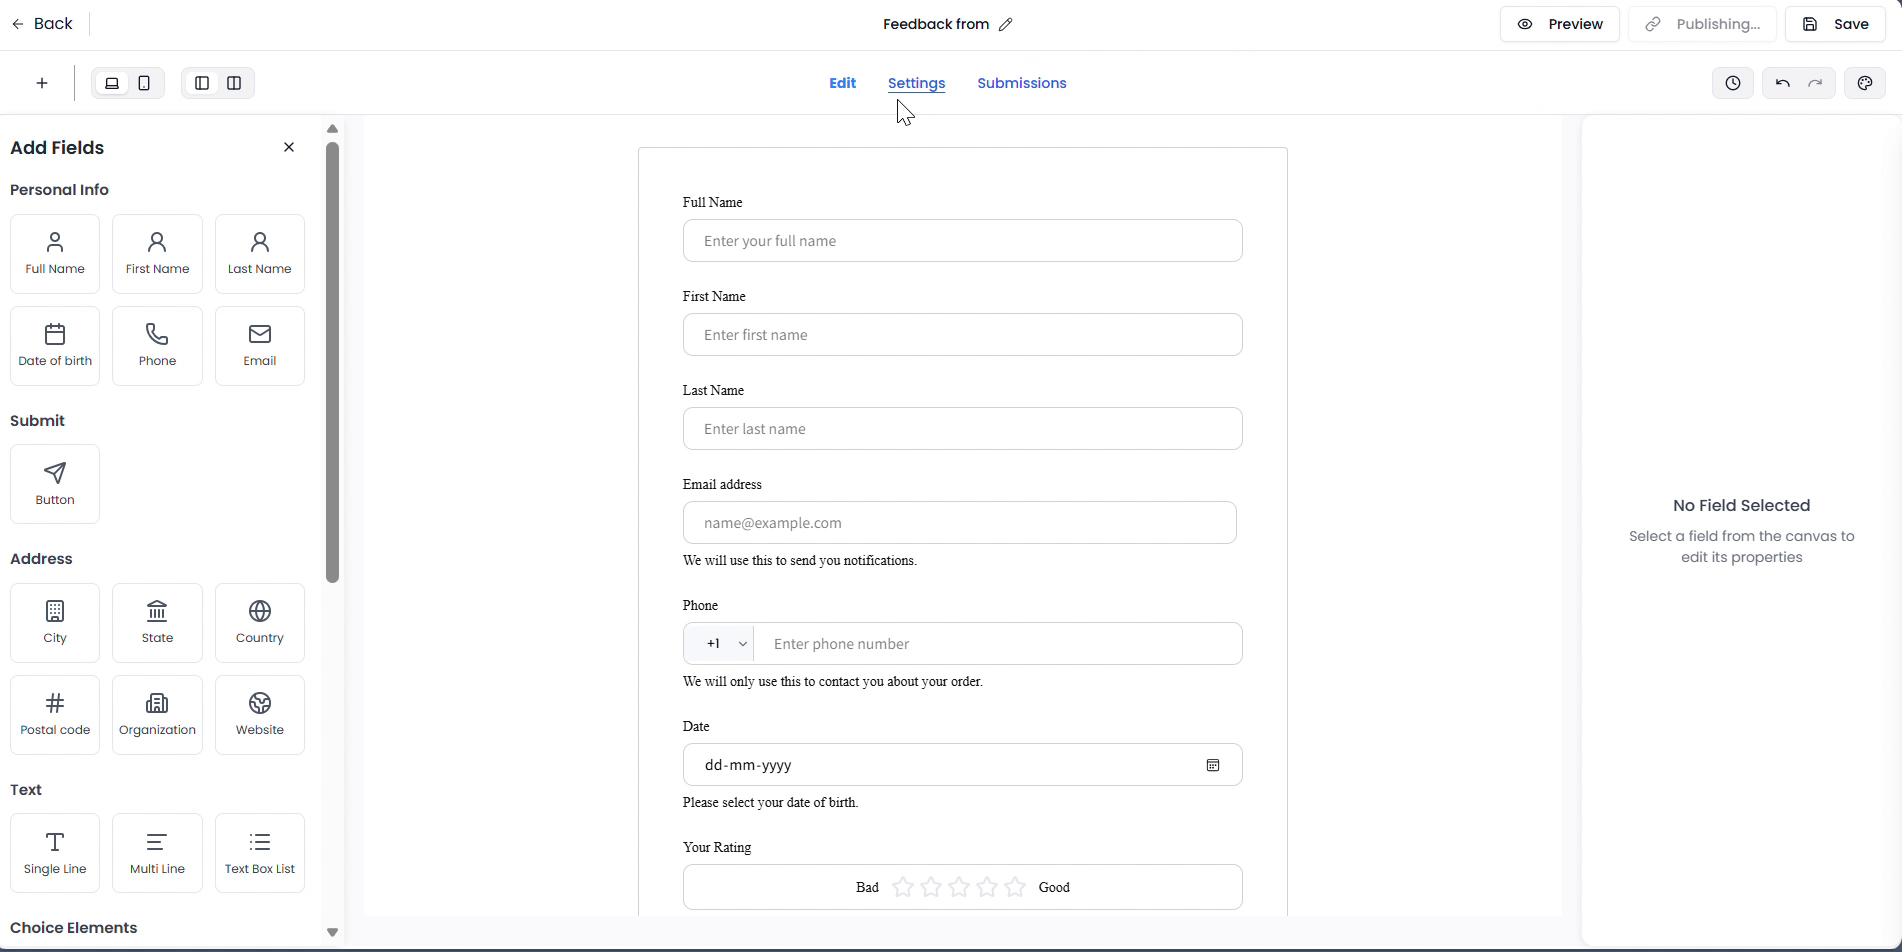
Step 3 — Name & Save the Form
Click the form title at the top centre (shown as "Untitled Form-...") to rename it. Type your desired name and press Enter or click away to confirm. Then click Save to store it as a draft.
 Click the pencil icon or the title text to rename the form.
 The completed form with all fields added. Click Save in the top-right to store it as a draft before publishing.
Step 4 — Publish the Form
When the form is ready, click Publish in the top-right corner. The button changes to Publishing… while the form goes live.
 After clicking Publish, the button shows Publishing… while the form is being activated.
Once published, go back to the Forms list. The form shows a Published status badge. Click the copy icon in the Link URL column to copy the shareable link.
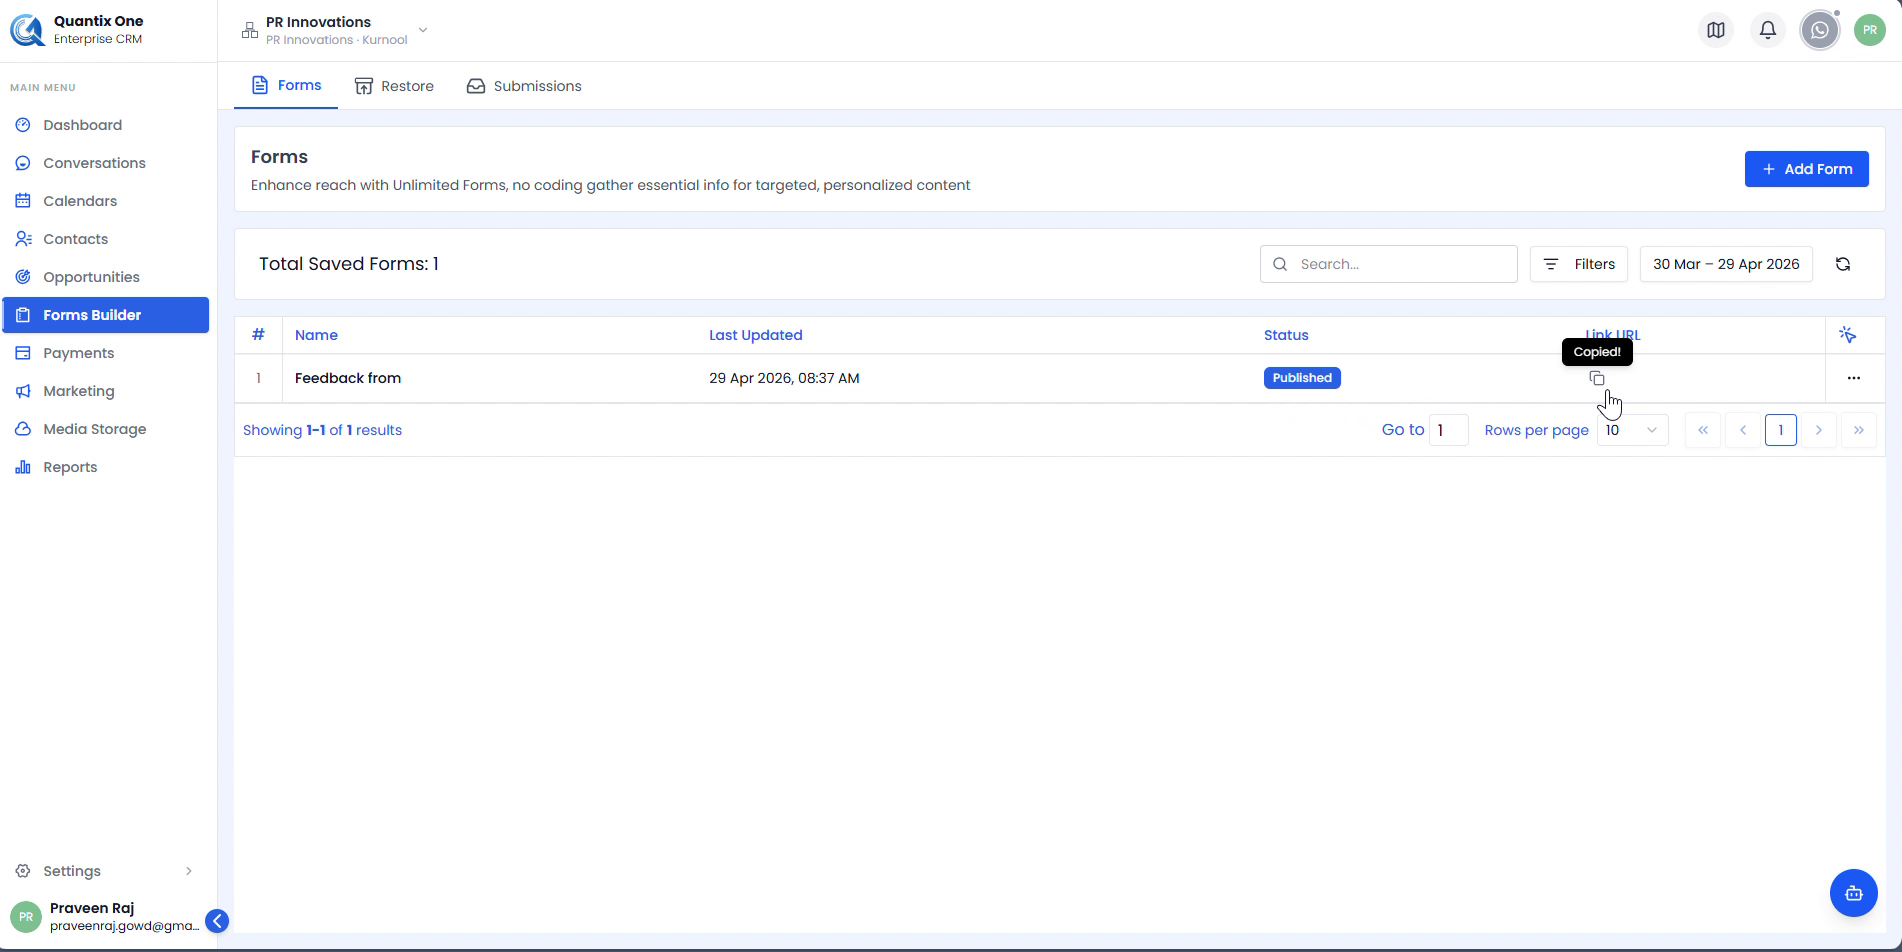 The Forms list showing the Published badge. Click the copy icon to copy the shareable link — a Copied! tooltip confirms it's in your clipboard.
Note: Only published forms accept responses. Forms in Draft status are not accessible to respondents via the link.
Video Walkthrough
Watch the complete Form Creation and Publish walkthrough below.