Form Creation from Templates
The Forms Builder includes a Template Library with pre-built form layouts for common use cases. Instead of starting from scratch, pick a template, customize it to your needs, and publish — ready to collect responses in minutes.
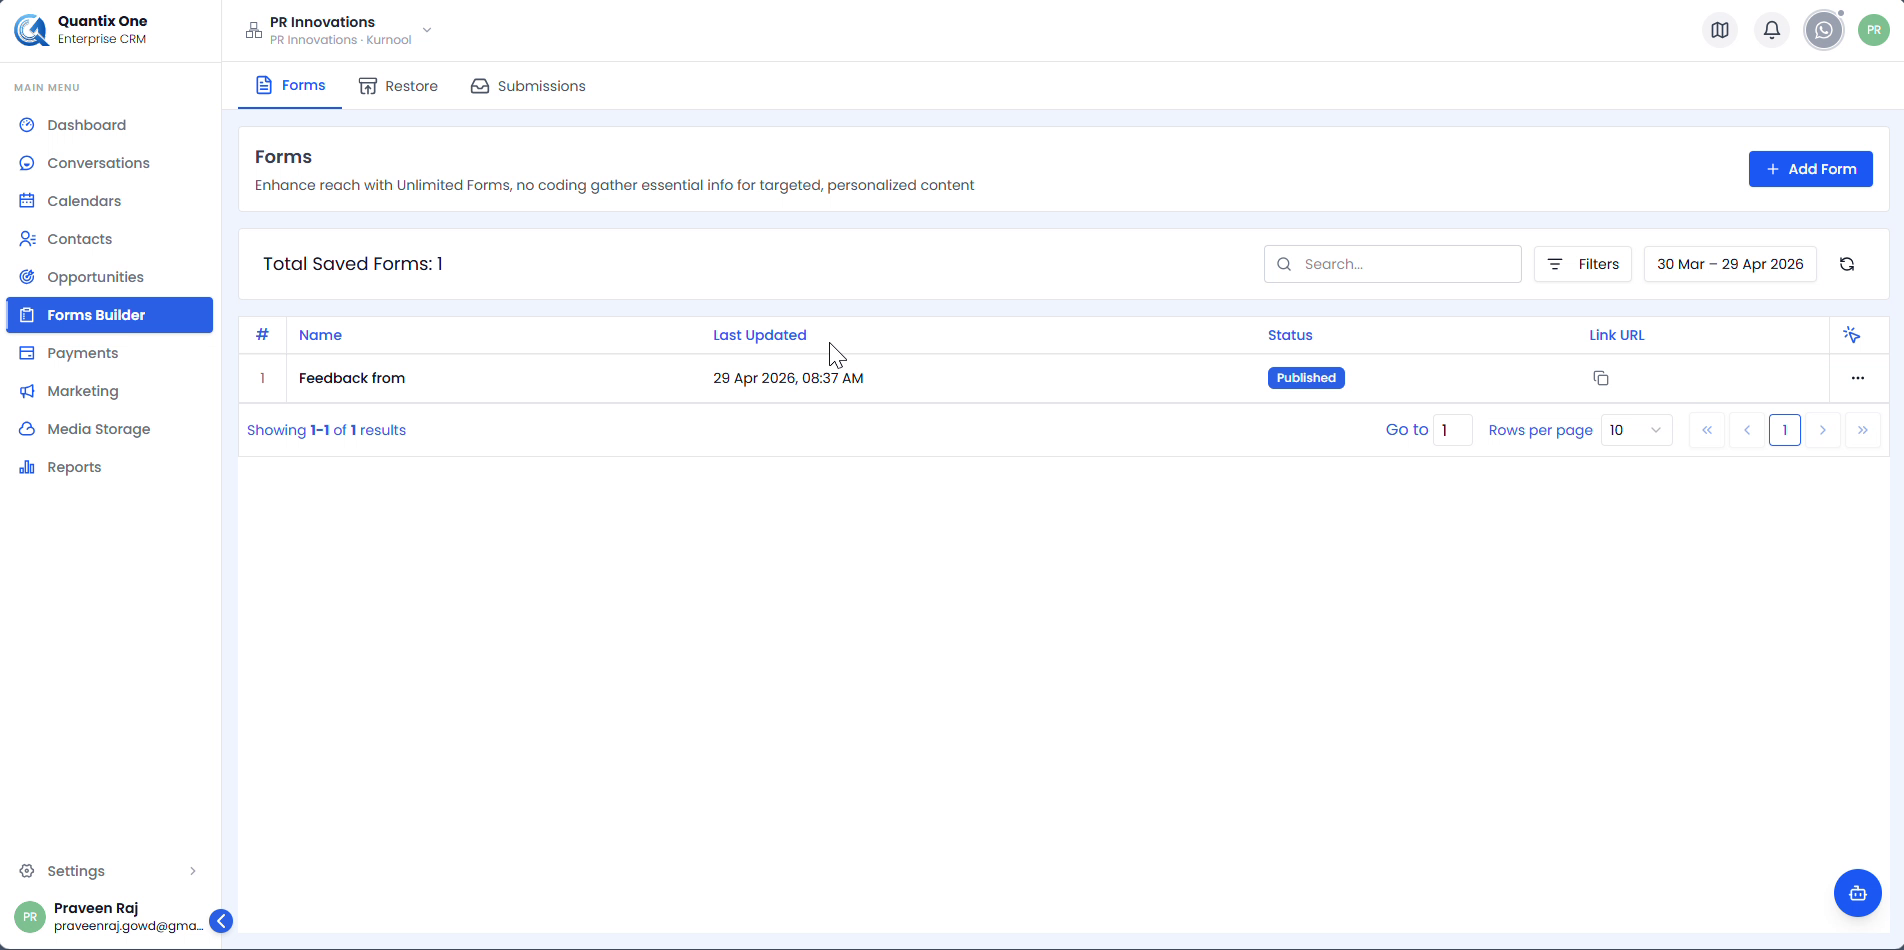
Step 1 — Open the Template Library
Click + Add Form from the Forms list. QuantixOne CRM opens the Template Library automatically — a grid of ready-made templates organized by category.
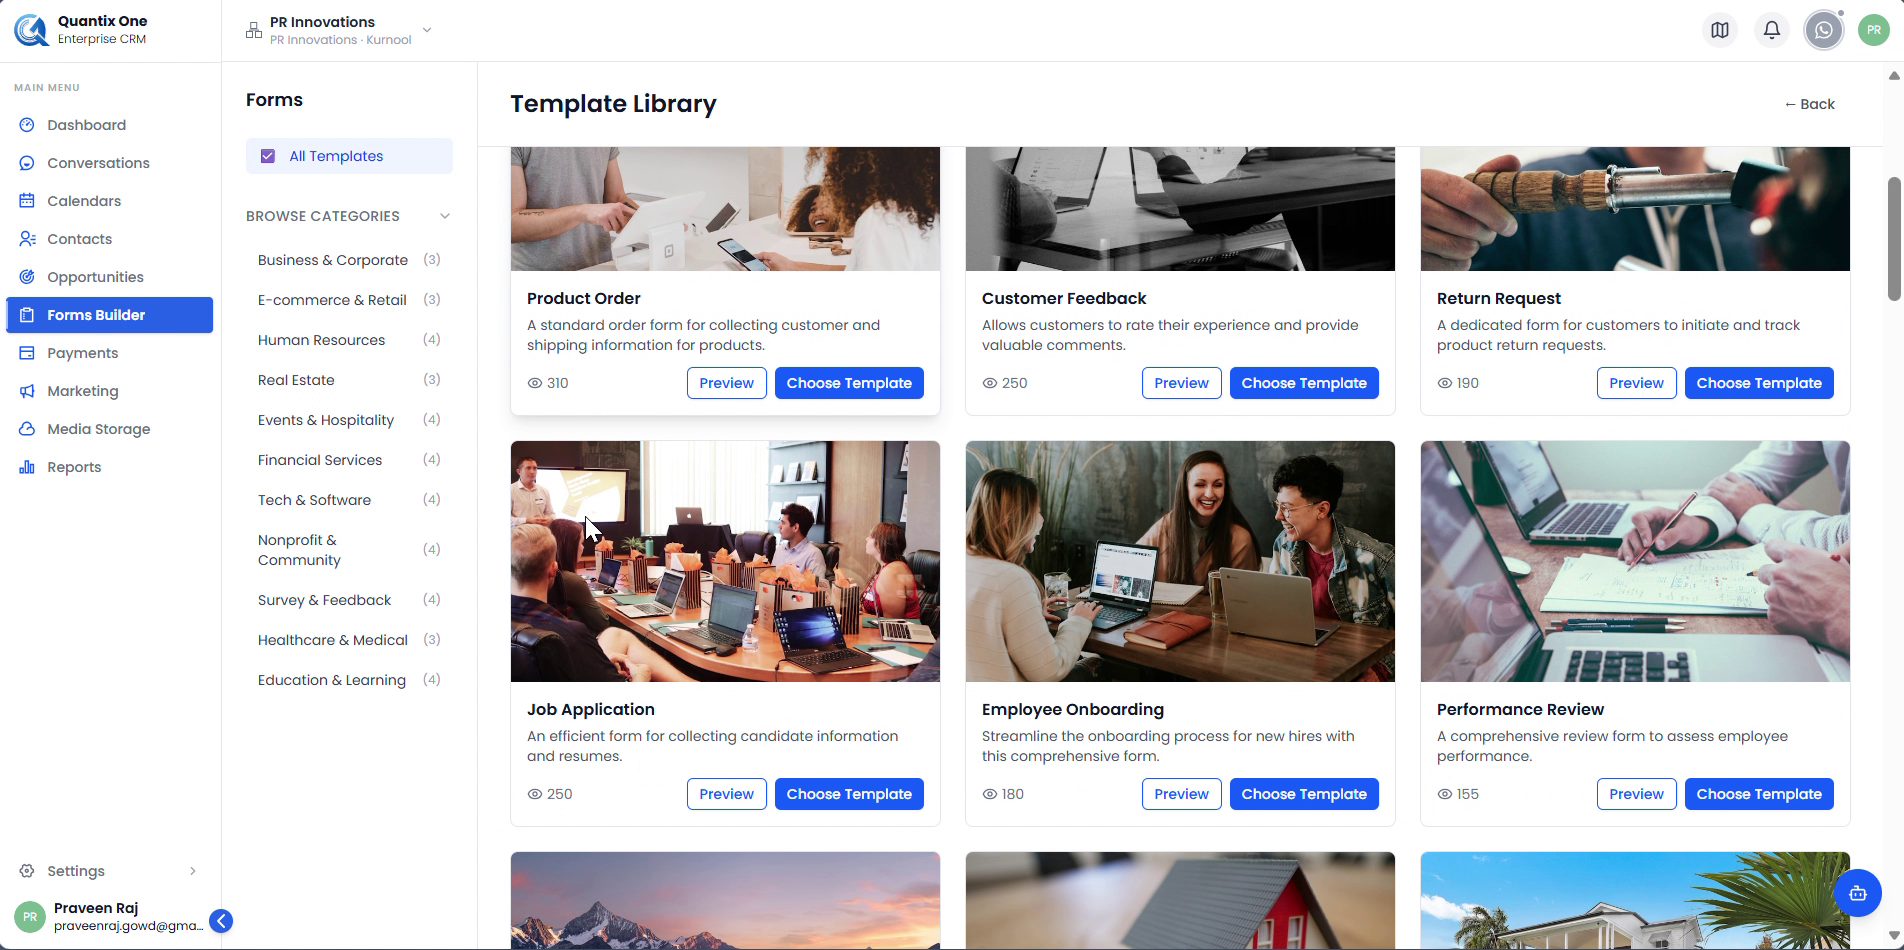
 The Template Library showing categories on the left — Business & Corporate, eCommerce & Retail, Human Resources, Events & Hospitality, Financial Services, Tech & Software, Nonprofit & Community, Survey & Feedback, Healthcare & Medical, and Education & Learning. Each card has Preview and Choose Template buttons.
Step 2 — Preview and Choose a Template
Preview the Template
Click Preview on any template card to see the full form layout and all its fields before committing. Use this to confirm the template fits your use case.
 Previewing a template shows all its fields in full. Click Choose Template to load it into the builder.
Load It into the Builder
Click Choose Template to load the selected template onto the form builder canvas. The fields are pre-populated and the form is given a default name (e.g., "Untitled Form-...").
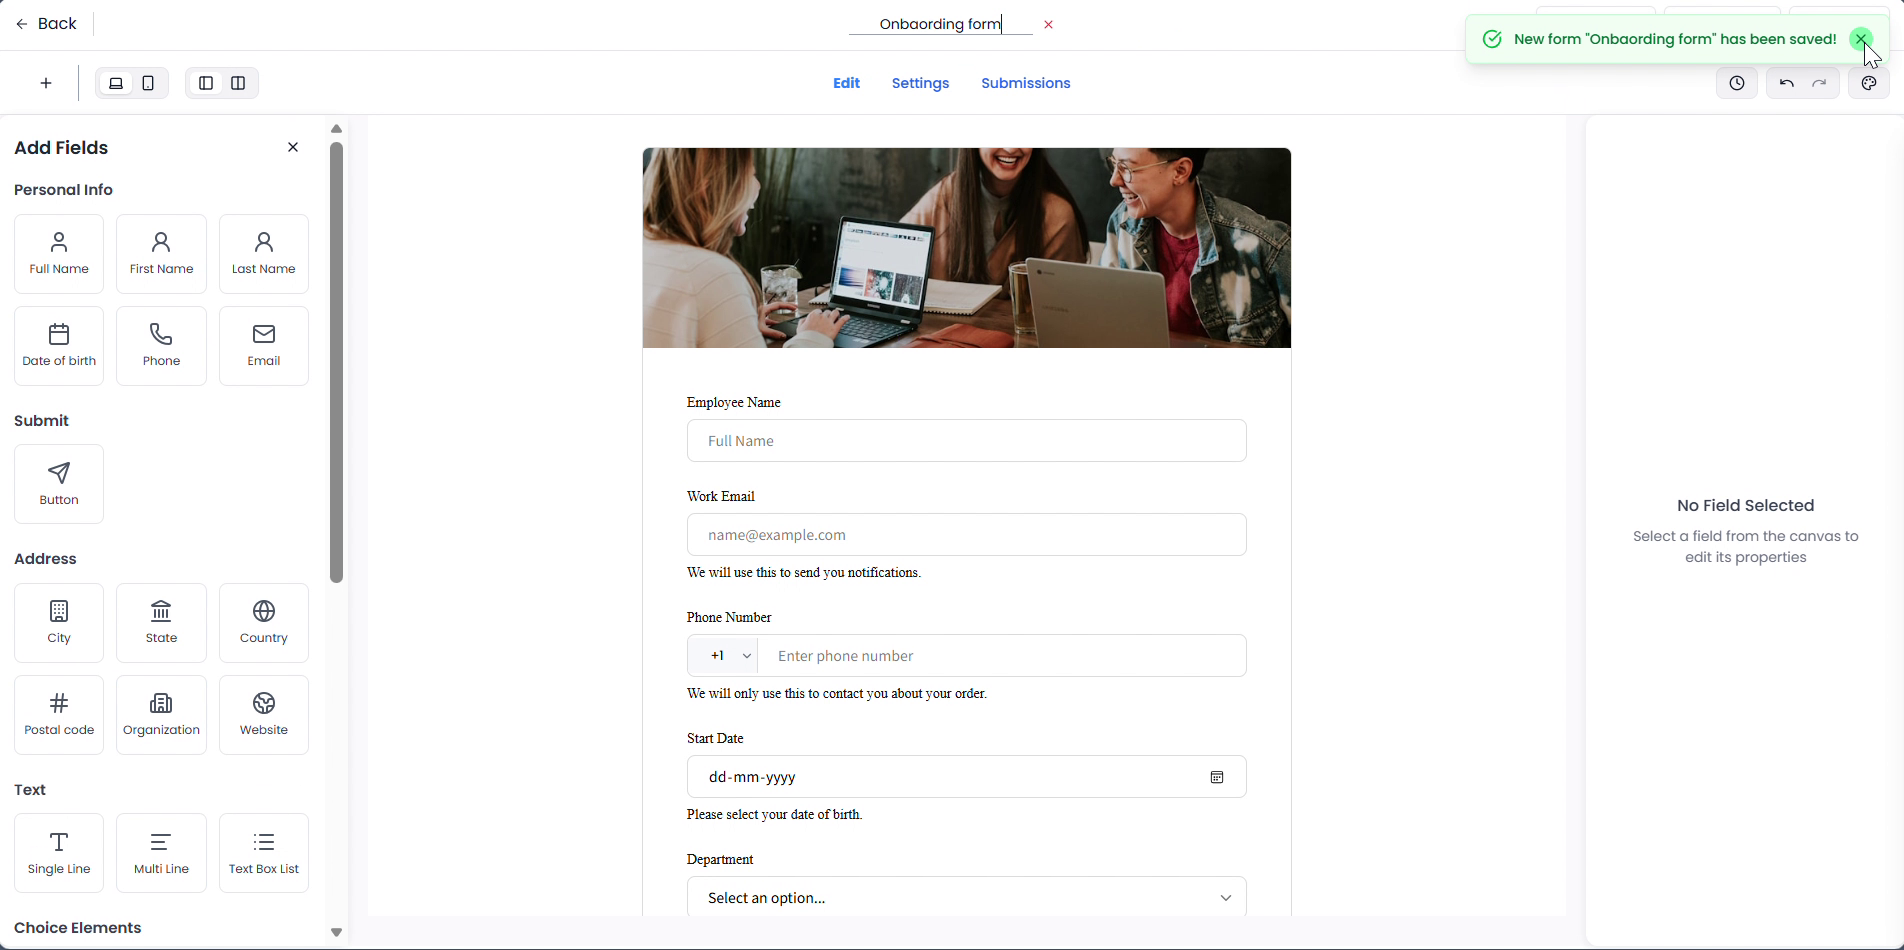
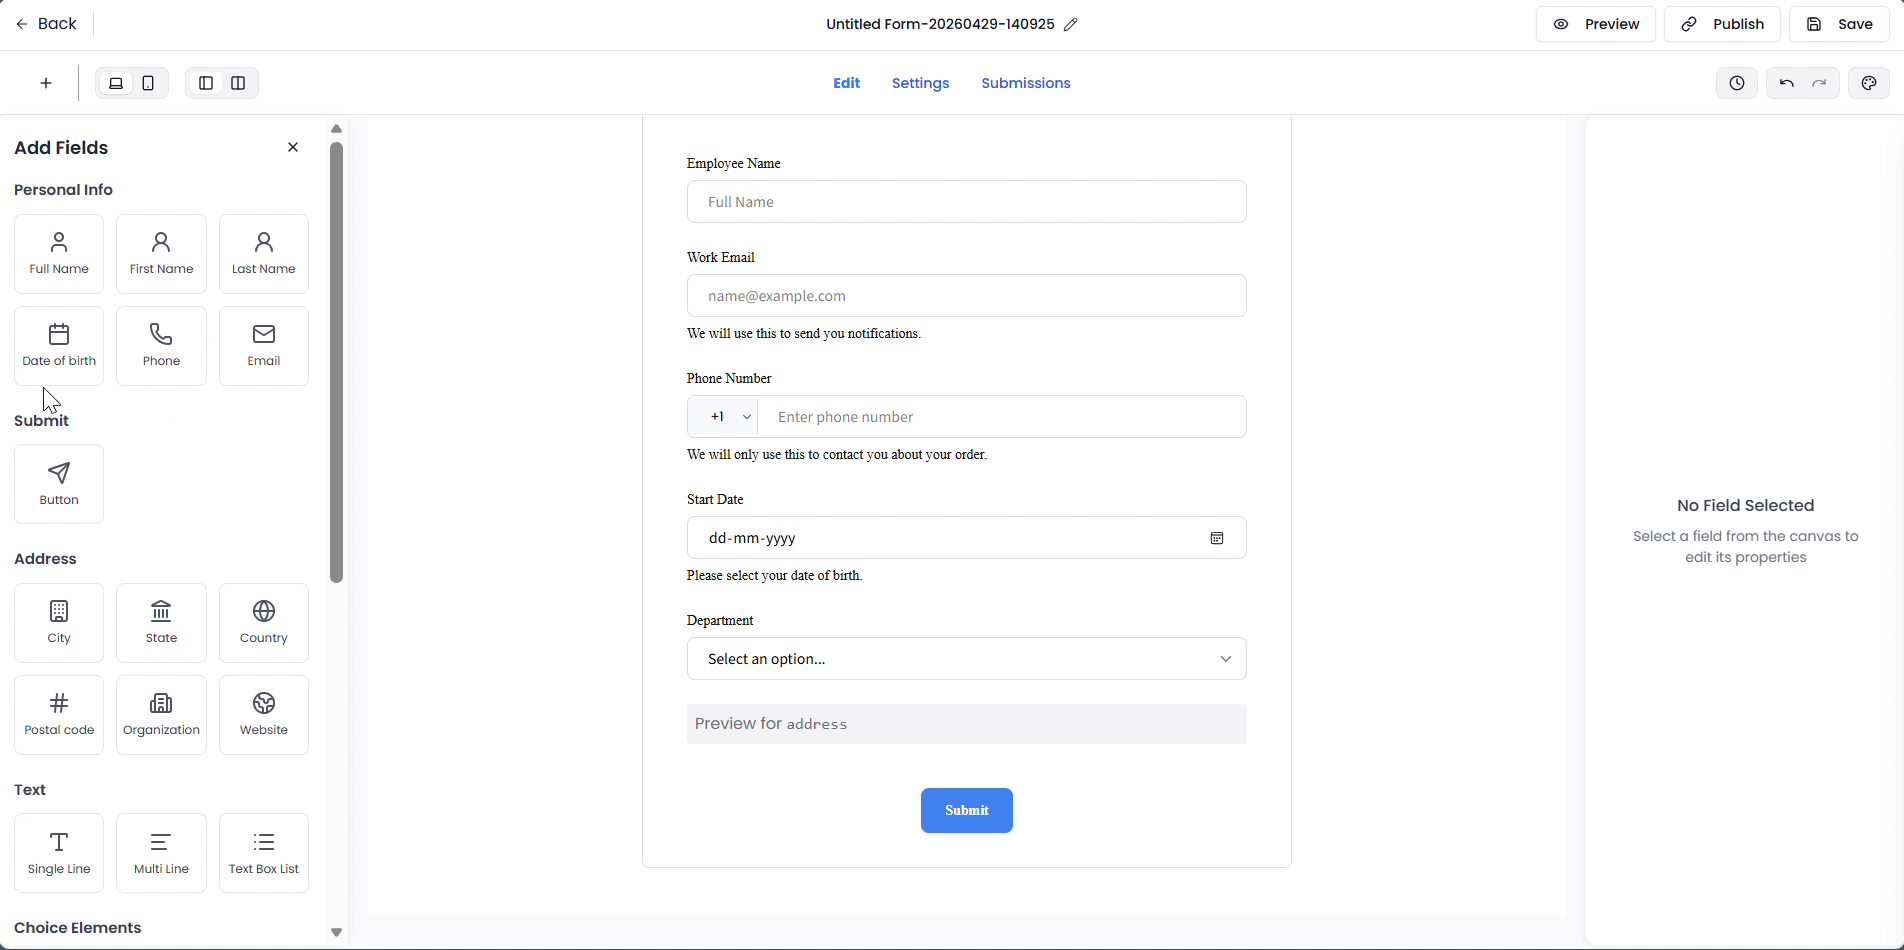 The Employee Onboarding template loaded in the builder with pre-populated fields — Employee Name, Work Email, Phone Number, Start Date, and Department. Add more fields from the left panel or click any field to edit its settings on the right.
Step 3 — Customize the Template
Click any field on the canvas to select it and open its settings in the right panel. You can update the label, placeholder, help text, query key, field width, and validation rules. Drag fields to reorder them or add new ones from the left panel.
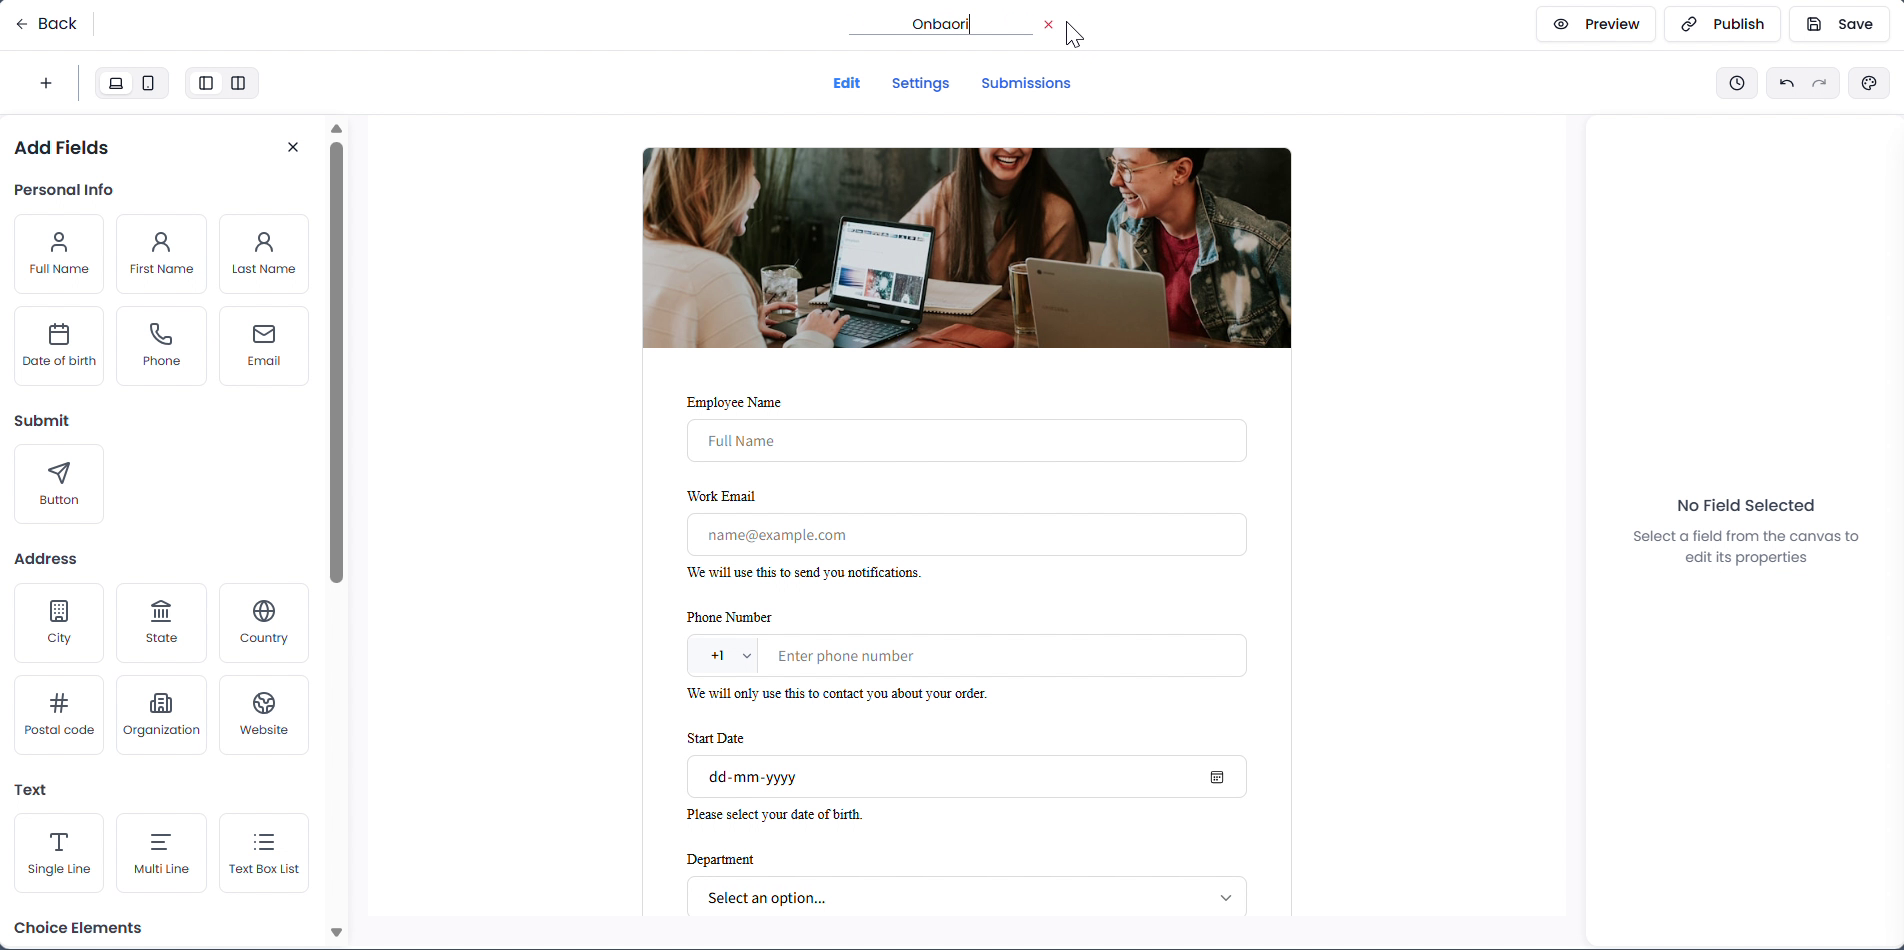 Click the form title at the top to rename it. The title input becomes active and accepts your new form name.
Note: Template fields can be fully added, edited, or removed just like a form built from scratch. Choosing a template does not restrict customization in any way.
Step 4 — Name, Save & Publish
Click the form title at the top to rename it, then click Save in the top-right corner to store it as a draft.
 After saving, the form appears in the Forms list as Onboarding form with a Draft status — ready to edit further or publish.
When the form is ready, click Publish in the builder toolbar to make it live. The status changes from Draft to Published in the Forms list and the Link URL copy button becomes active.
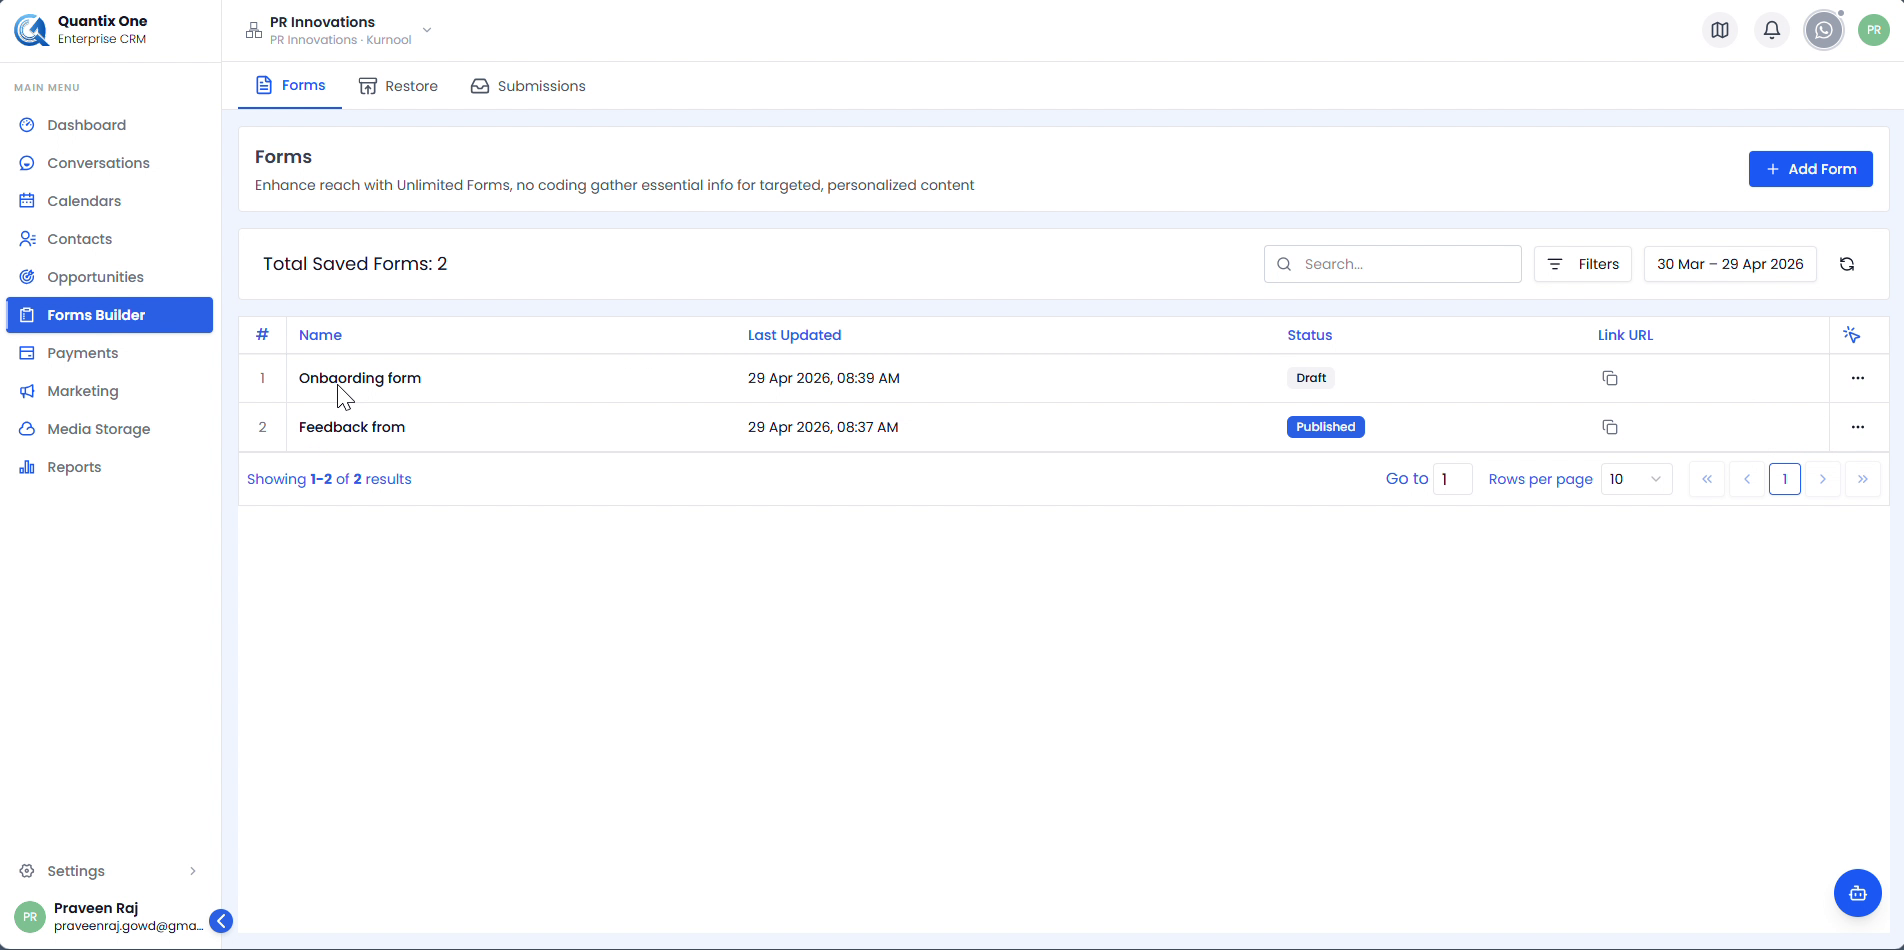 Both forms showing Published status. Click the copy icon in the Link URL column to copy the shareable link — a Copy tooltip confirms it's in your clipboard.
Video Walkthrough
Watch the complete Form Creation from Templates walkthrough below for a step-by-step visual guide.