Compose an Email
You can send an email to any contact directly from their conversation thread. The email composer supports rich text formatting, HTML templates, attachments, trigger links, and scheduled delivery.
Opening the Email Composer
- Open a contact's conversation (click Conversations in the left sidebar, then select the contact).
- In the message composer at the bottom of the screen, click the Email tab.
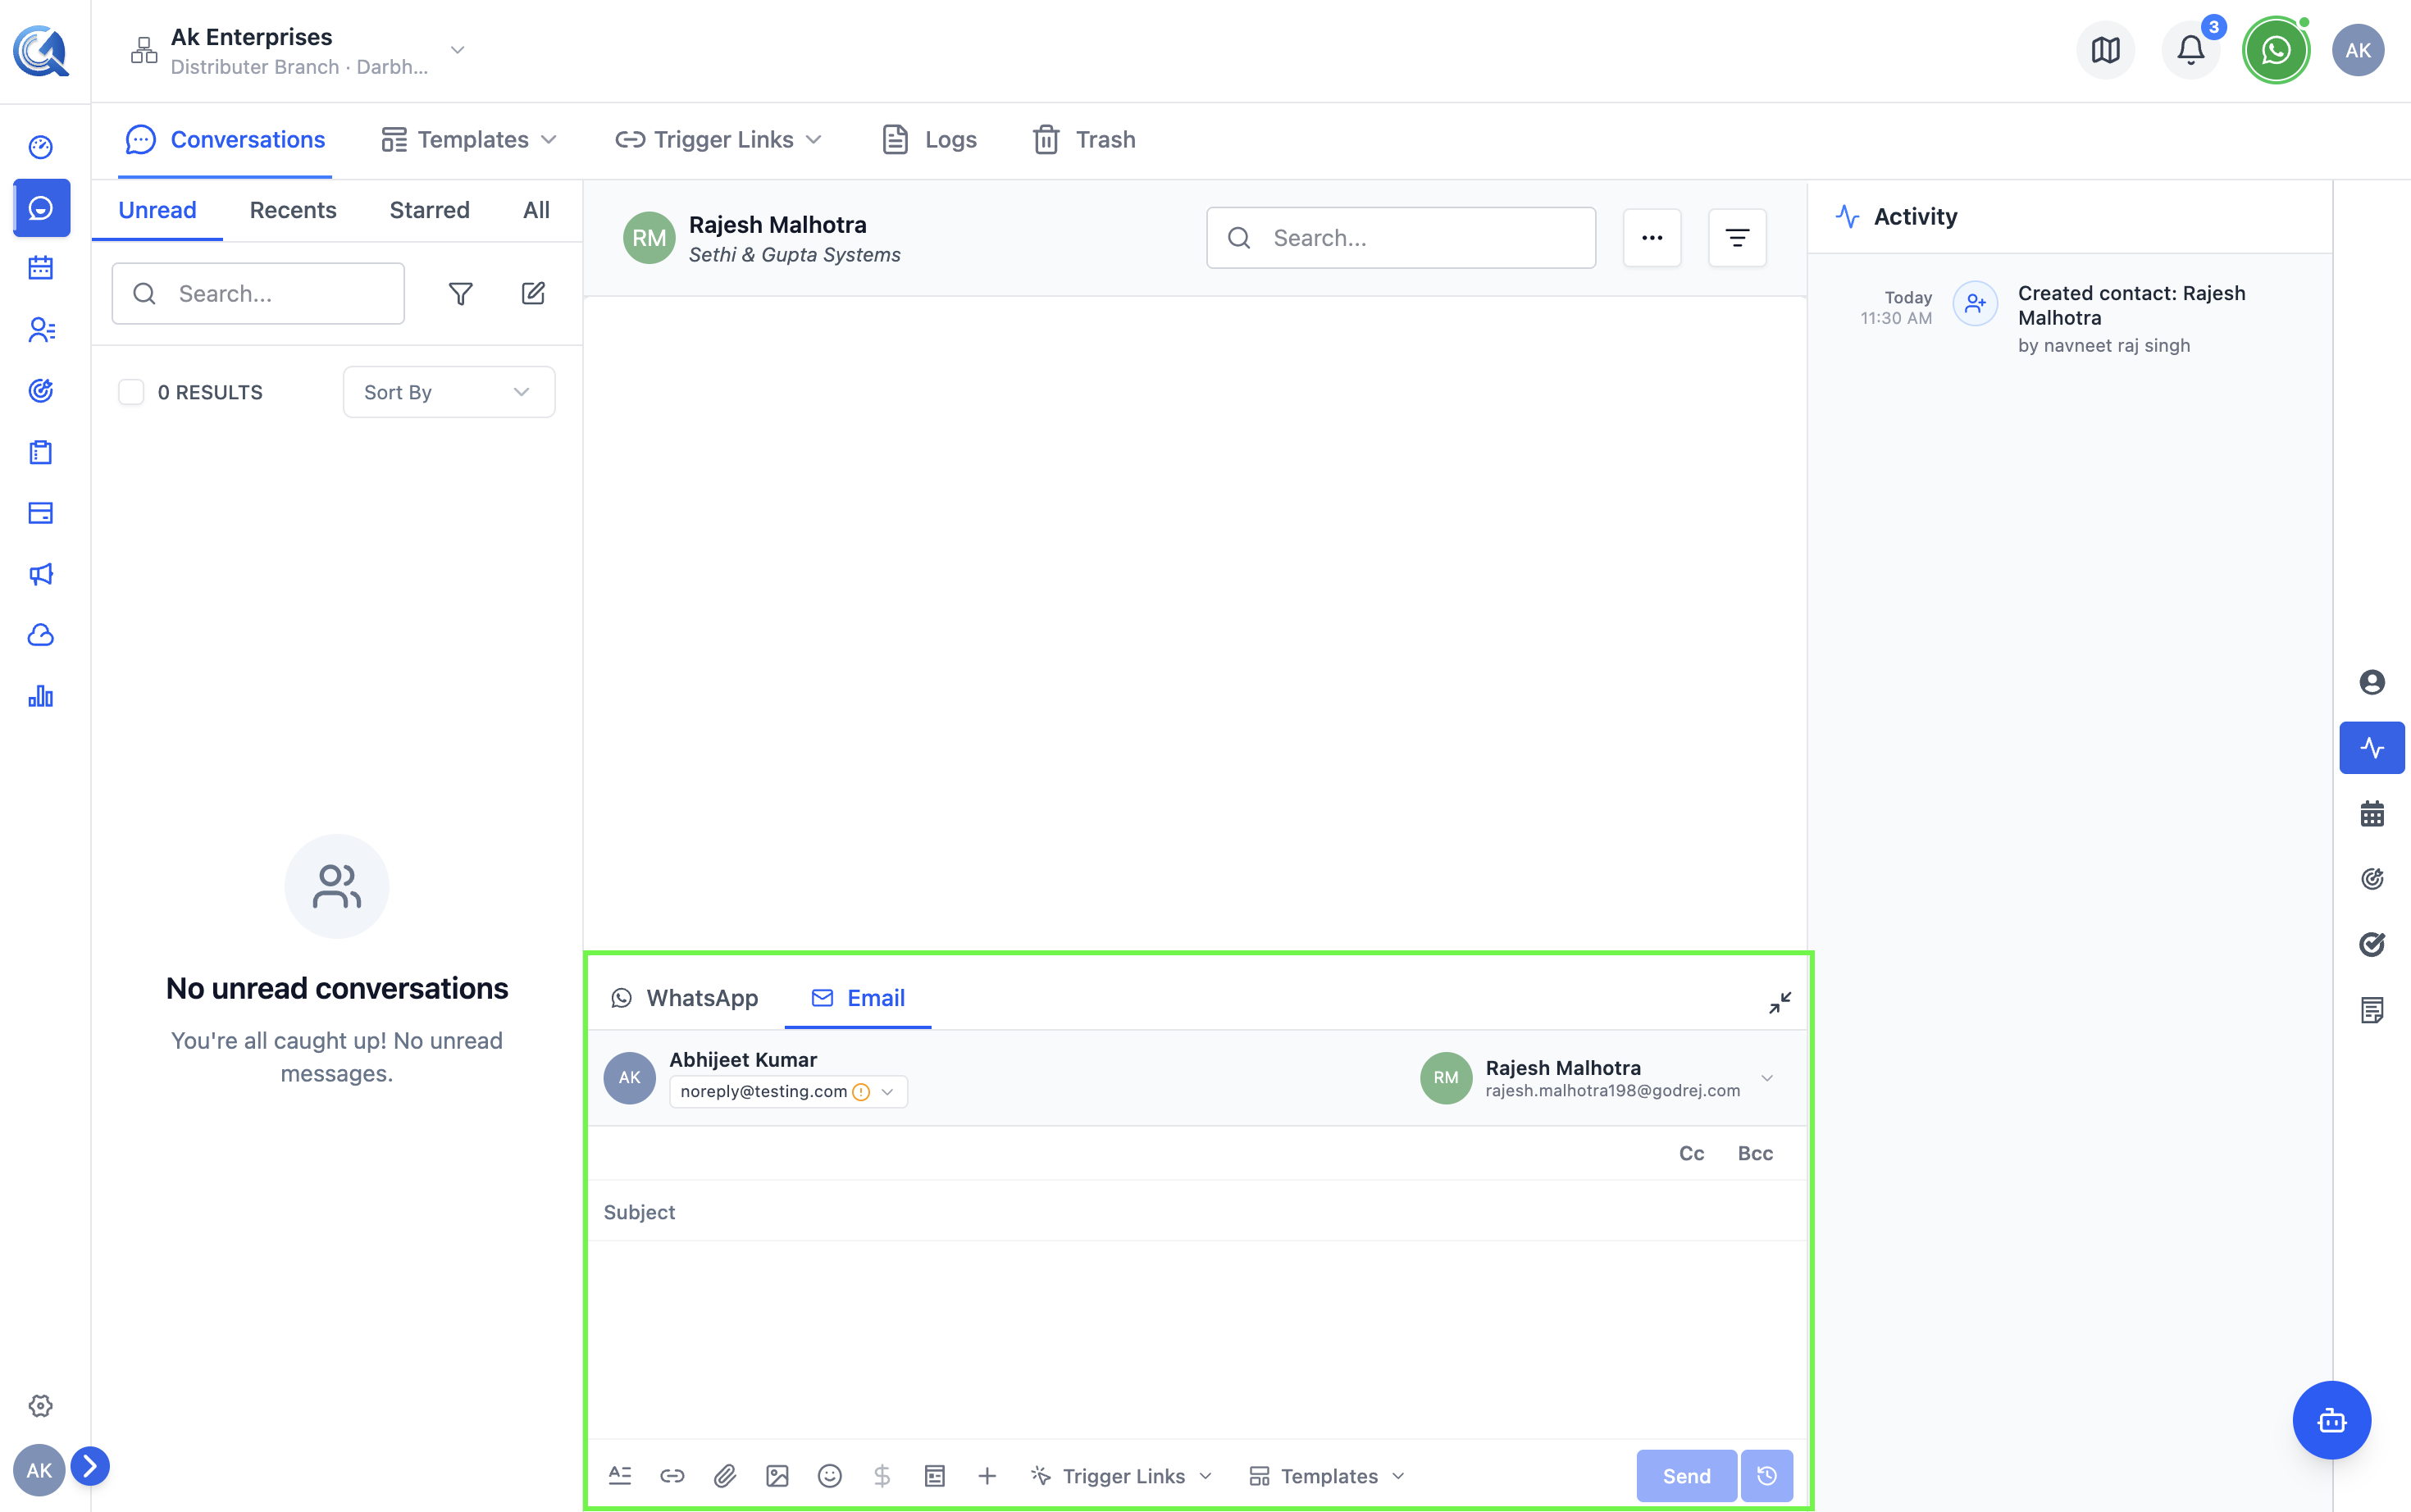 Click the Email tab to switch the composer to email mode.
Selecting a From Address
Before writing your message, choose which email address to send from:
- Click the From dropdown at the top of the composer.
- Select one of your verified sender identities.
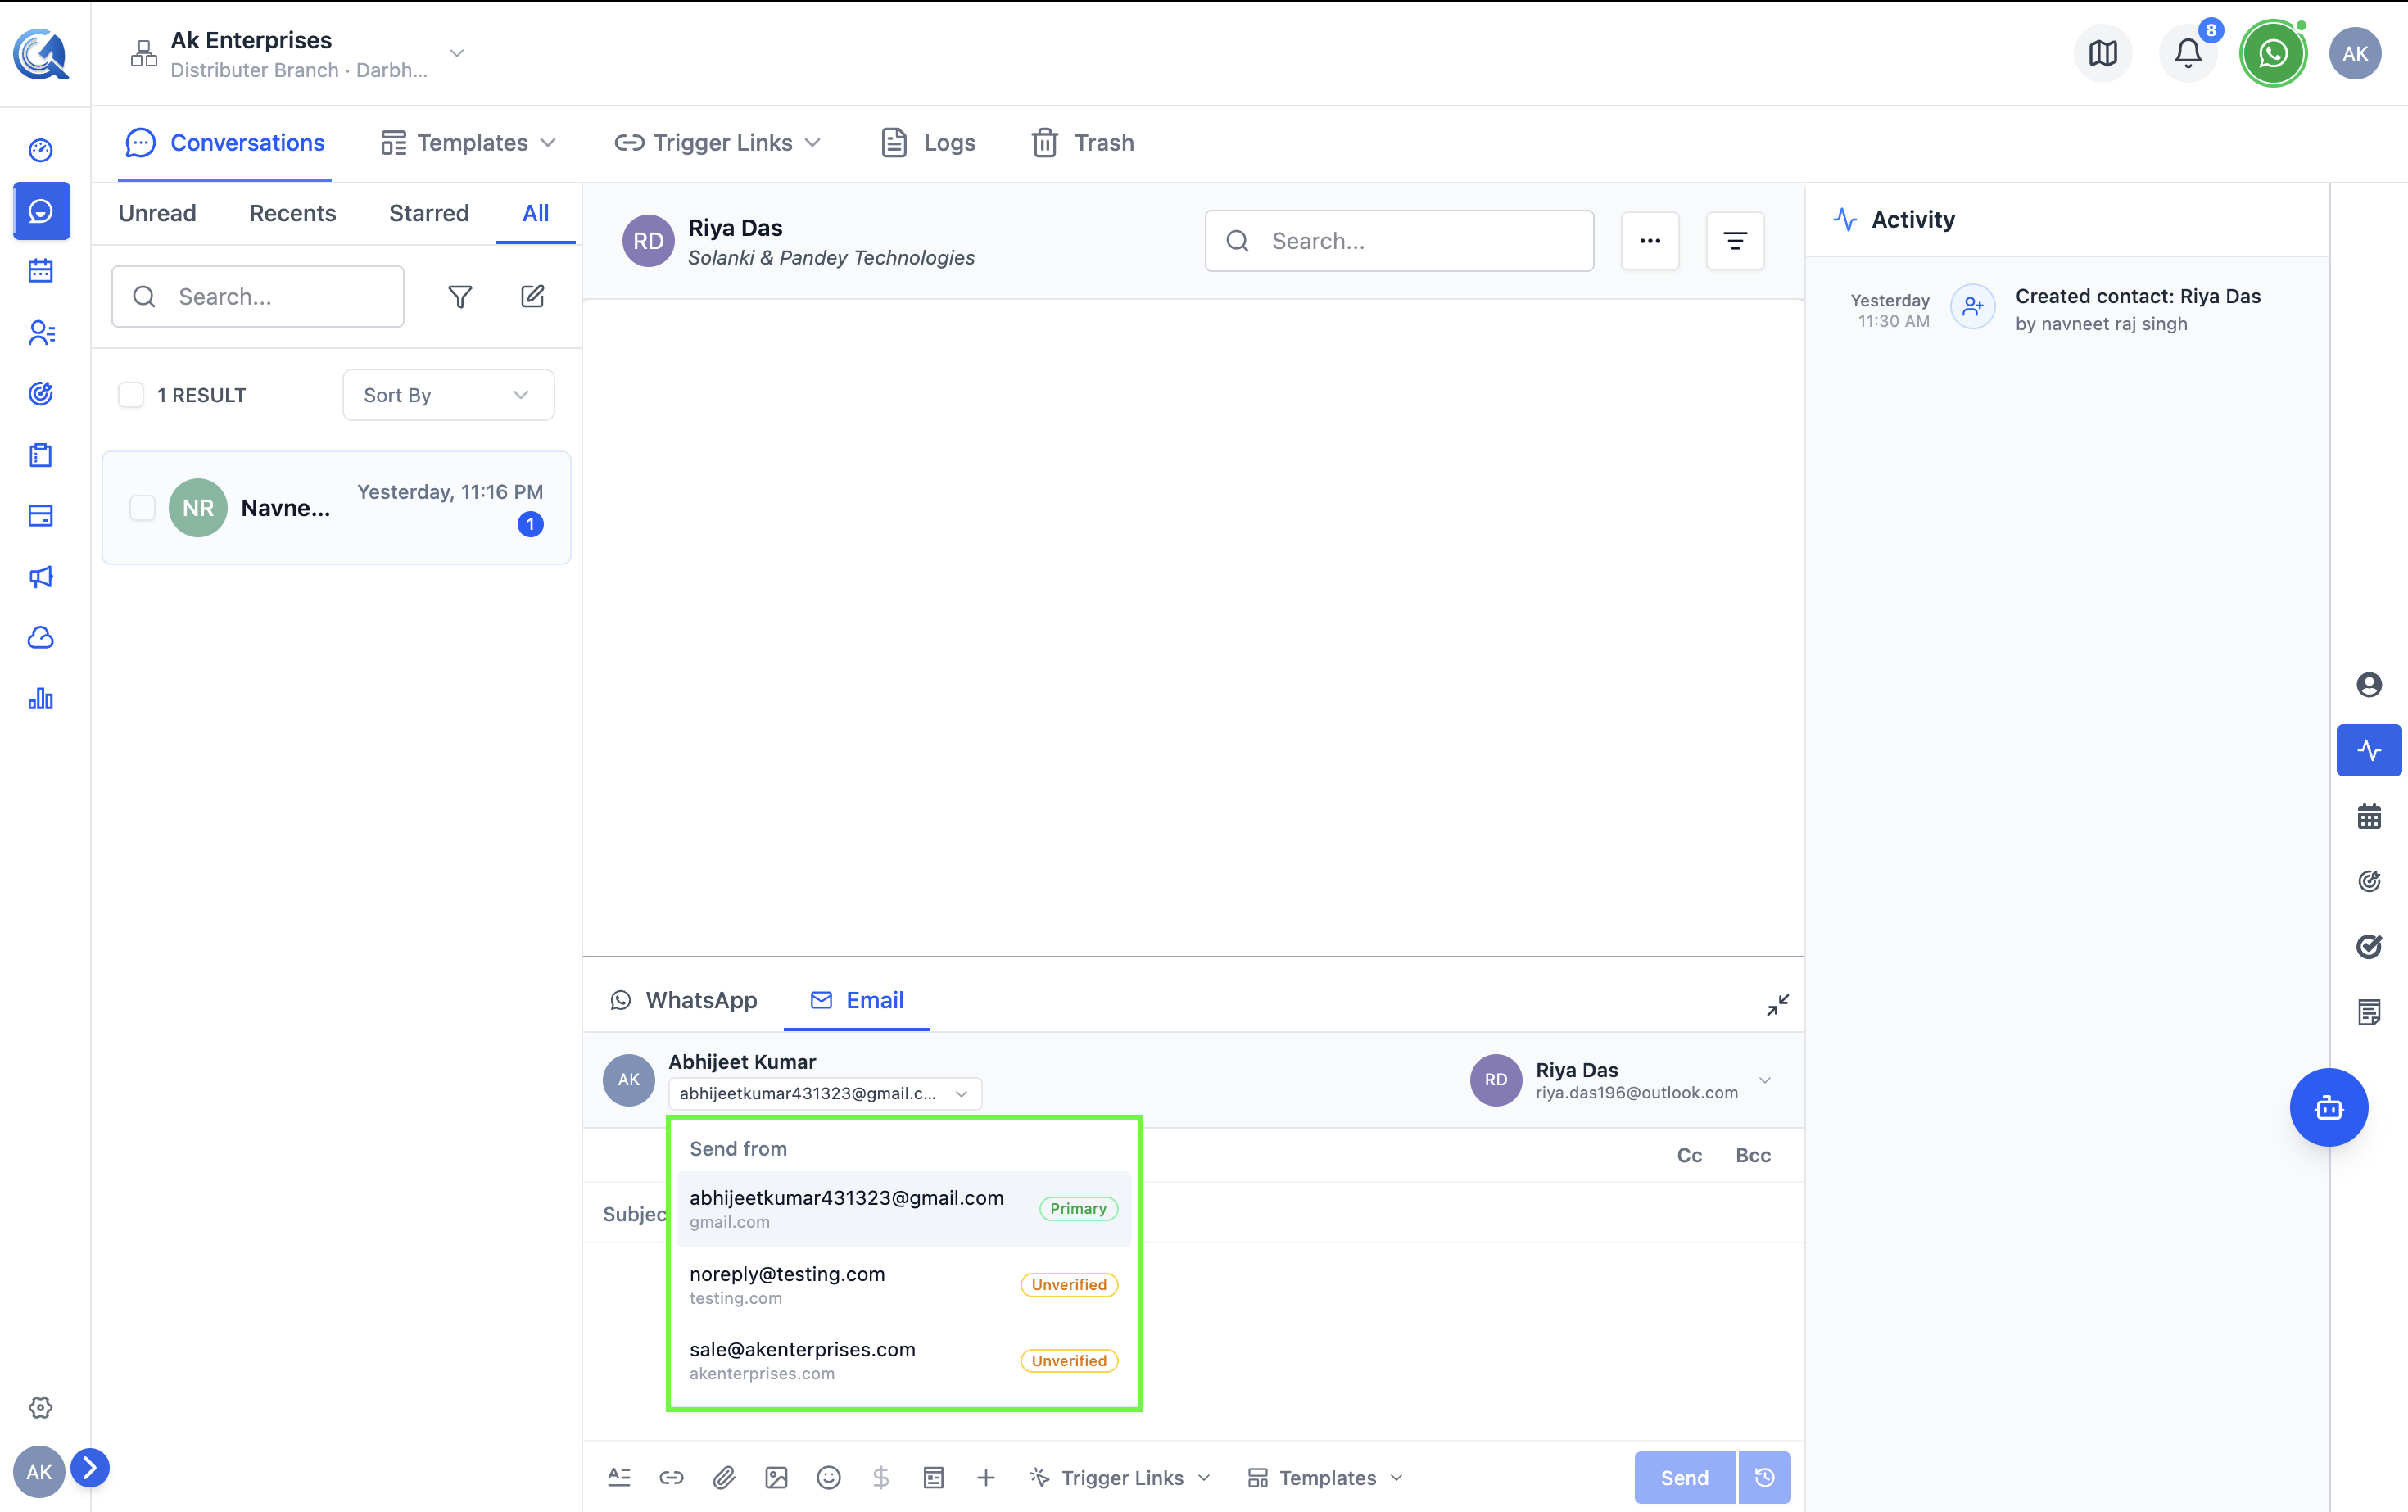 Only verified sender addresses will appear in the list.
If the From dropdown is empty, your account hasn't been assigned a sender identity. Ask your administrator to add one before you can send. See Sender Identities.
If no sender identities are available, ask your administrator to assign one to your account. See Sender Identities.
Writing the Subject and Body
- Enter a Subject line in the subject field.
- Use the rich text editor to write the email body.
The toolbar provides standard formatting options:
| Option | Description |
|---|---|
| Bold / Italic / Underline | Basic text styling |
| Lists | Ordered or unordered bullet lists |
| Alignment | Left, center, right, or justify |
| Code Block | Inline or block code formatting |
| Link | Insert a hyperlink with custom display text |
| Image | Insert an inline image |
| Emoji | Add emoji characters |
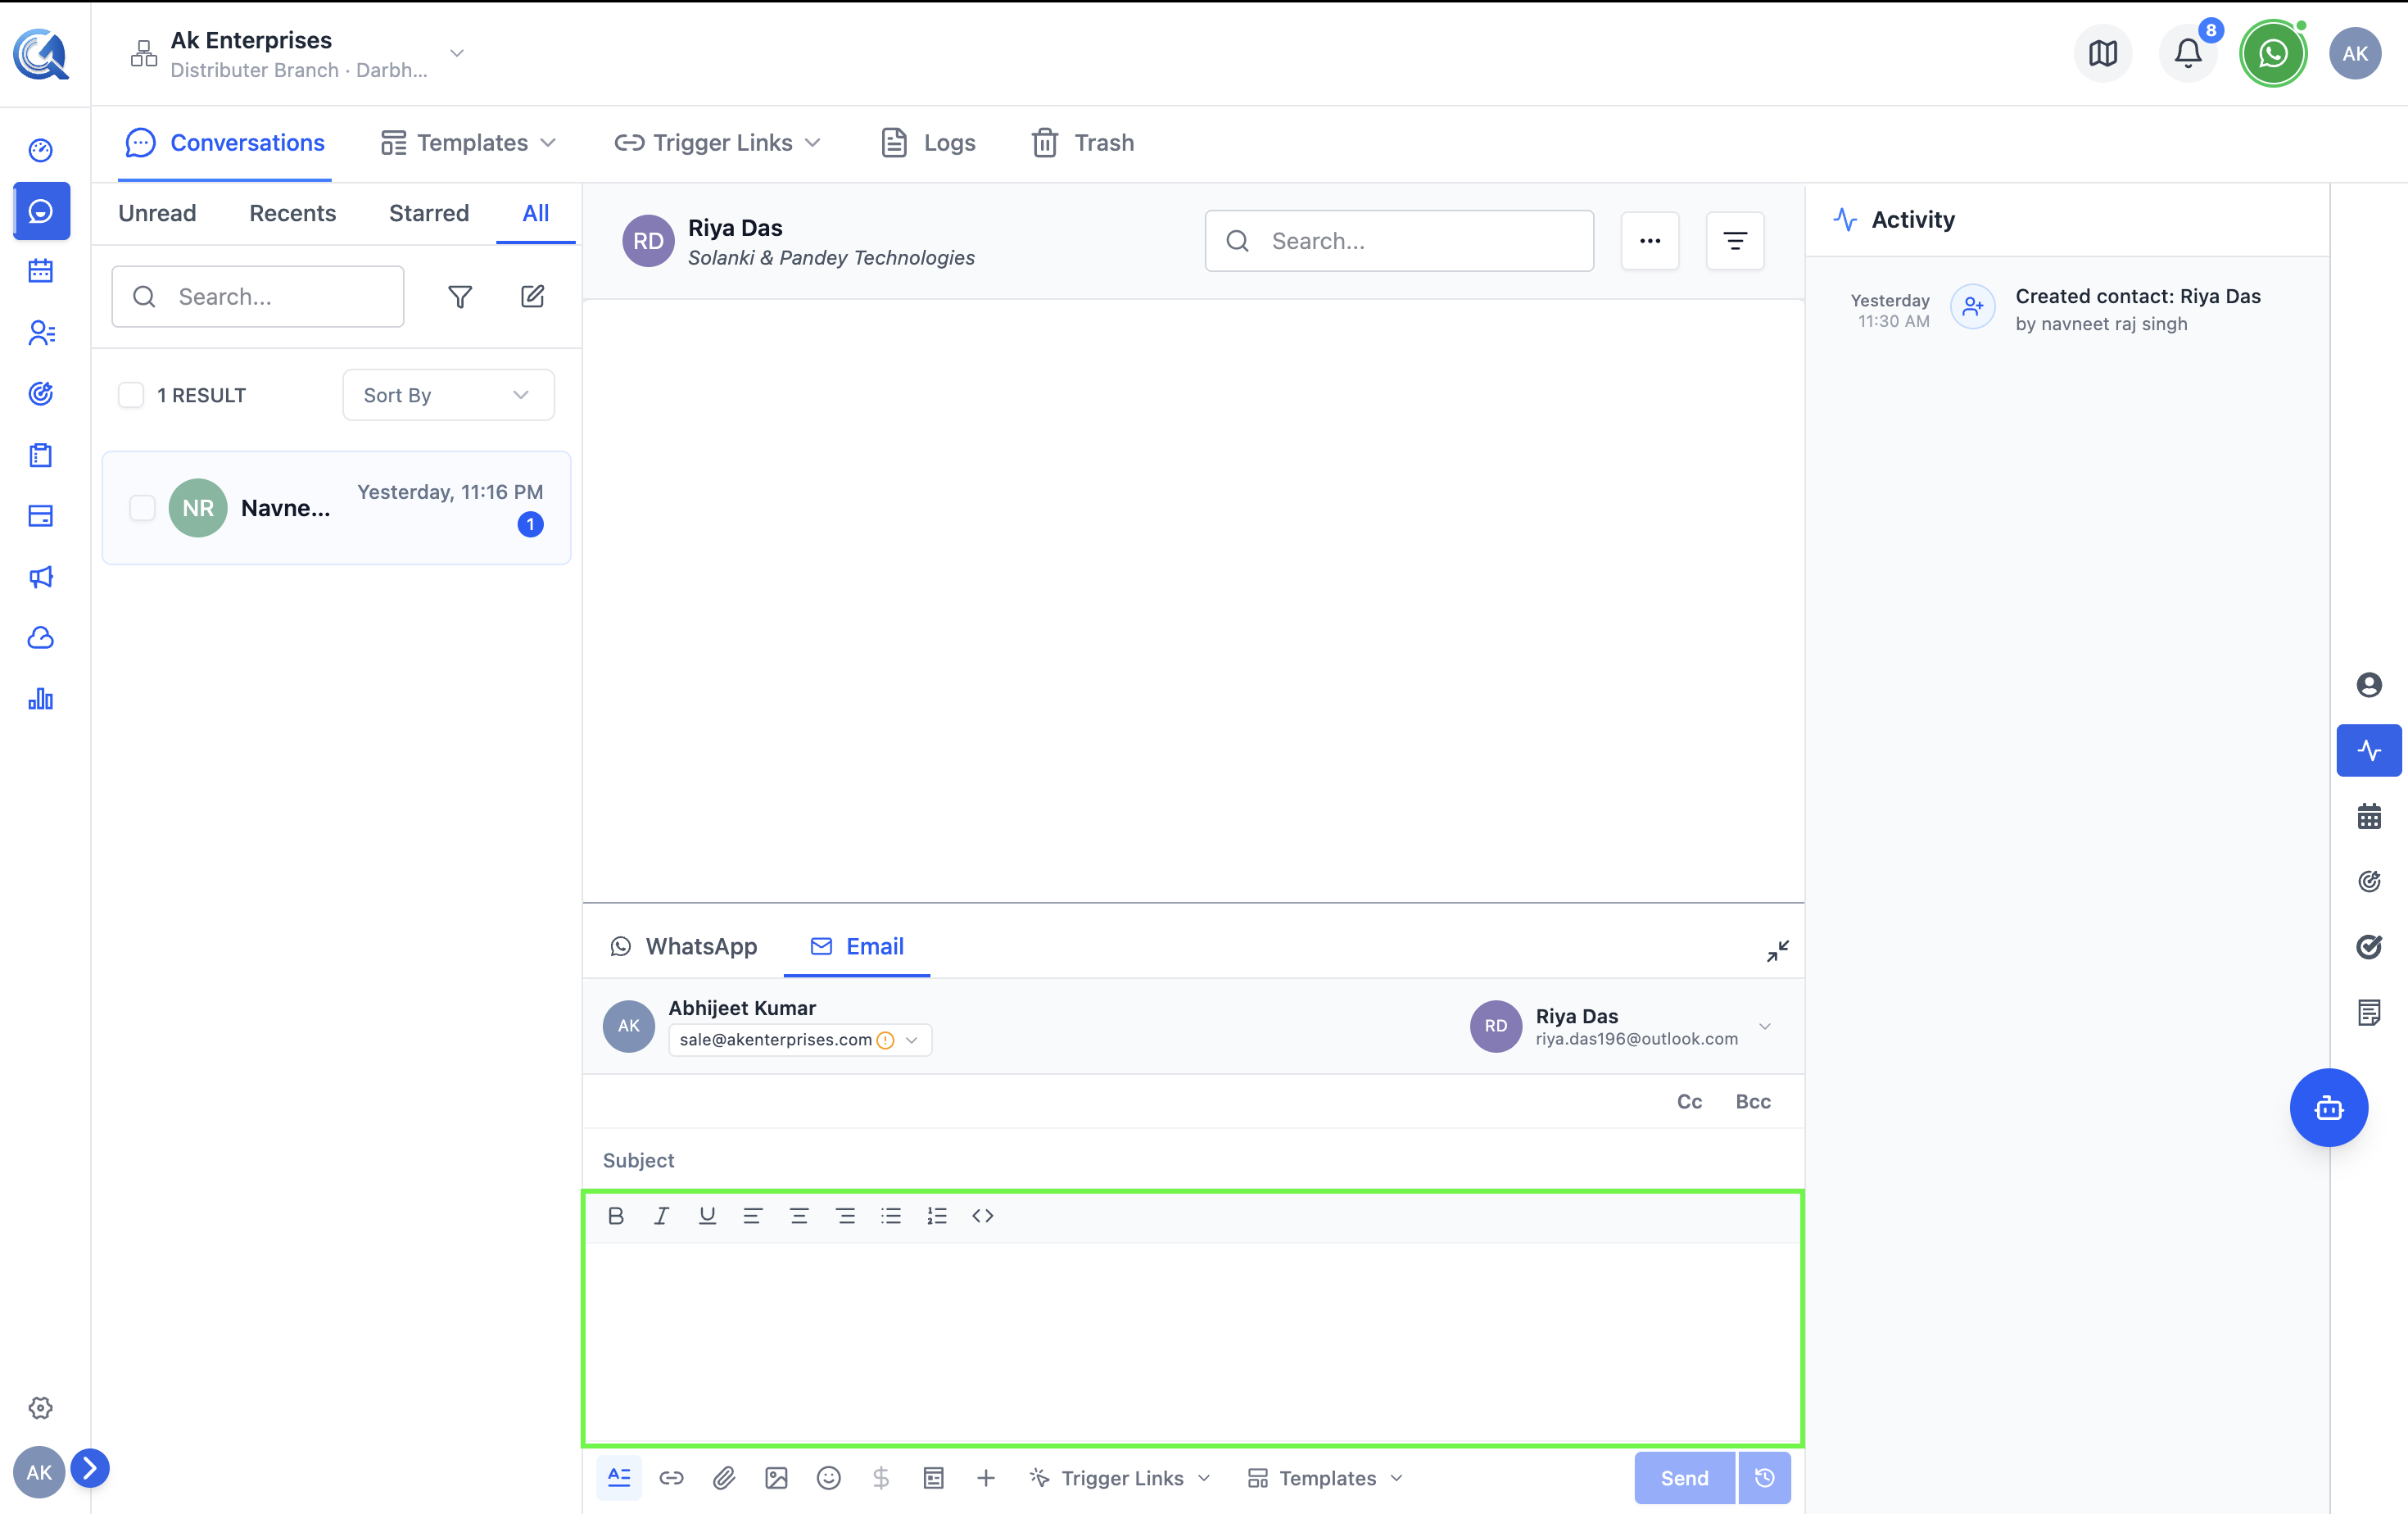 Use the toolbar to format the email body.
Using a Template
To apply a pre-built email template:
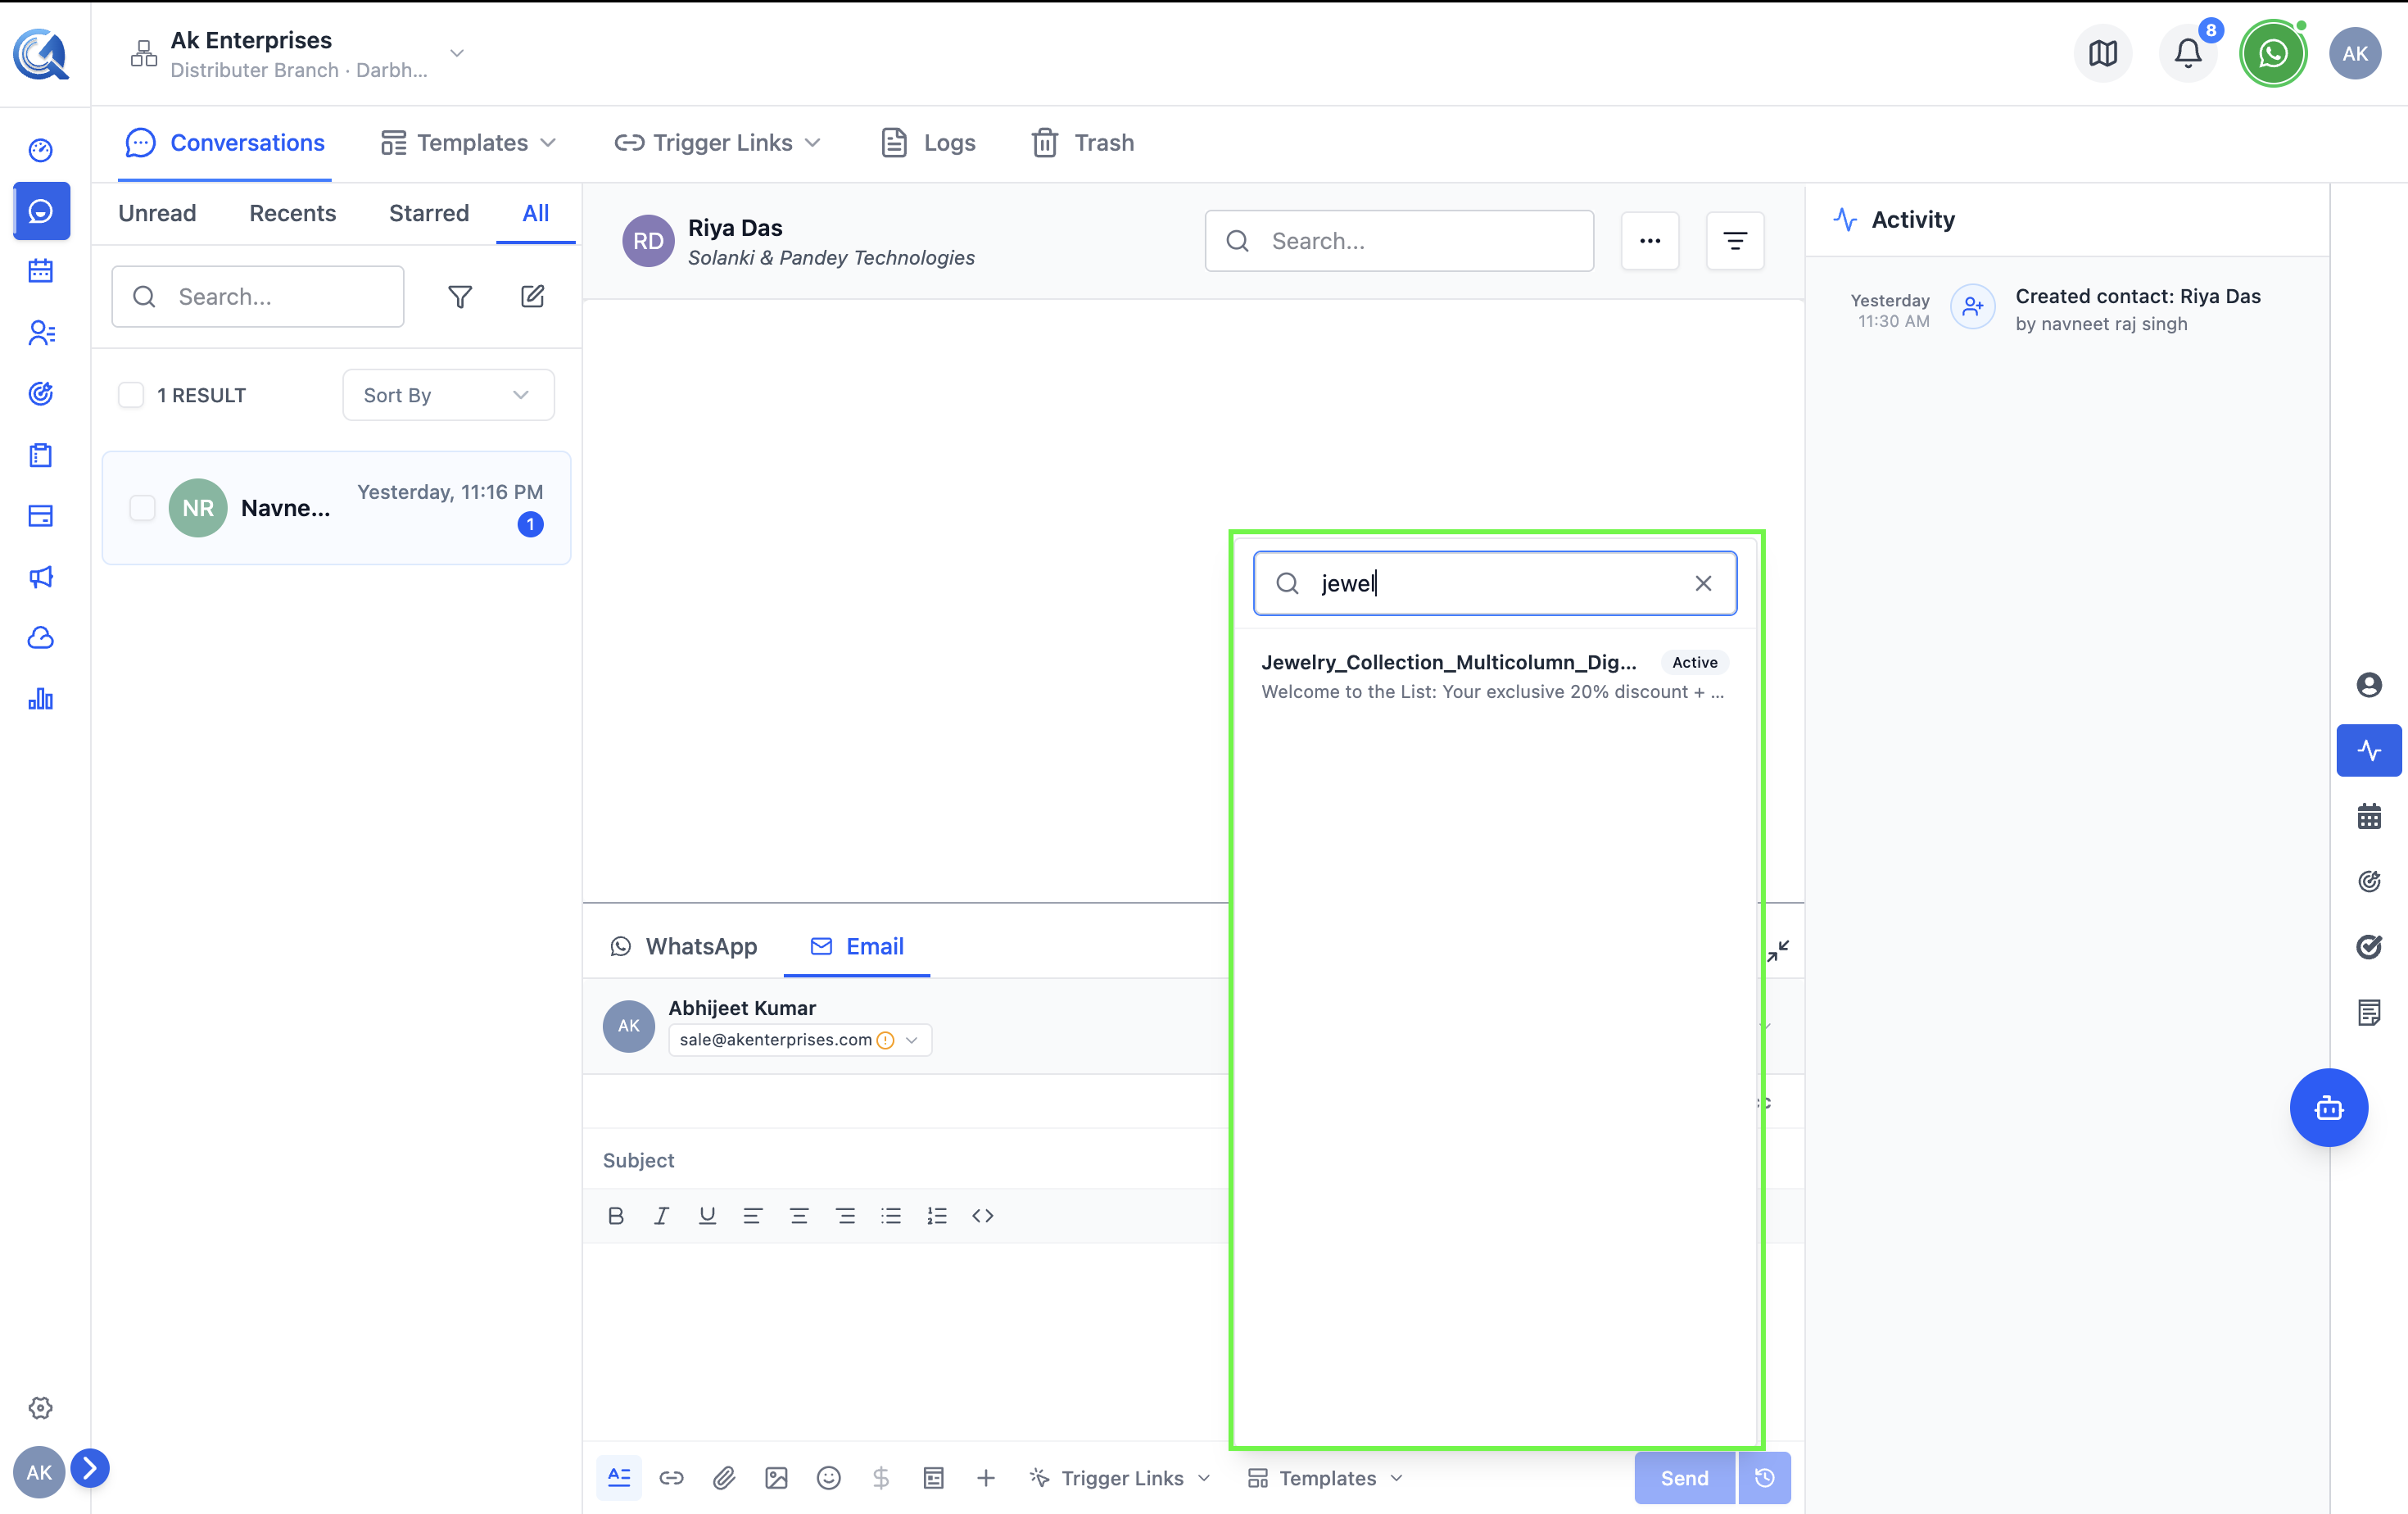
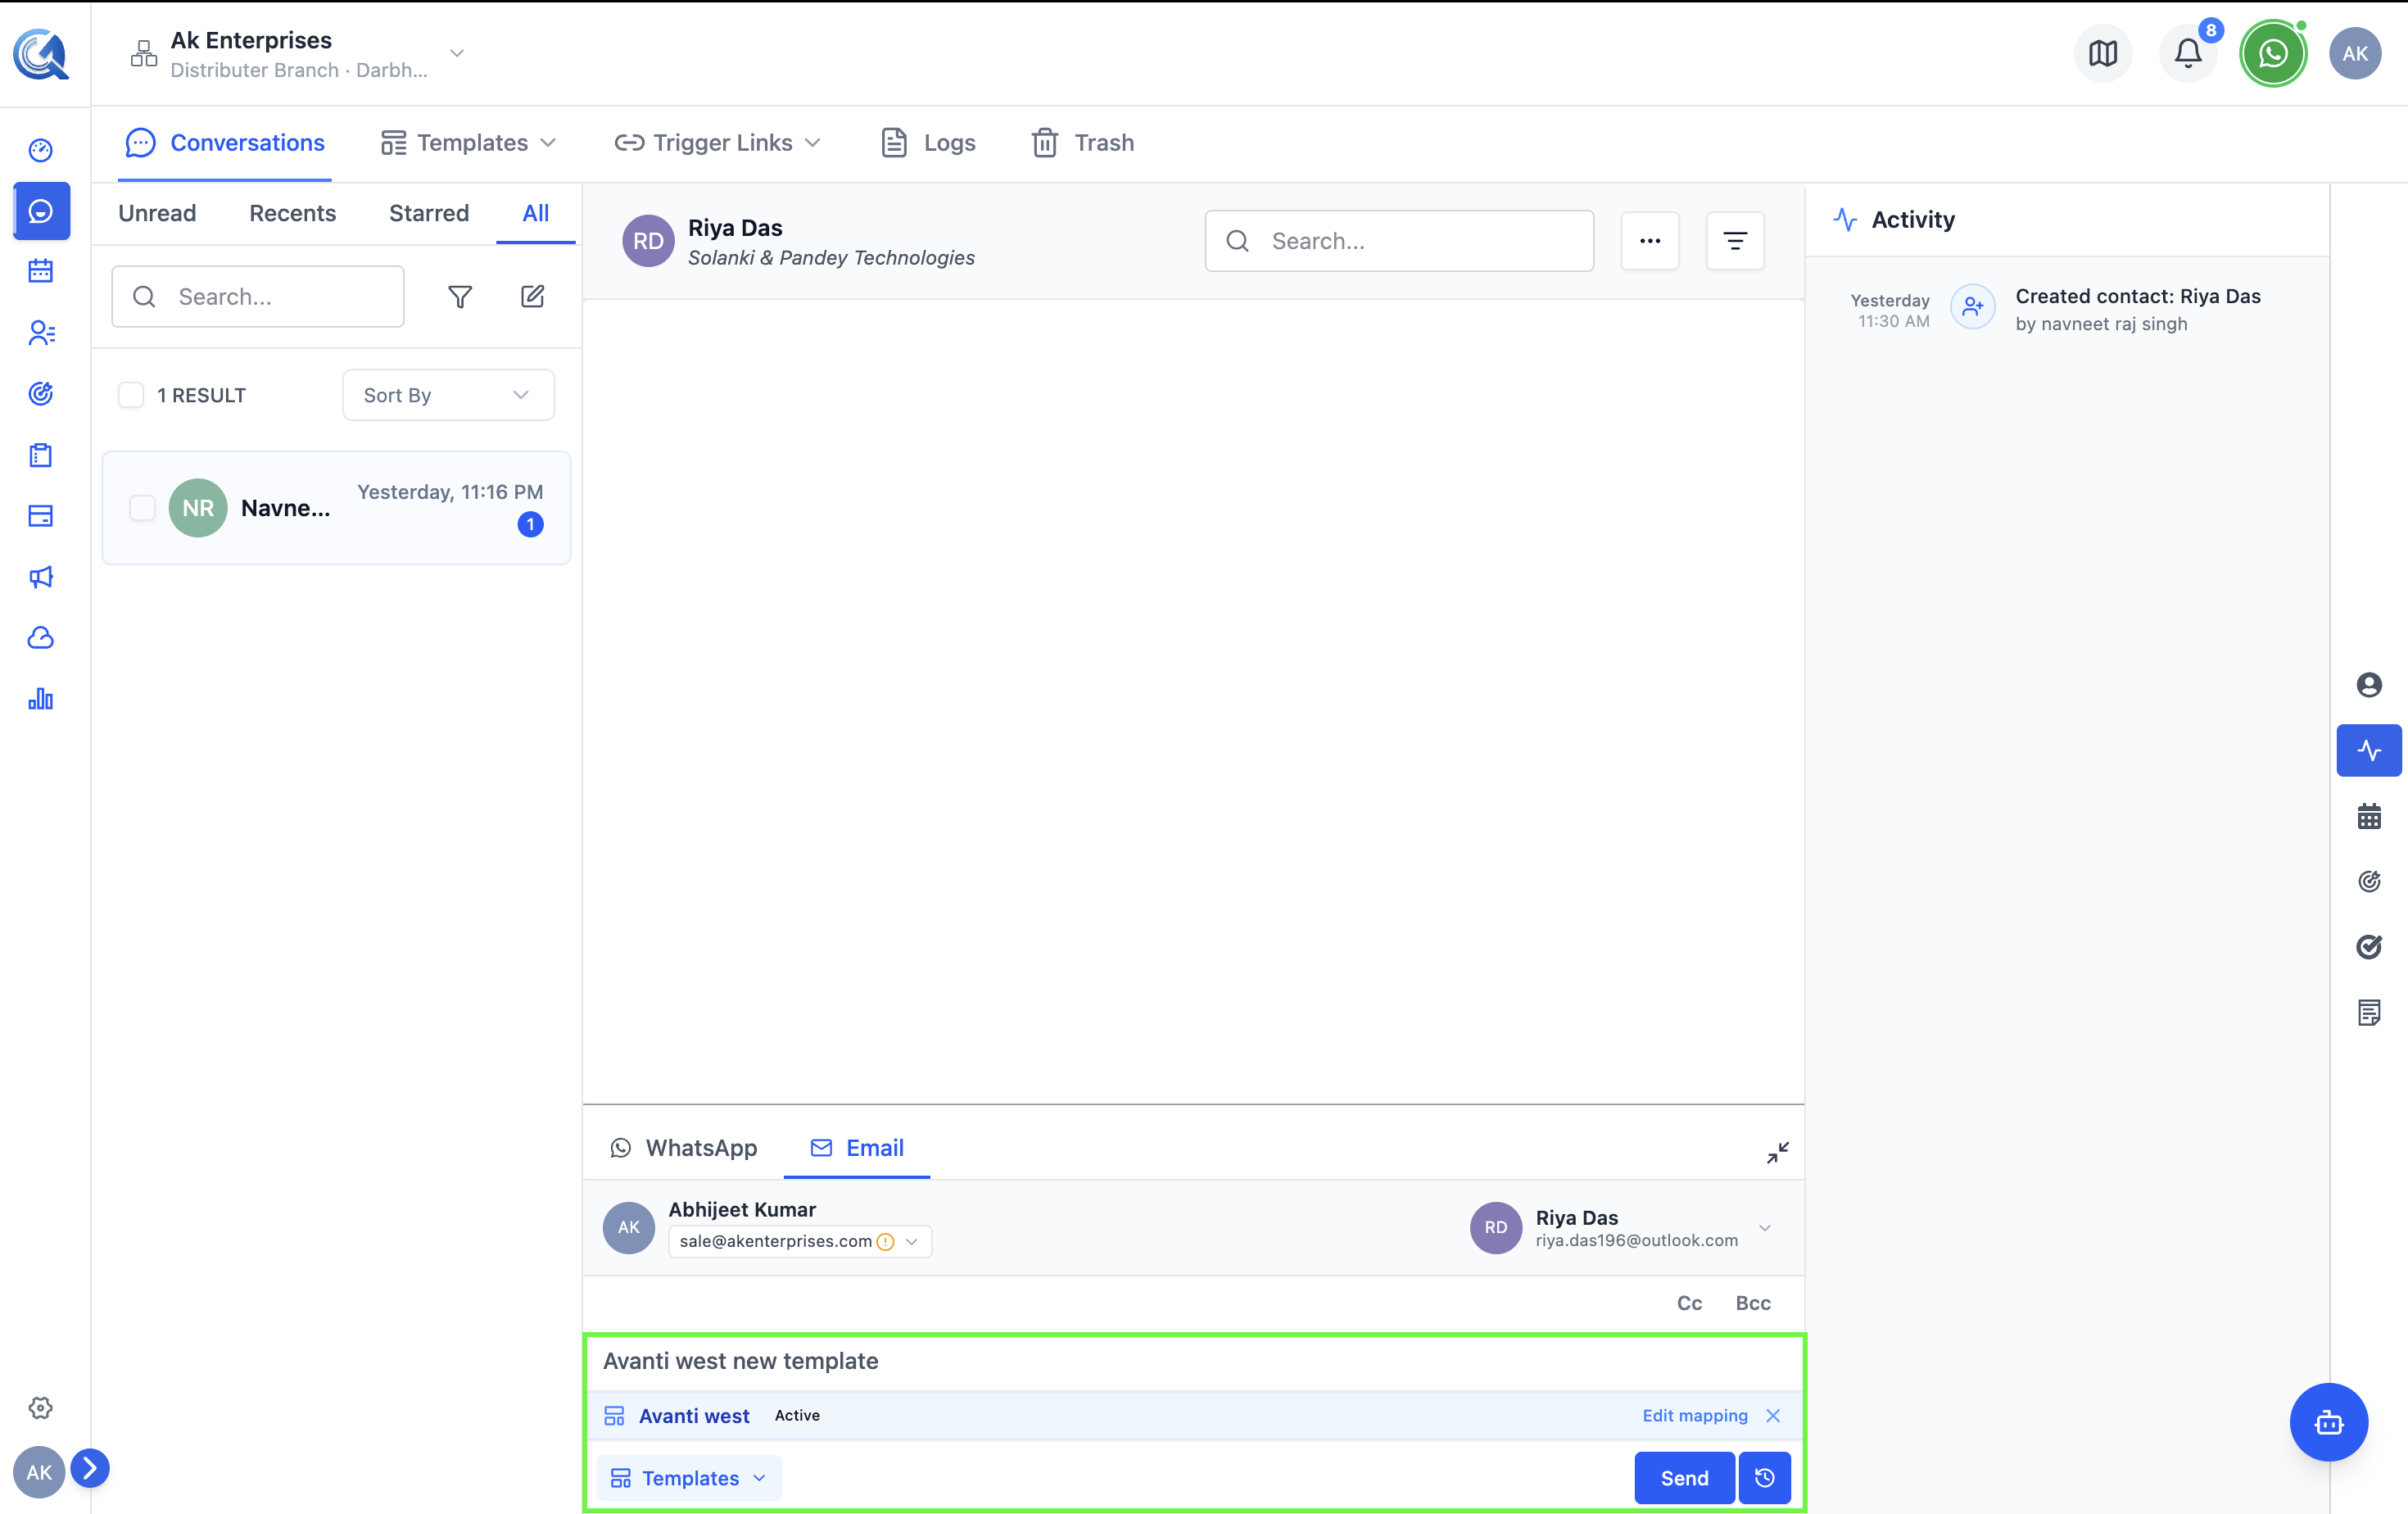
- Click the Templates button in the composer toolbar.
- Search or browse for the template you want.
- Click the template to preview it.
- If the template uses variables (e.g.,
{{contact_name}}), the variable mapping panel opens — fill in each value. - Click Apply to insert the template content into the composer.
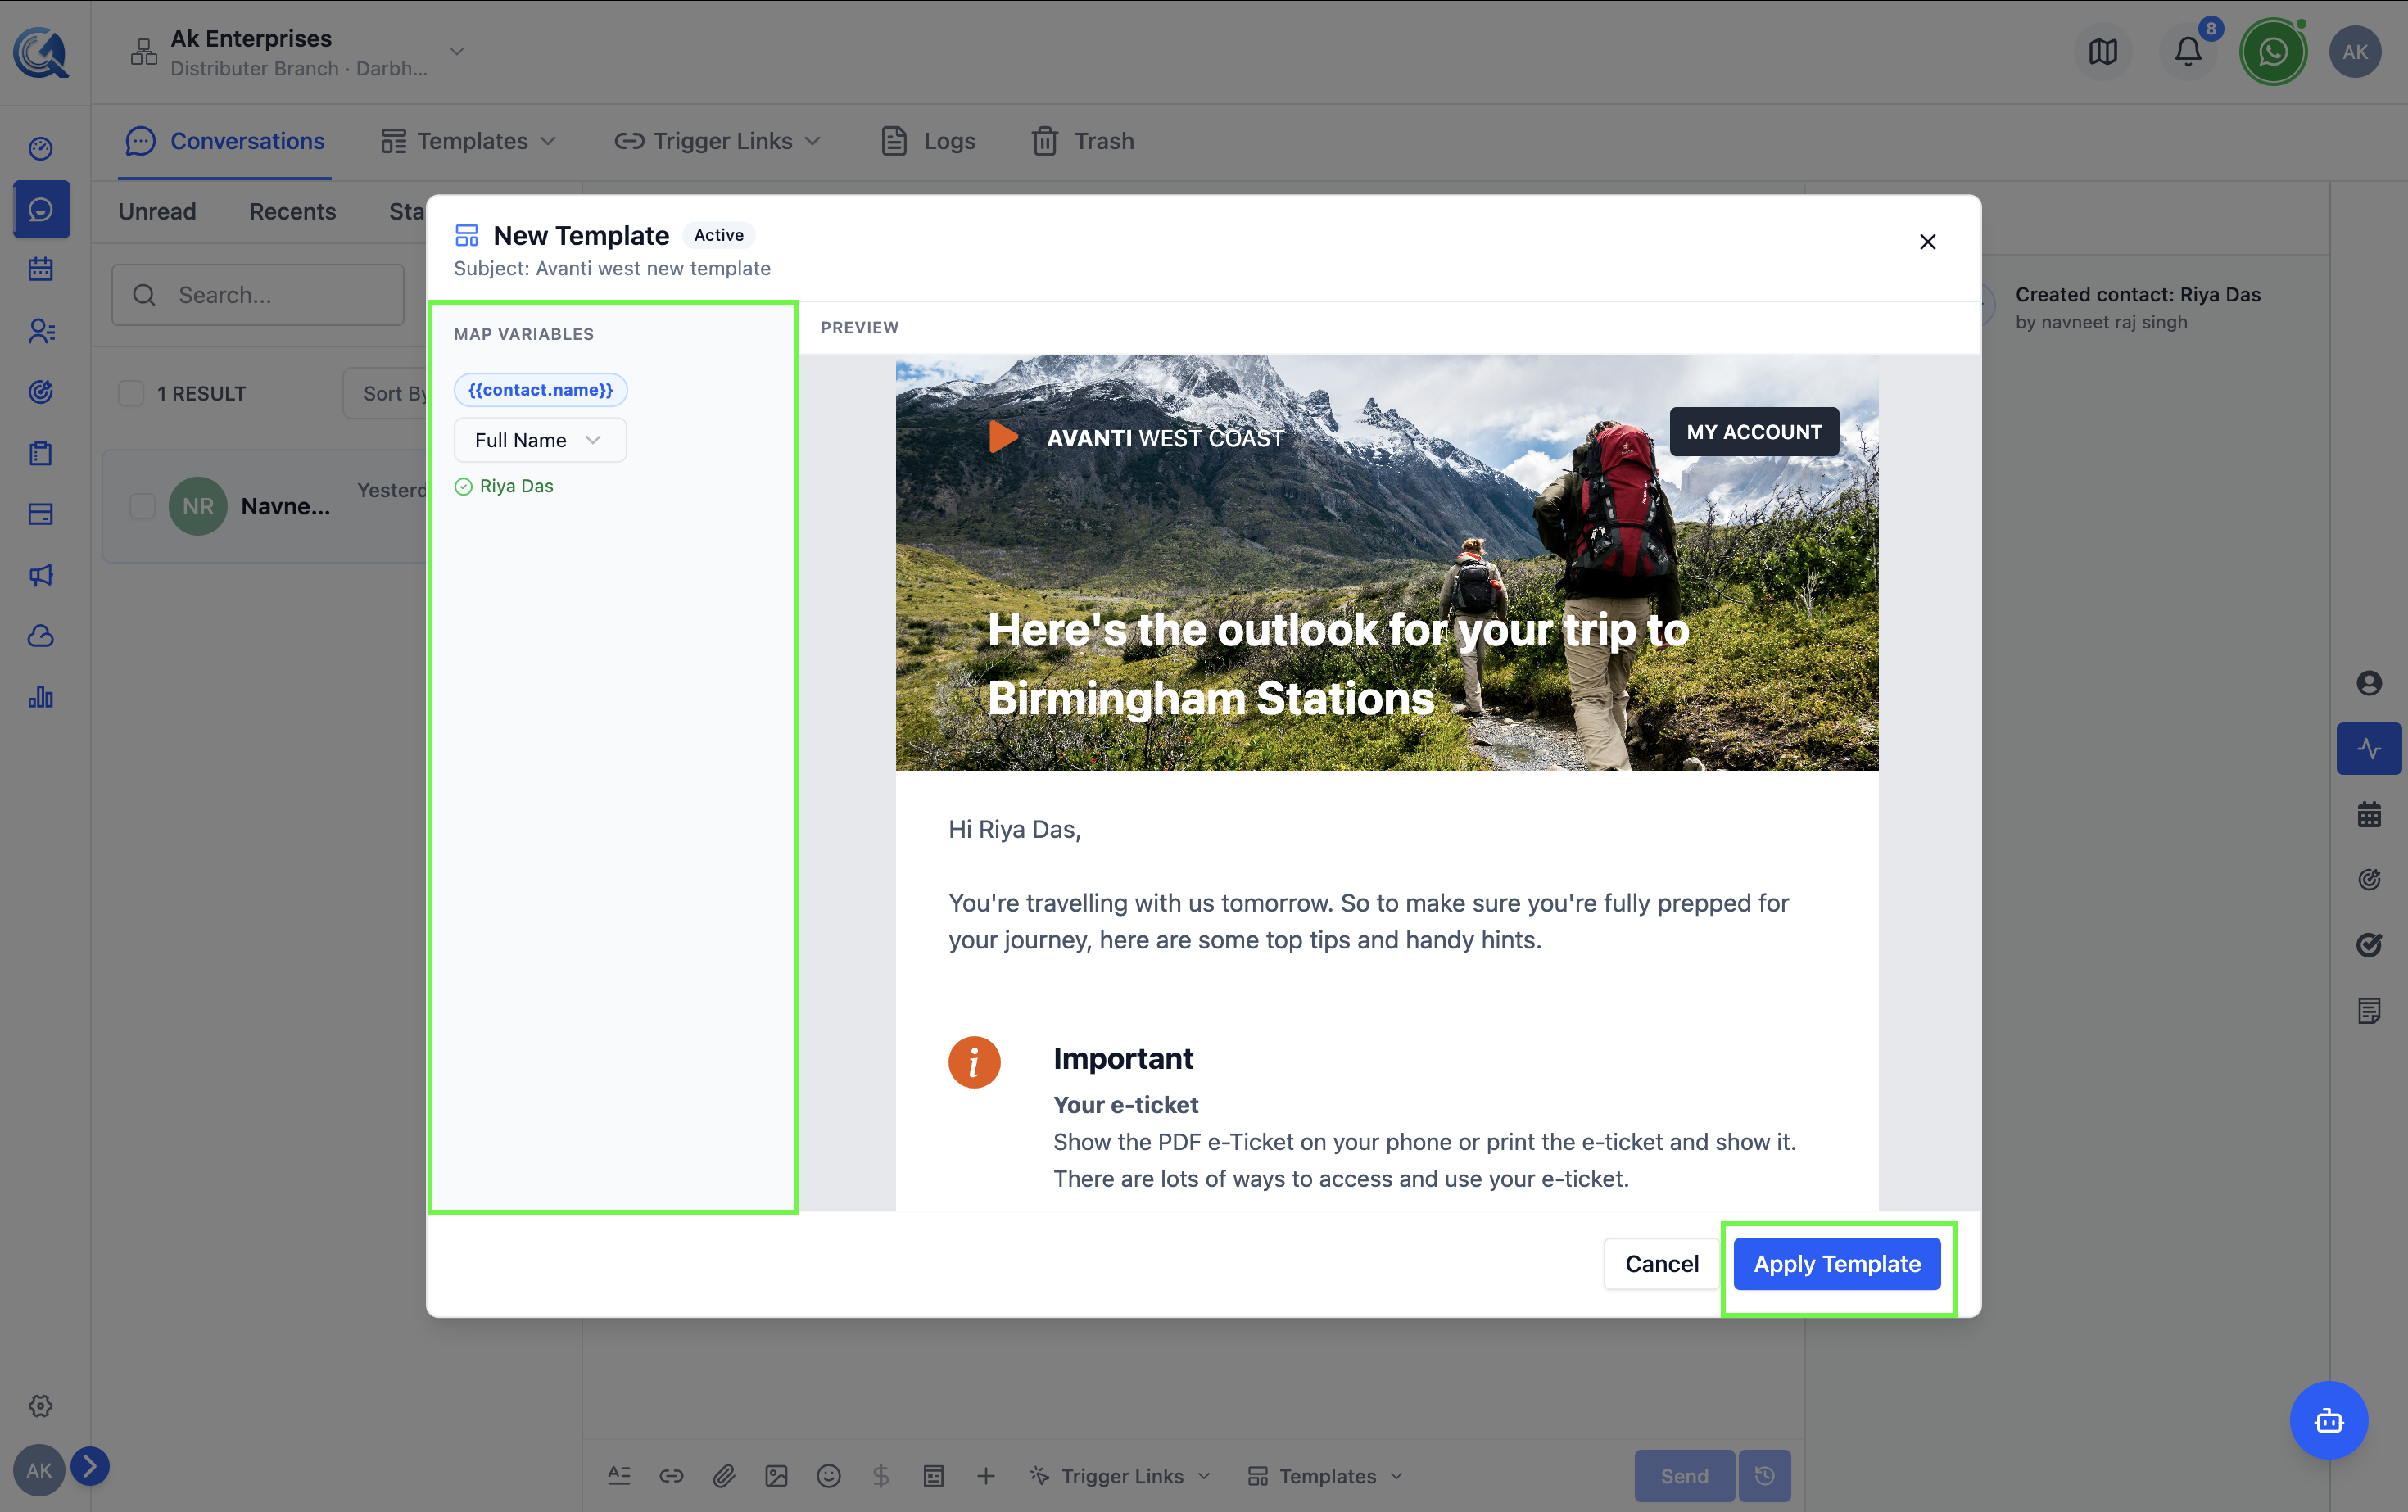
 Map template variables to contact fields or enter custom values before applying.
Sending the Email
The Templates button in the toolbar lets you apply a saved HTML template with one click — great for recurring email types like follow-ups or proposals.
Click Send when your email is ready. QuantixOne will:
- Check that the subject, at least one recipient, and a body (or attachment) are present.
- Verify the contact is not on the Do Not Disturb list for email.
- Upload any attachments and collect their IDs.
- Deliver the email via your configured sending domain.
A success toast will appear once the email is queued for delivery.
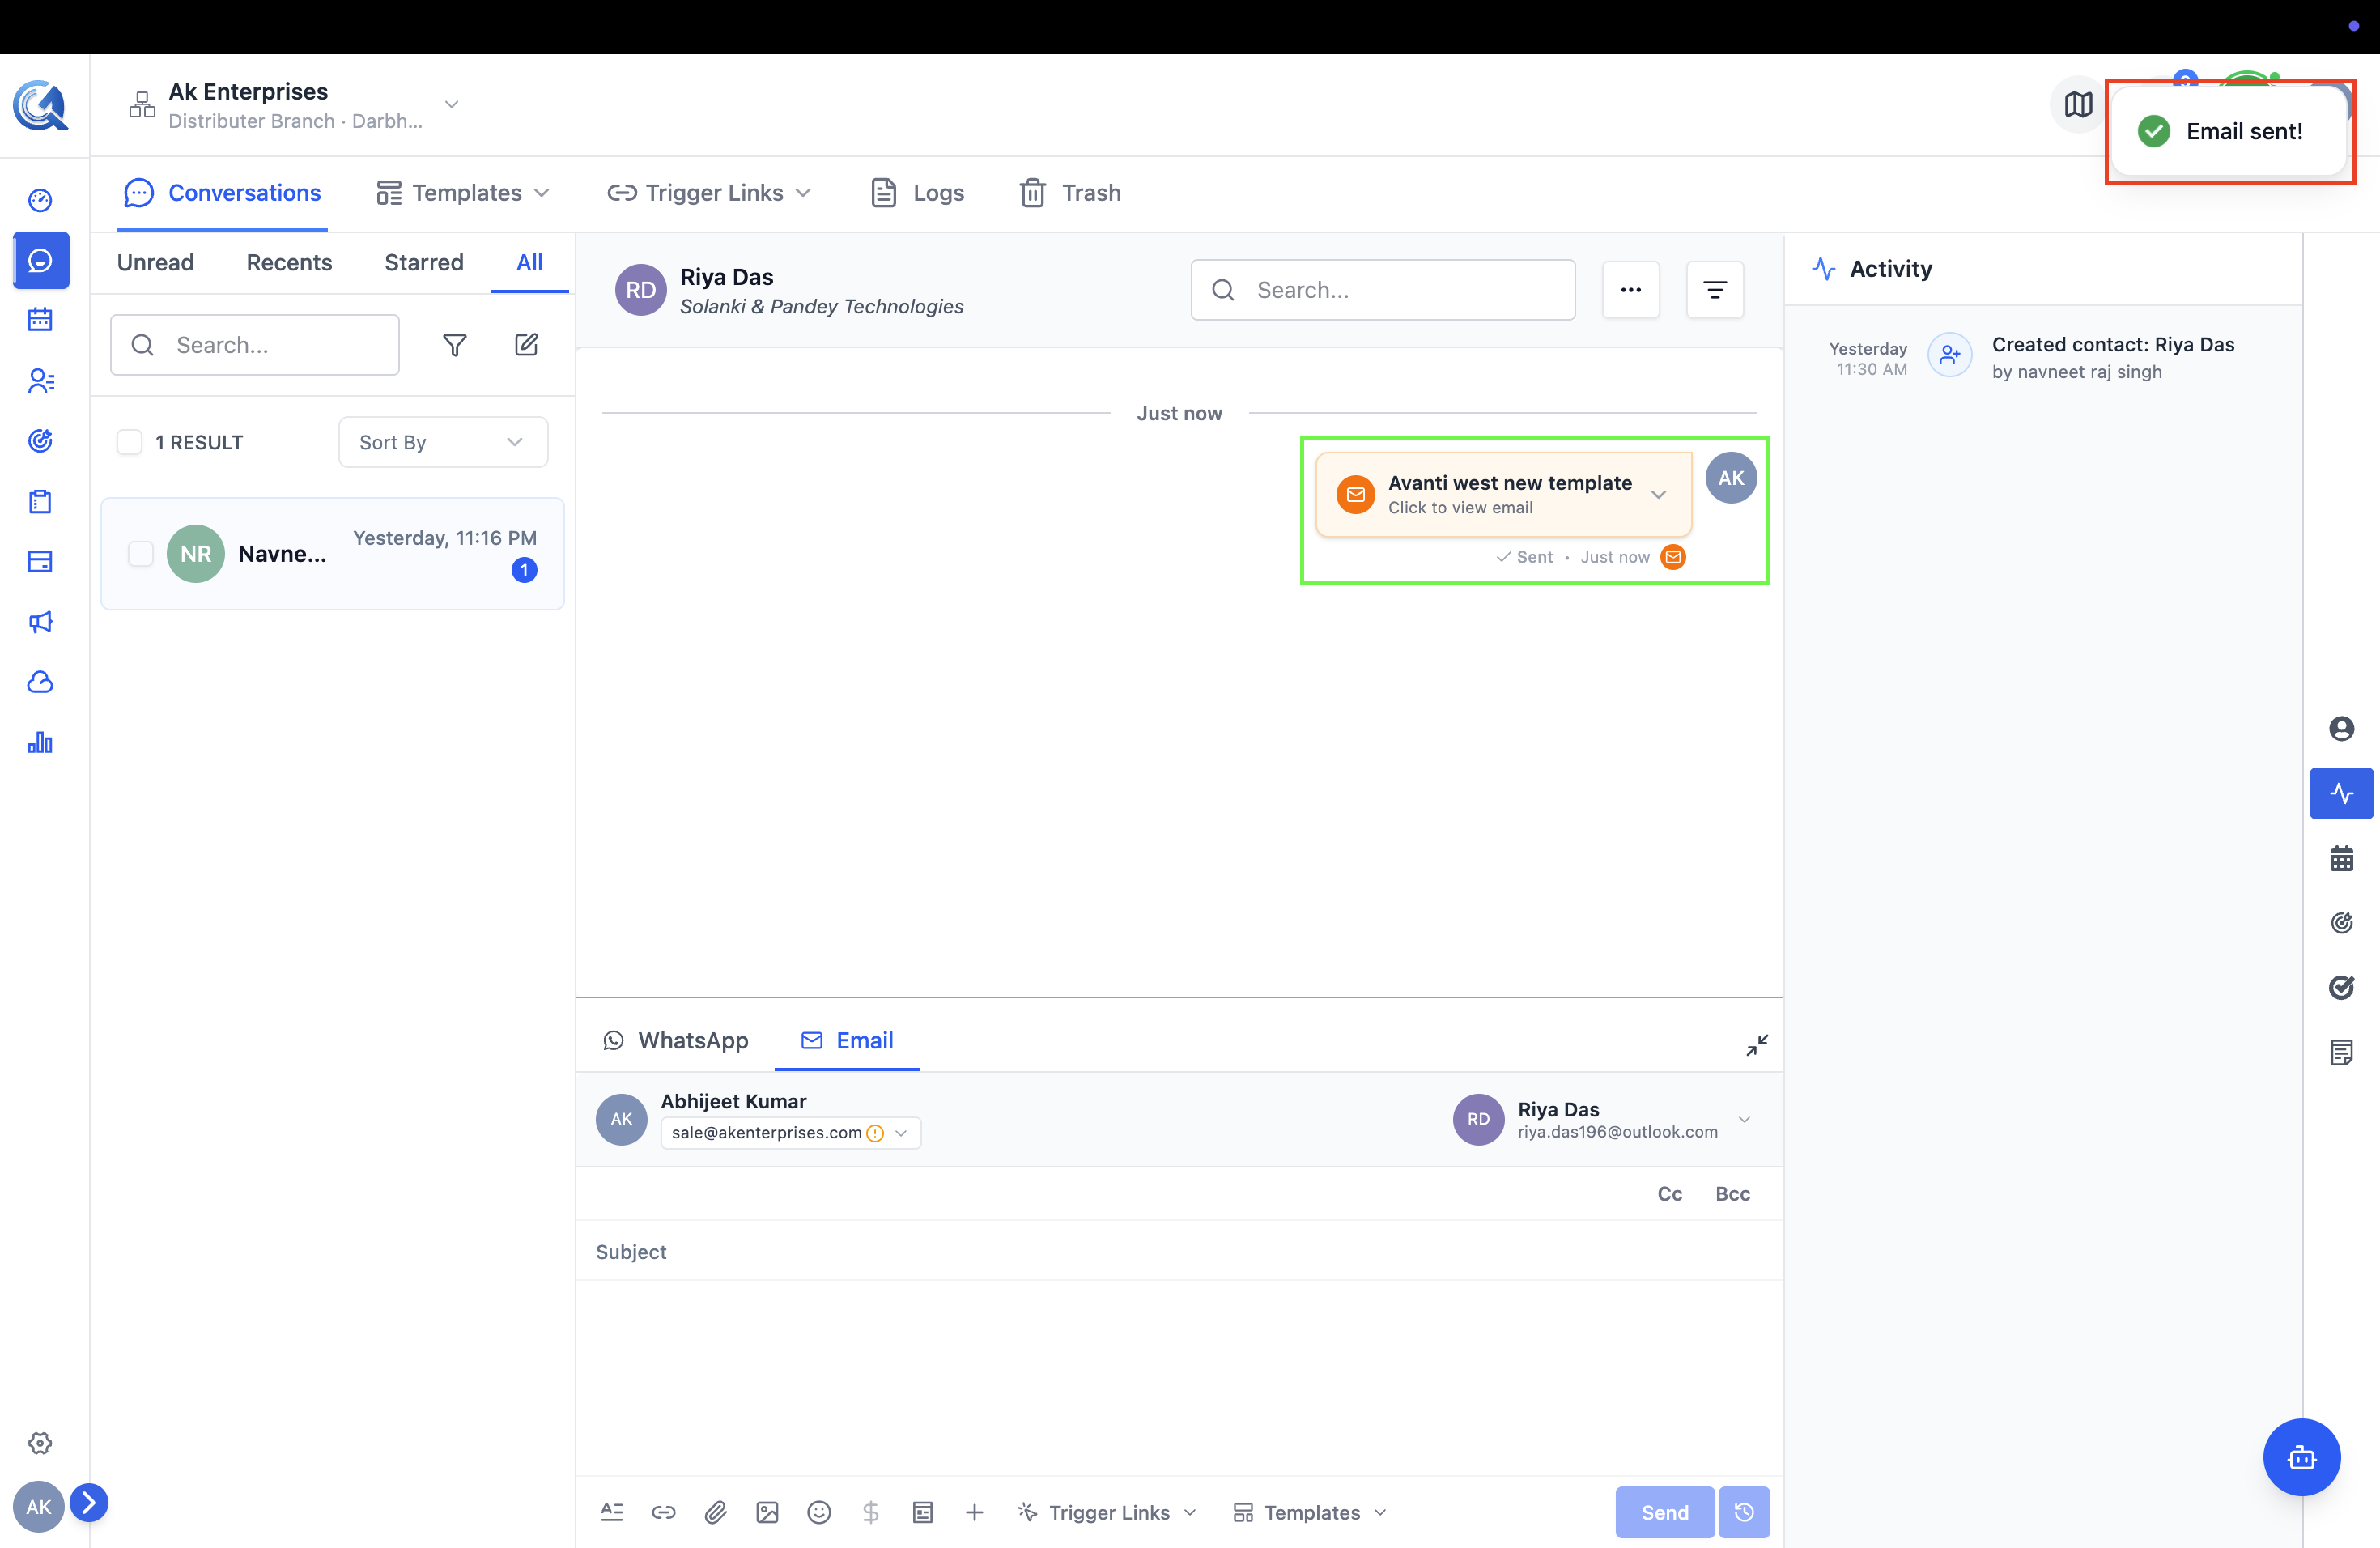 A toast confirms the email was submitted for delivery.