Domain Setup
Before you can send emails through QuantixOne, you need to register and verify a sending domain. Verification proves to email providers that QuantixOne is authorized to send on behalf of your domain, which protects deliverability and reduces spam filtering.
Navigating to Domain Setup
- Click Settings in the left sidebar.
- Go to Channels → Email.
- Click the Configure tab.
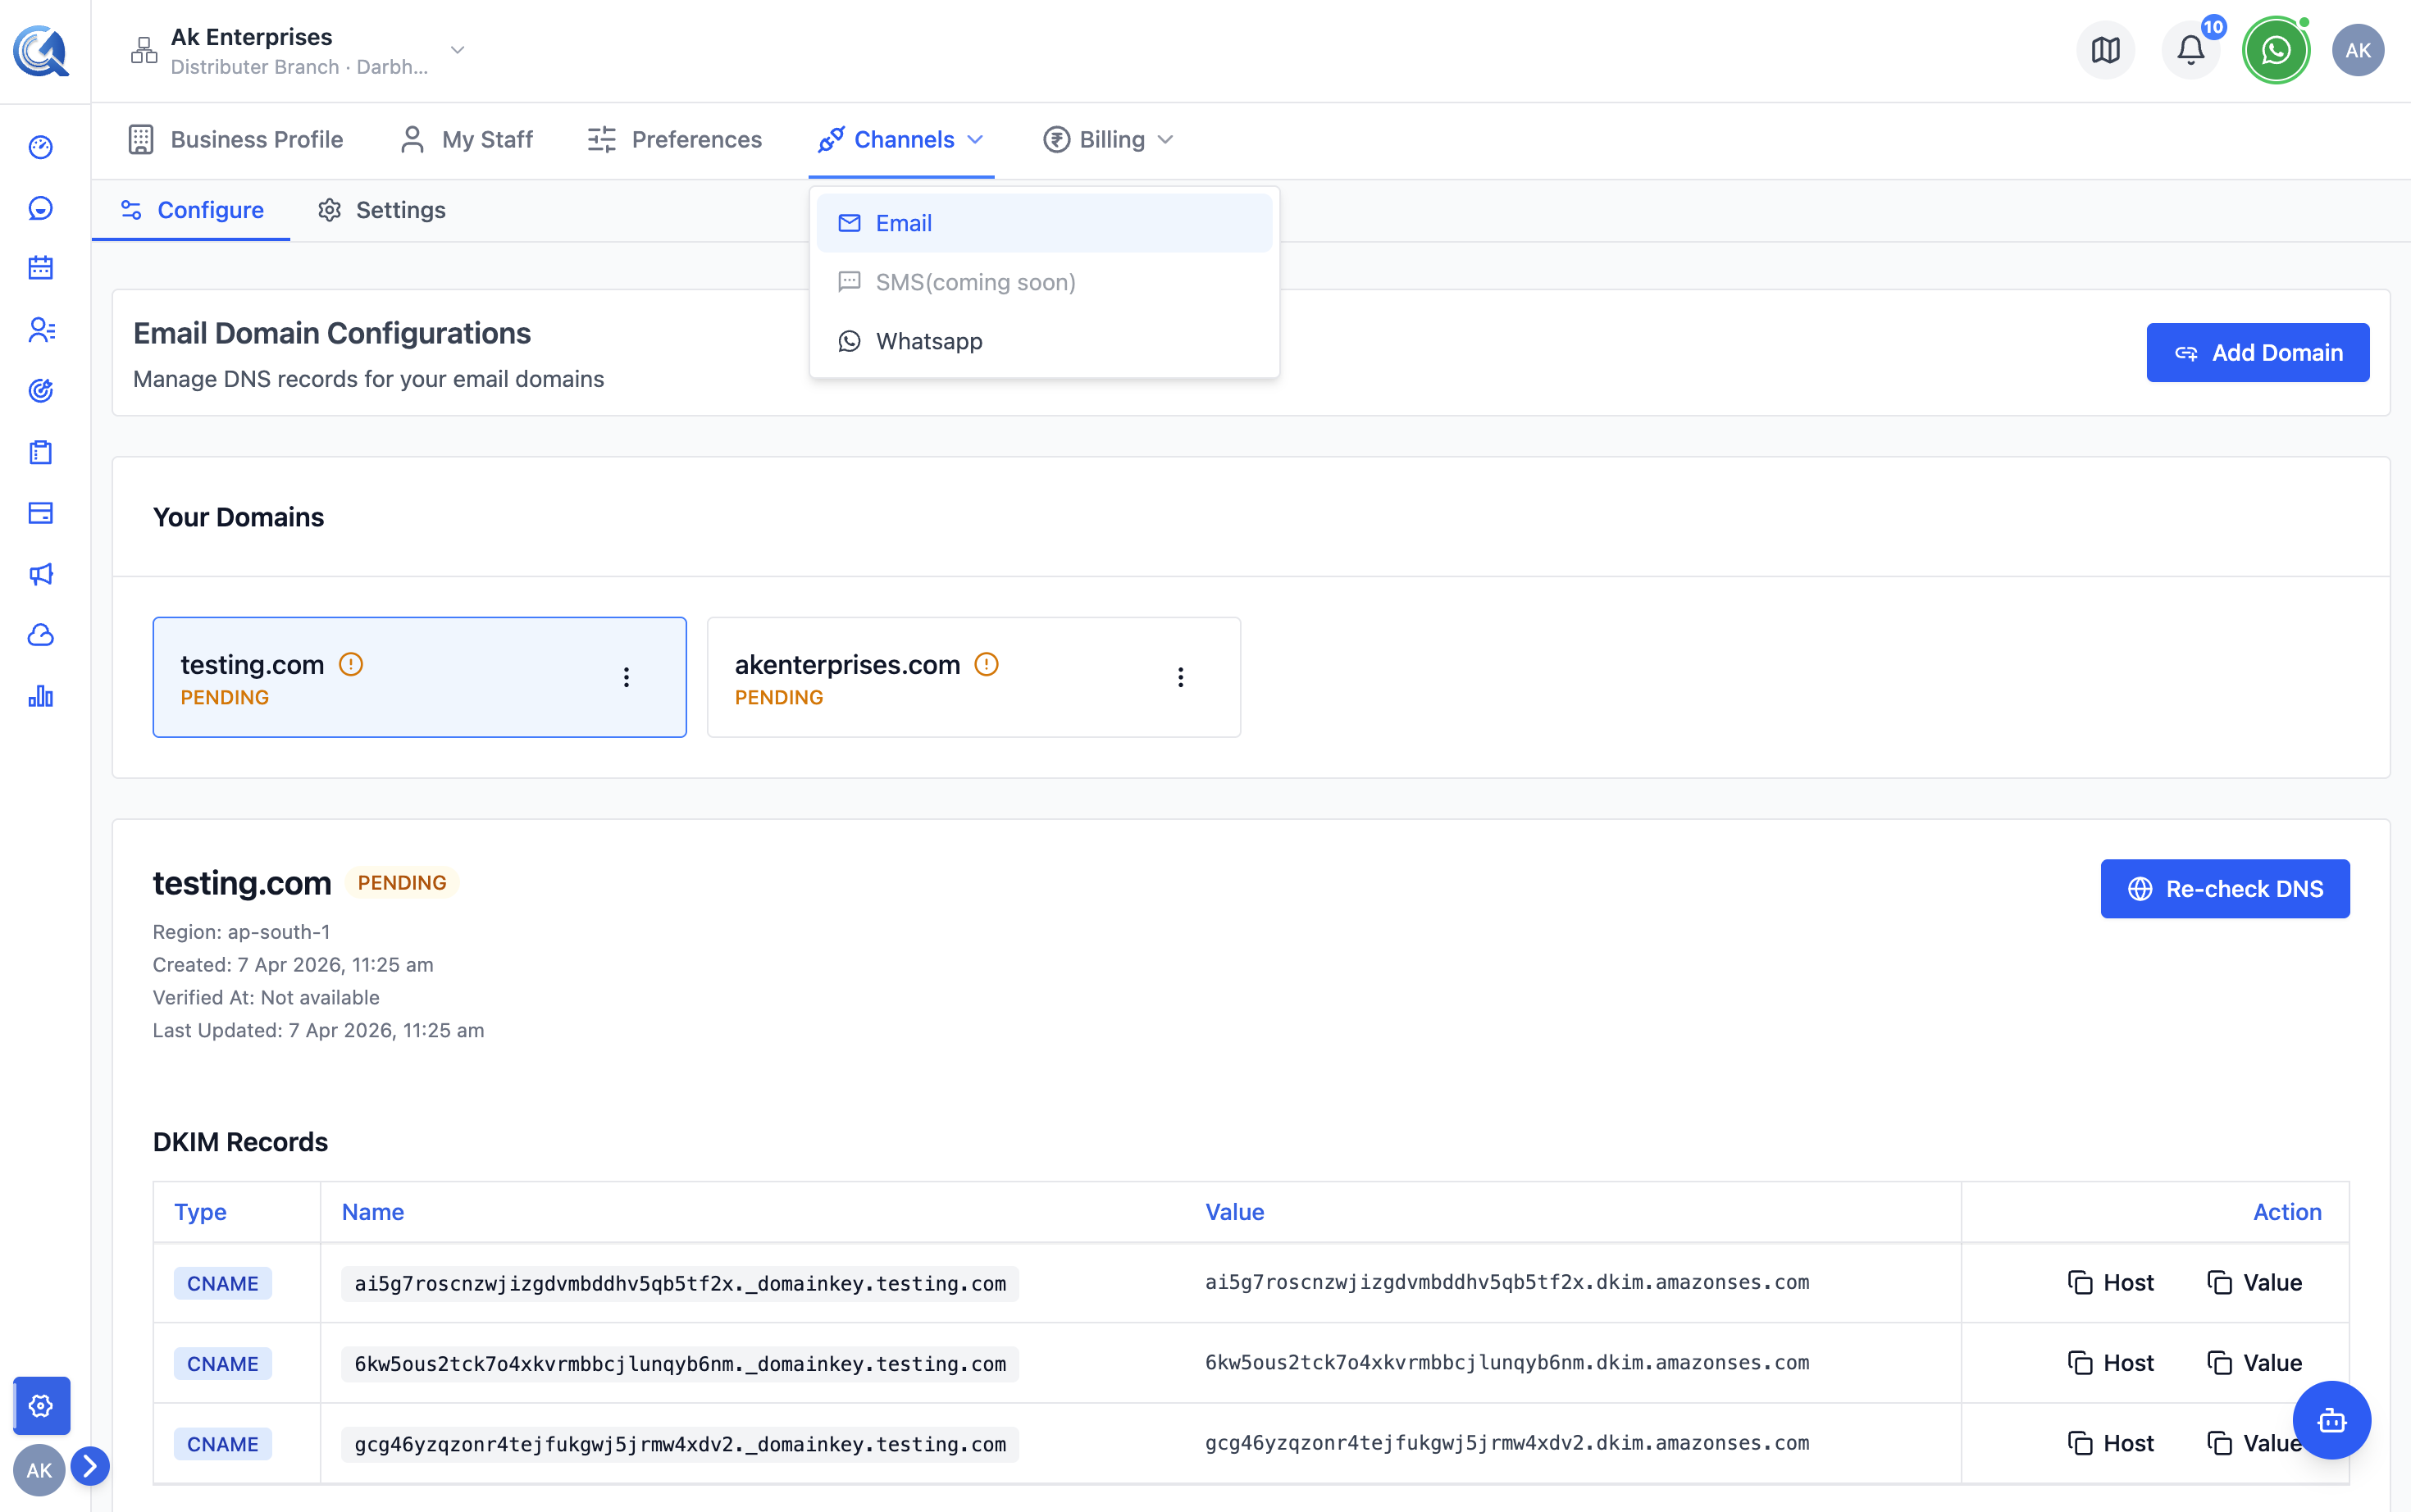 Open the Configure tab under Email in Channels settings.
Registering a Domain
- Click + Register Domain.
- Enter your domain name (e.g.,
yourbusiness.com). - Click Register.
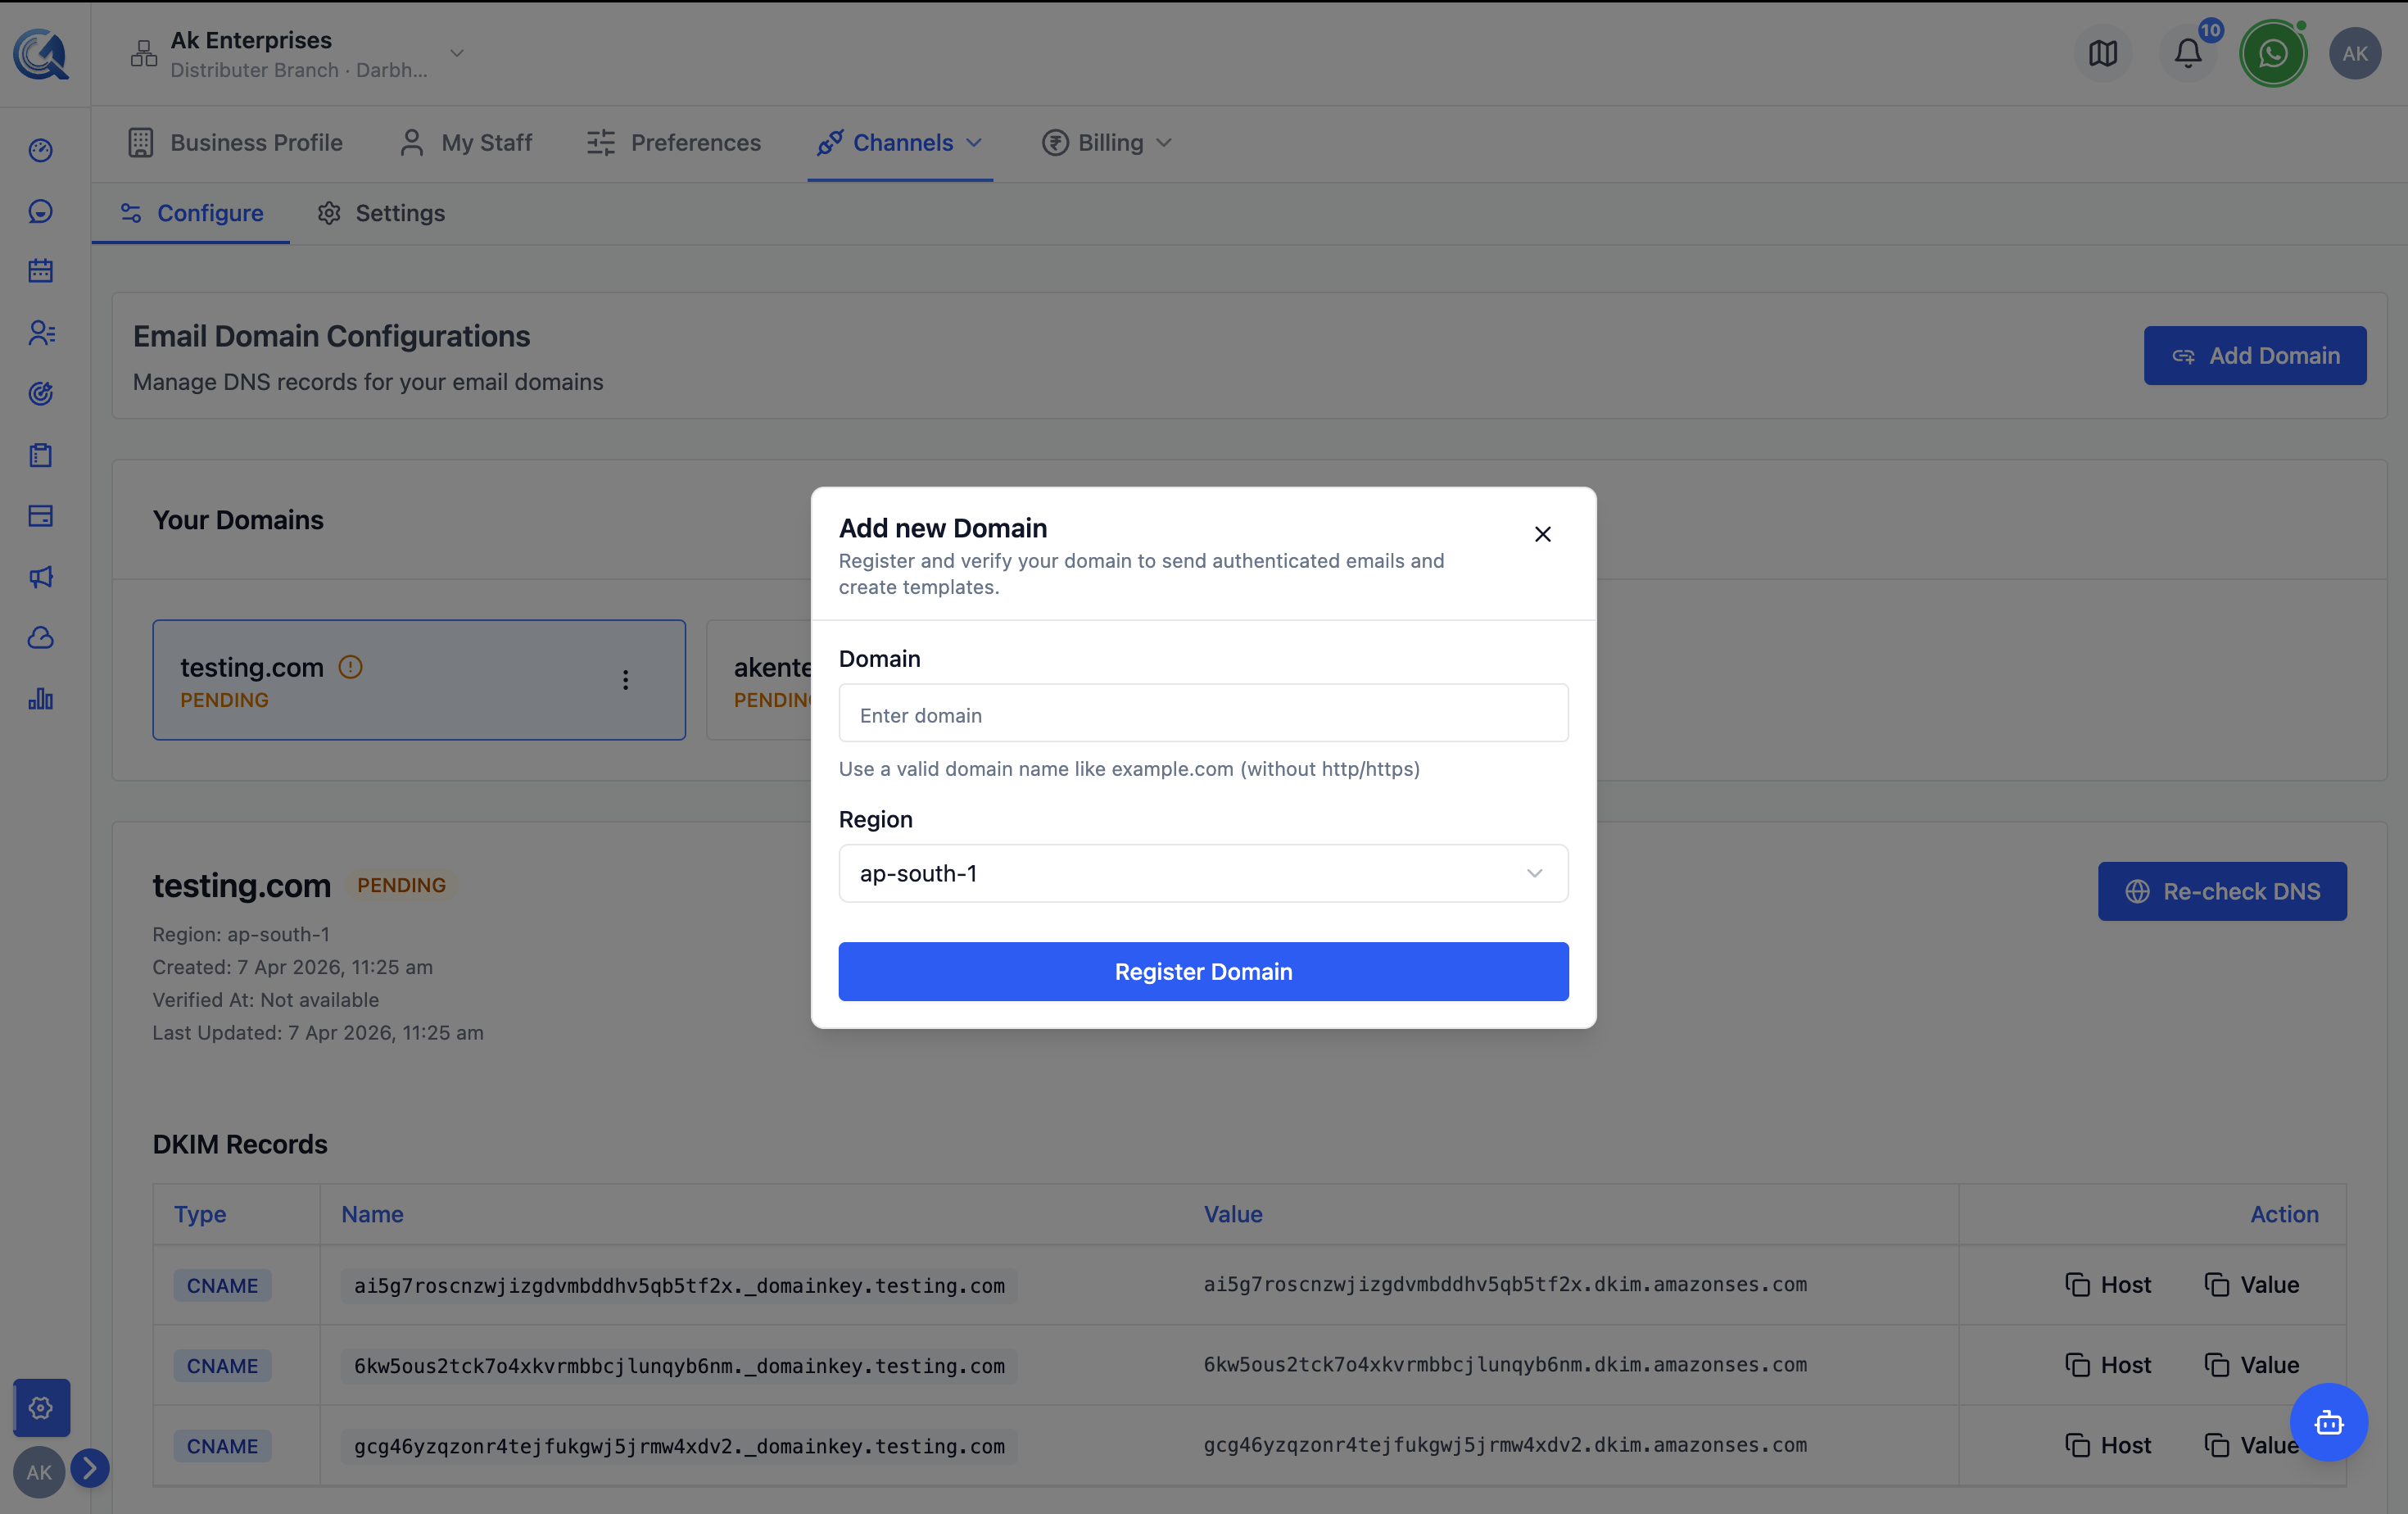 Enter the domain you want to use for sending email.
QuantixOne will generate the DNS records required to verify ownership and authorize sending.
Adding DNS Records
After registration, QuantixOne provides a set of DNS records you must add to your domain's DNS provider (e.g., Cloudflare, Route 53, GoDaddy, Namecheap).
See DNS Records for the complete list of record types and step-by-step instructions for adding them.
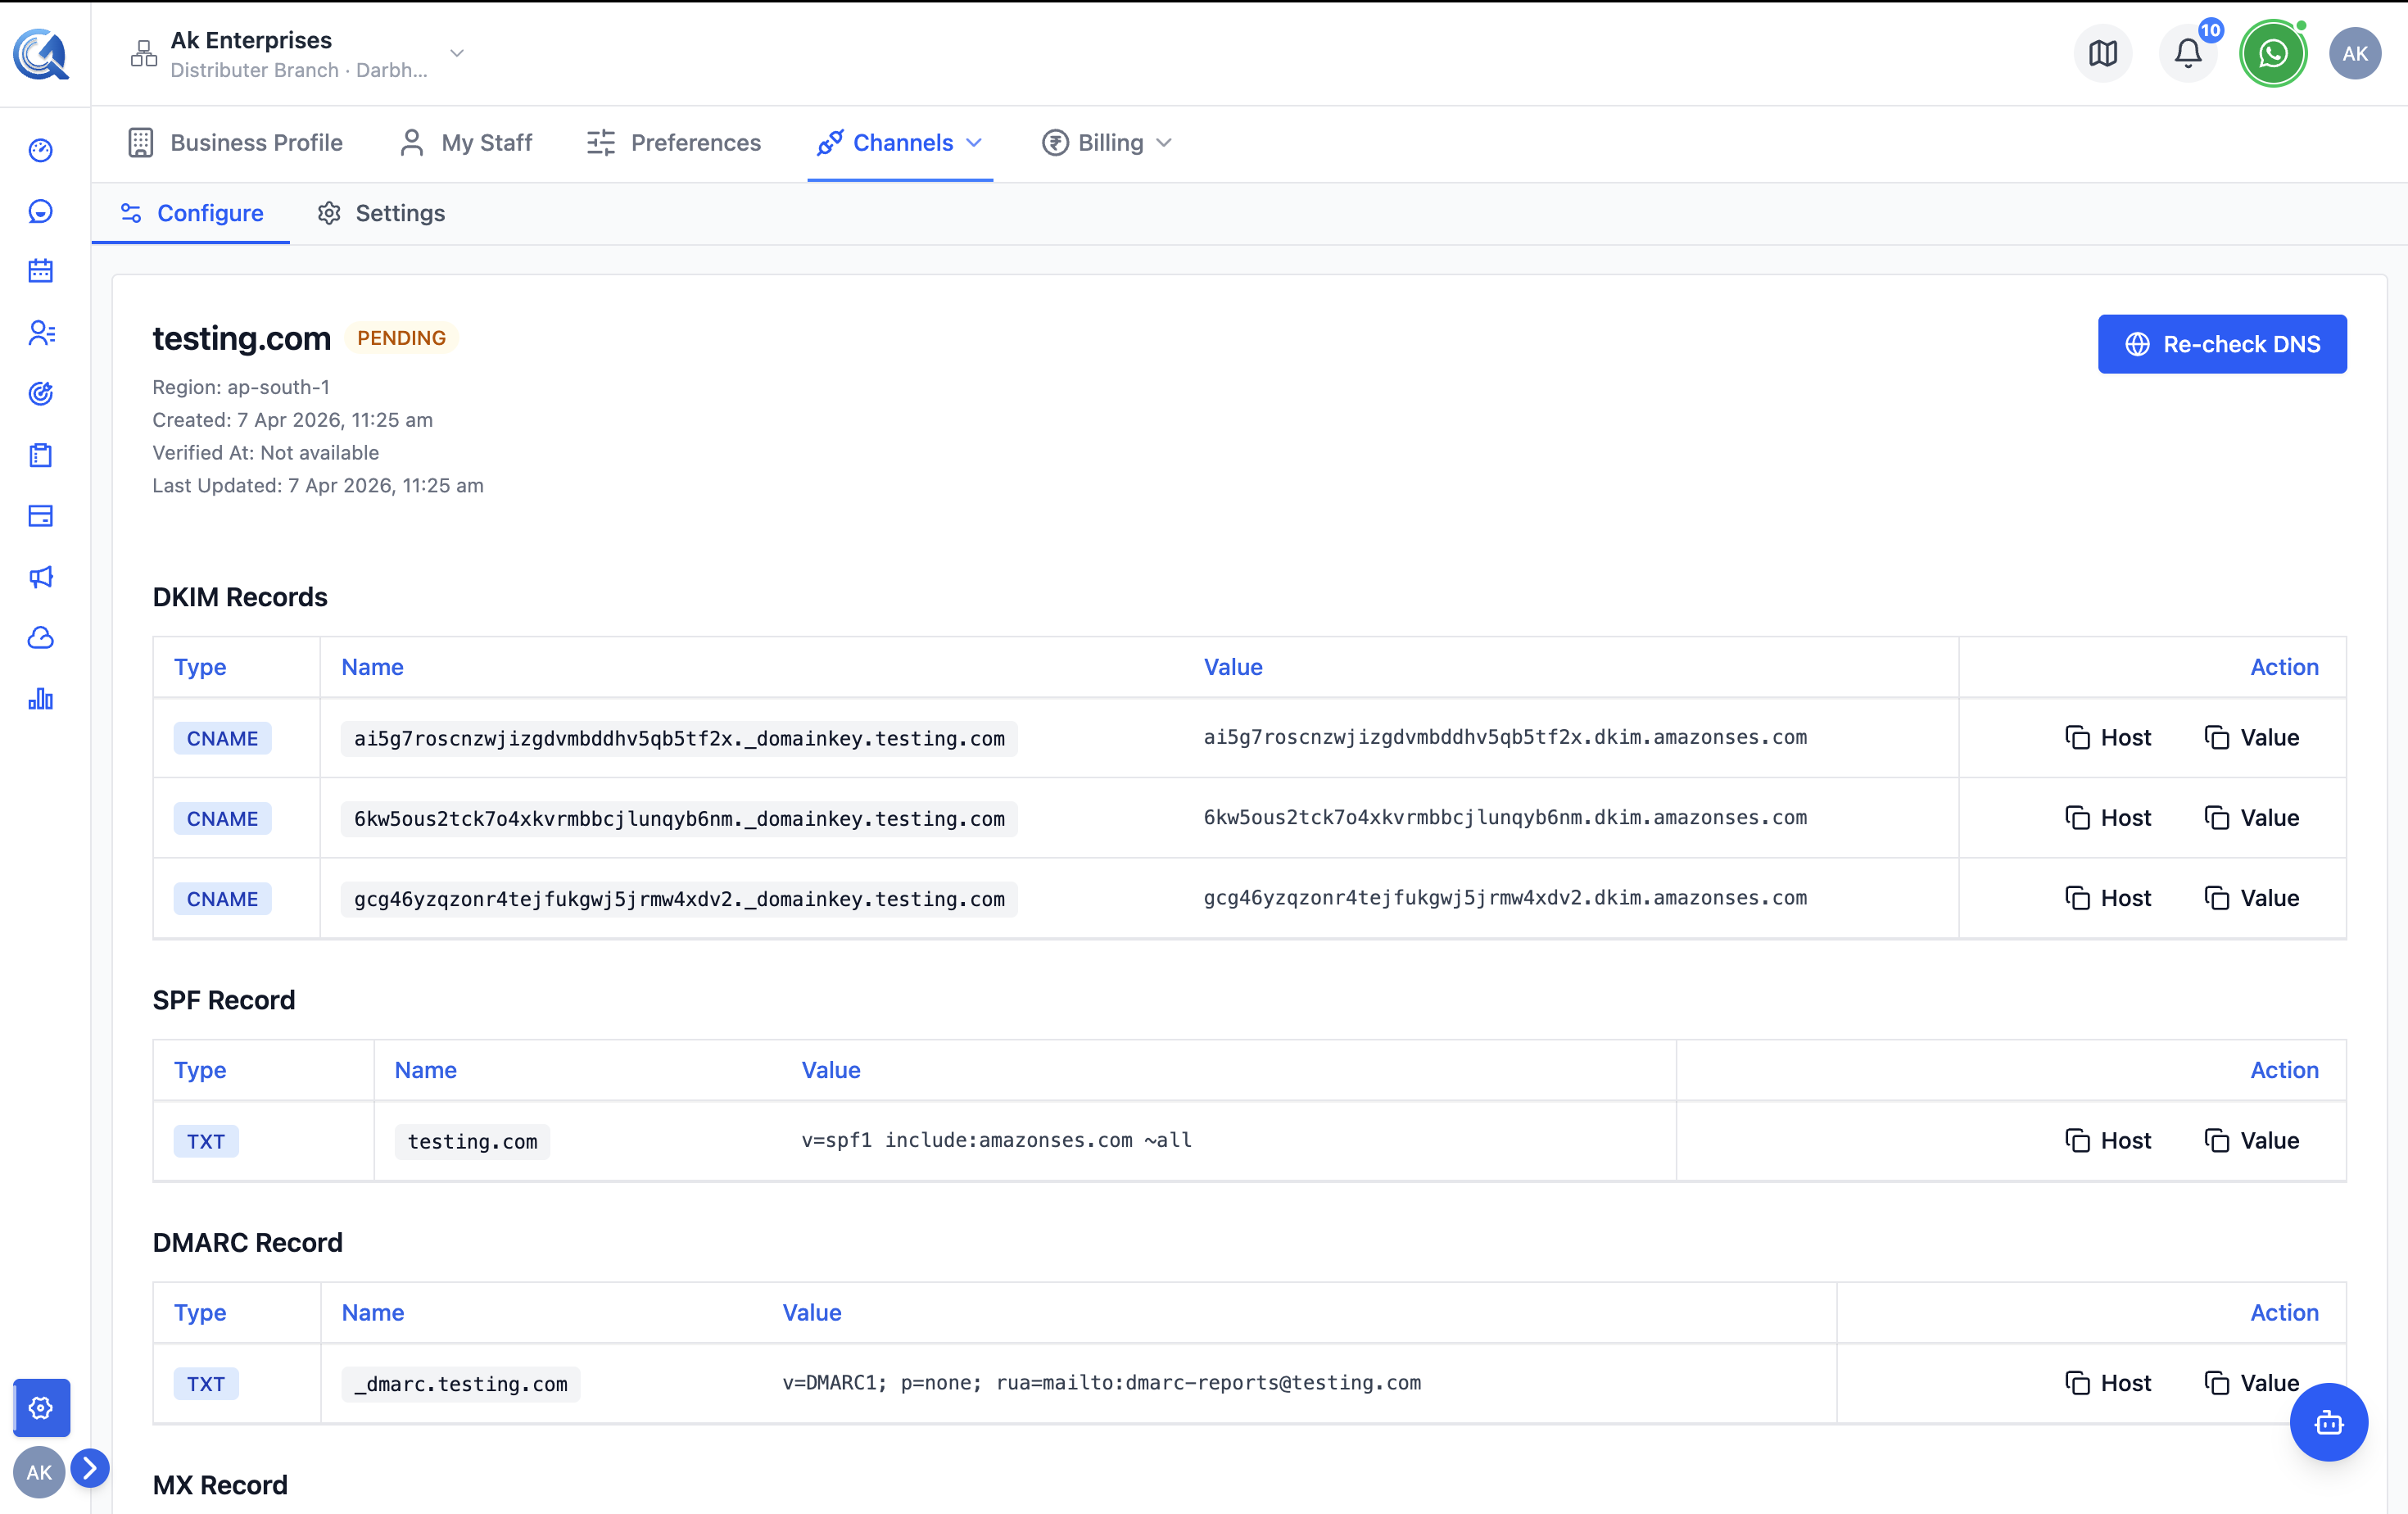 Copy each DNS record and add it to your domain's DNS provider.
Checking Verification Status
After adding the DNS records:
- Return to Settings → Channels → Email → Configure.
- Find your domain in the list.
- Click Verify to trigger a verification check.
The status column updates to:
| Status | Meaning |
|---|---|
| Pending | DNS records have not been detected yet |
| Verified | Domain is verified and ready to send |
| Failed | Verification failed — check DNS records |
After adding records to your DNS provider, changes may not be visible to QuantixOne immediately. If Verify shows Pending or Failed, wait a few hours and try again before assuming the records are wrong. Use a tool like MXToolbox to confirm propagation from outside your network.
DNS propagation can take up to 48 hours. If verification fails, double-check that all records were added correctly and try again after some time.
Managing Multiple Domains
You can register multiple domains. All verified domains are available as sending options in the email composer's From address selector.
Removing a Domain
All sender identities tied to this domain become unusable the moment it is deleted. Staff members will lose access to those From addresses and any in-flight emails using the domain may fail.
To remove a domain:
- Click the Delete icon next to the domain in the list.
- Confirm the deletion.
Removing a domain stops all email sending from that domain immediately.
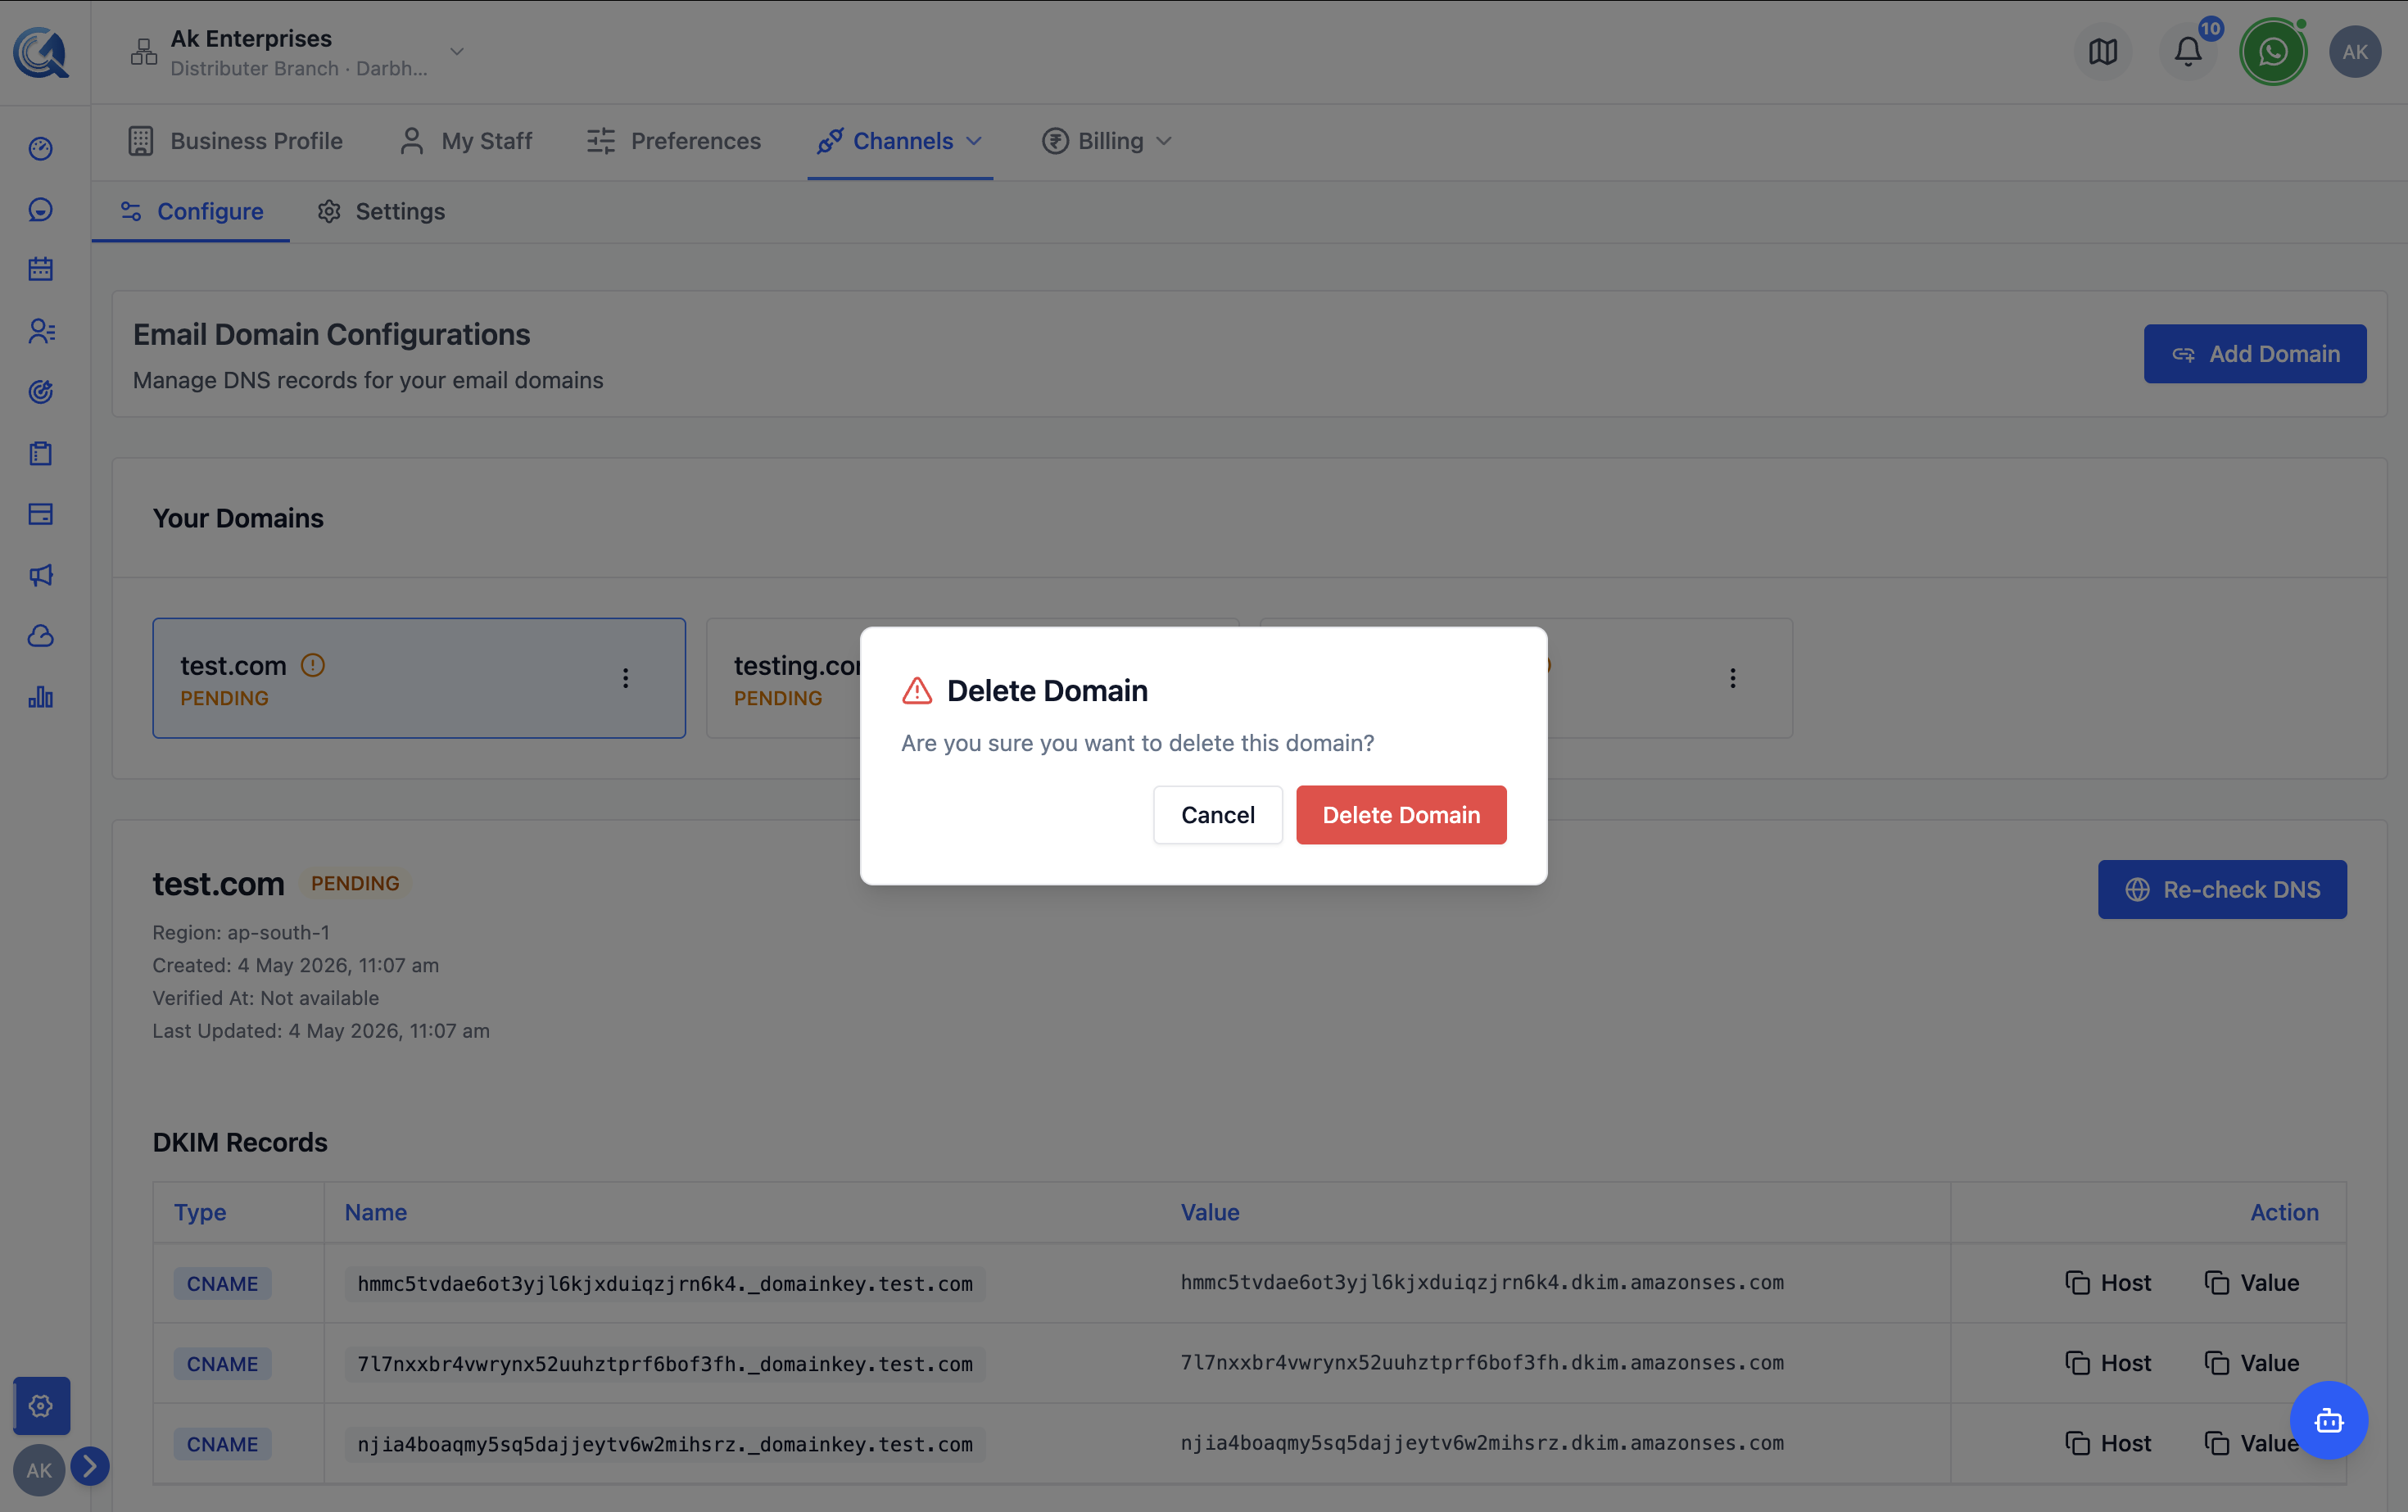 Delete a domain to stop using it for email sending.