Using Variables
Variables let you personalize email templates with data from the contact's record — such as their first name, company, or any custom field. When the template is applied in the composer, you map each variable to its value before sending.
Variable Syntax
Variables use double curly-brace syntax:
{{variable_name}}
For example:
{{contact.first_name}}— Contact's first name{{contact.last_name}}— Contact's last name{{contact.email}}— Contact's email address{{contact.company_name}}— Contact's company{{contact.phone}}— Contact's phone number
You can also use any custom fields defined in your account using the same {{field_name}} format.
Use the Preview button in the template builder to see sample values rendered in-place. This catches any formatting issues — like extra spaces or missing punctuation around a variable — before the template goes live.
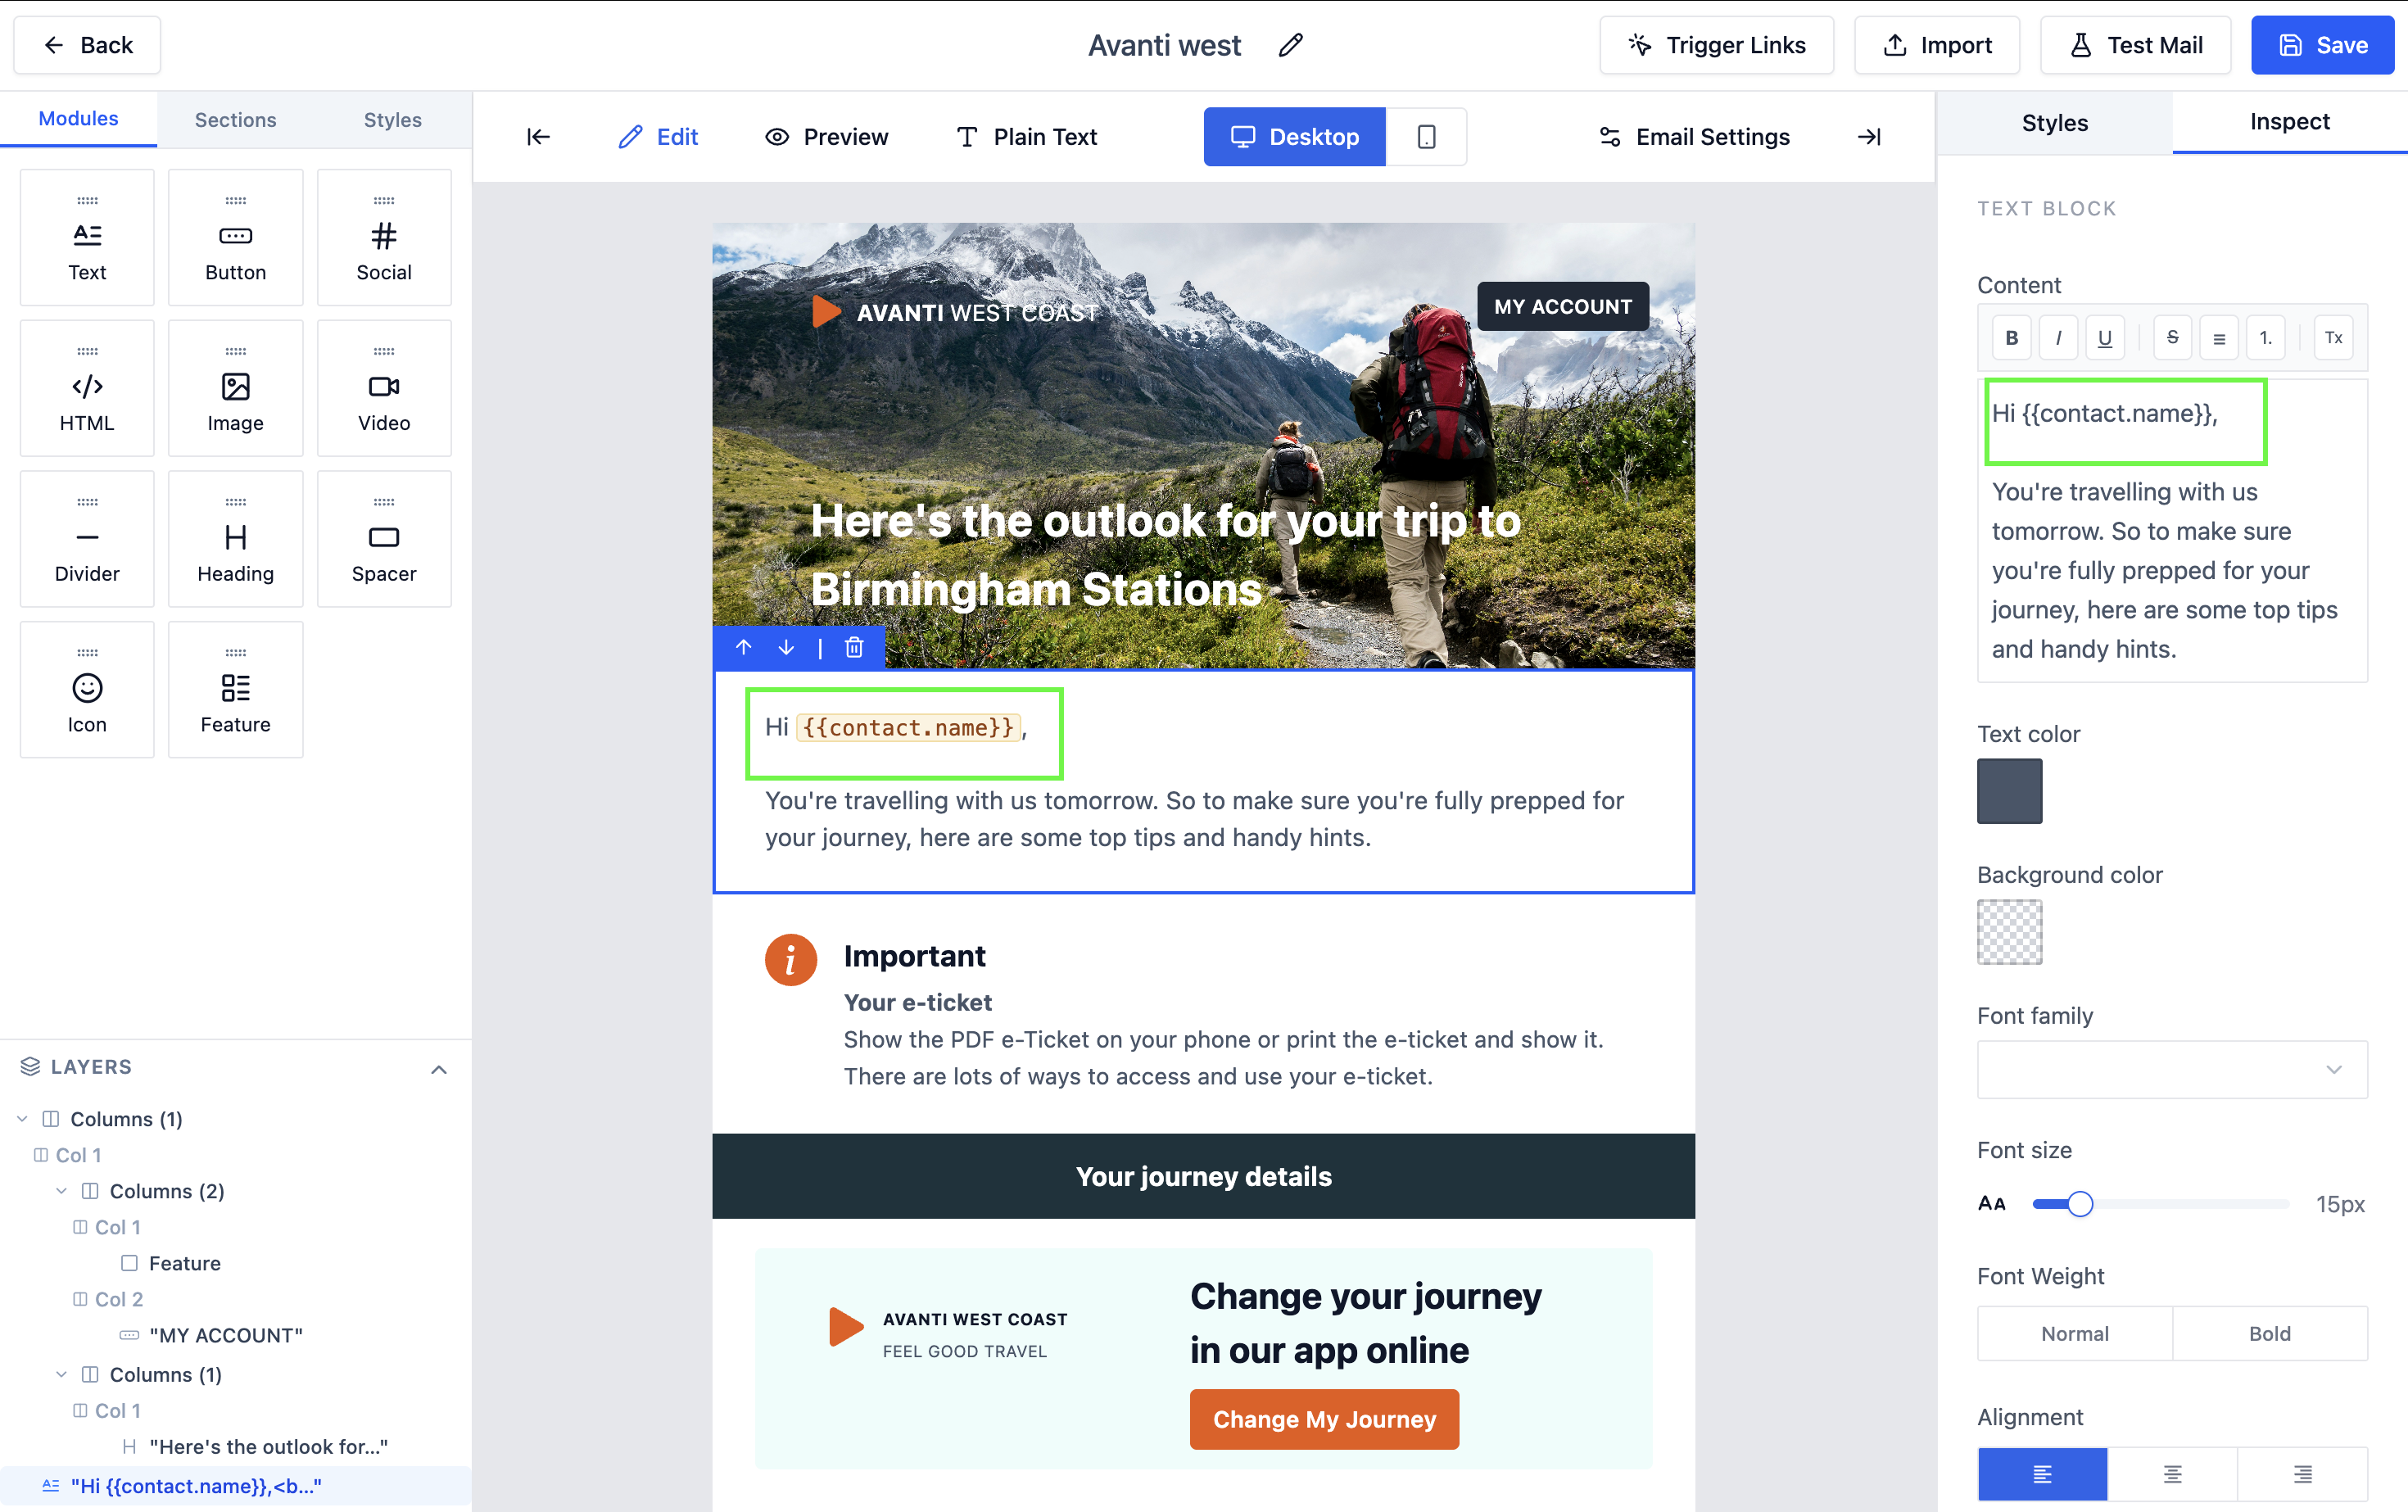
Adding Variables in the Template Builder
In the Text component settings panel:
- Click inside the text area where you want to insert a variable.
- Type
{{to open the variable picker, or type the variable name directly. - Select the variable from the suggestion list.
 The variable picker appears when you type {{ in a text component.
Mapping Variables When Applying a Template
When you apply a template in the email composer, if the template contains variables, a variable mapping panel appears:
- The left column lists every variable found in the template.
- The right column shows the contact field value or lets you enter a custom value.
If you skip the mapping step or leave a variable empty, the literal text {{1}} will appear in the sent email. Always verify all variables are mapped before clicking Apply.
If a contact field is already populated, its value is pre-filled. You can override any value by typing in the right column.
Once all variables are mapped, click Apply to insert the personalized content into the composer.
Previewing Variable Output
In the template builder, click Preview to see the template rendered with sample values substituted for variables.