Upload & Organize Files
Media Storage lets you upload files, create folder hierarchies, rename items, move them between folders, and generate shareable links — all from a single interface.
Uploading Files
Click the Upload button in the top action bar to open the Upload dialog.
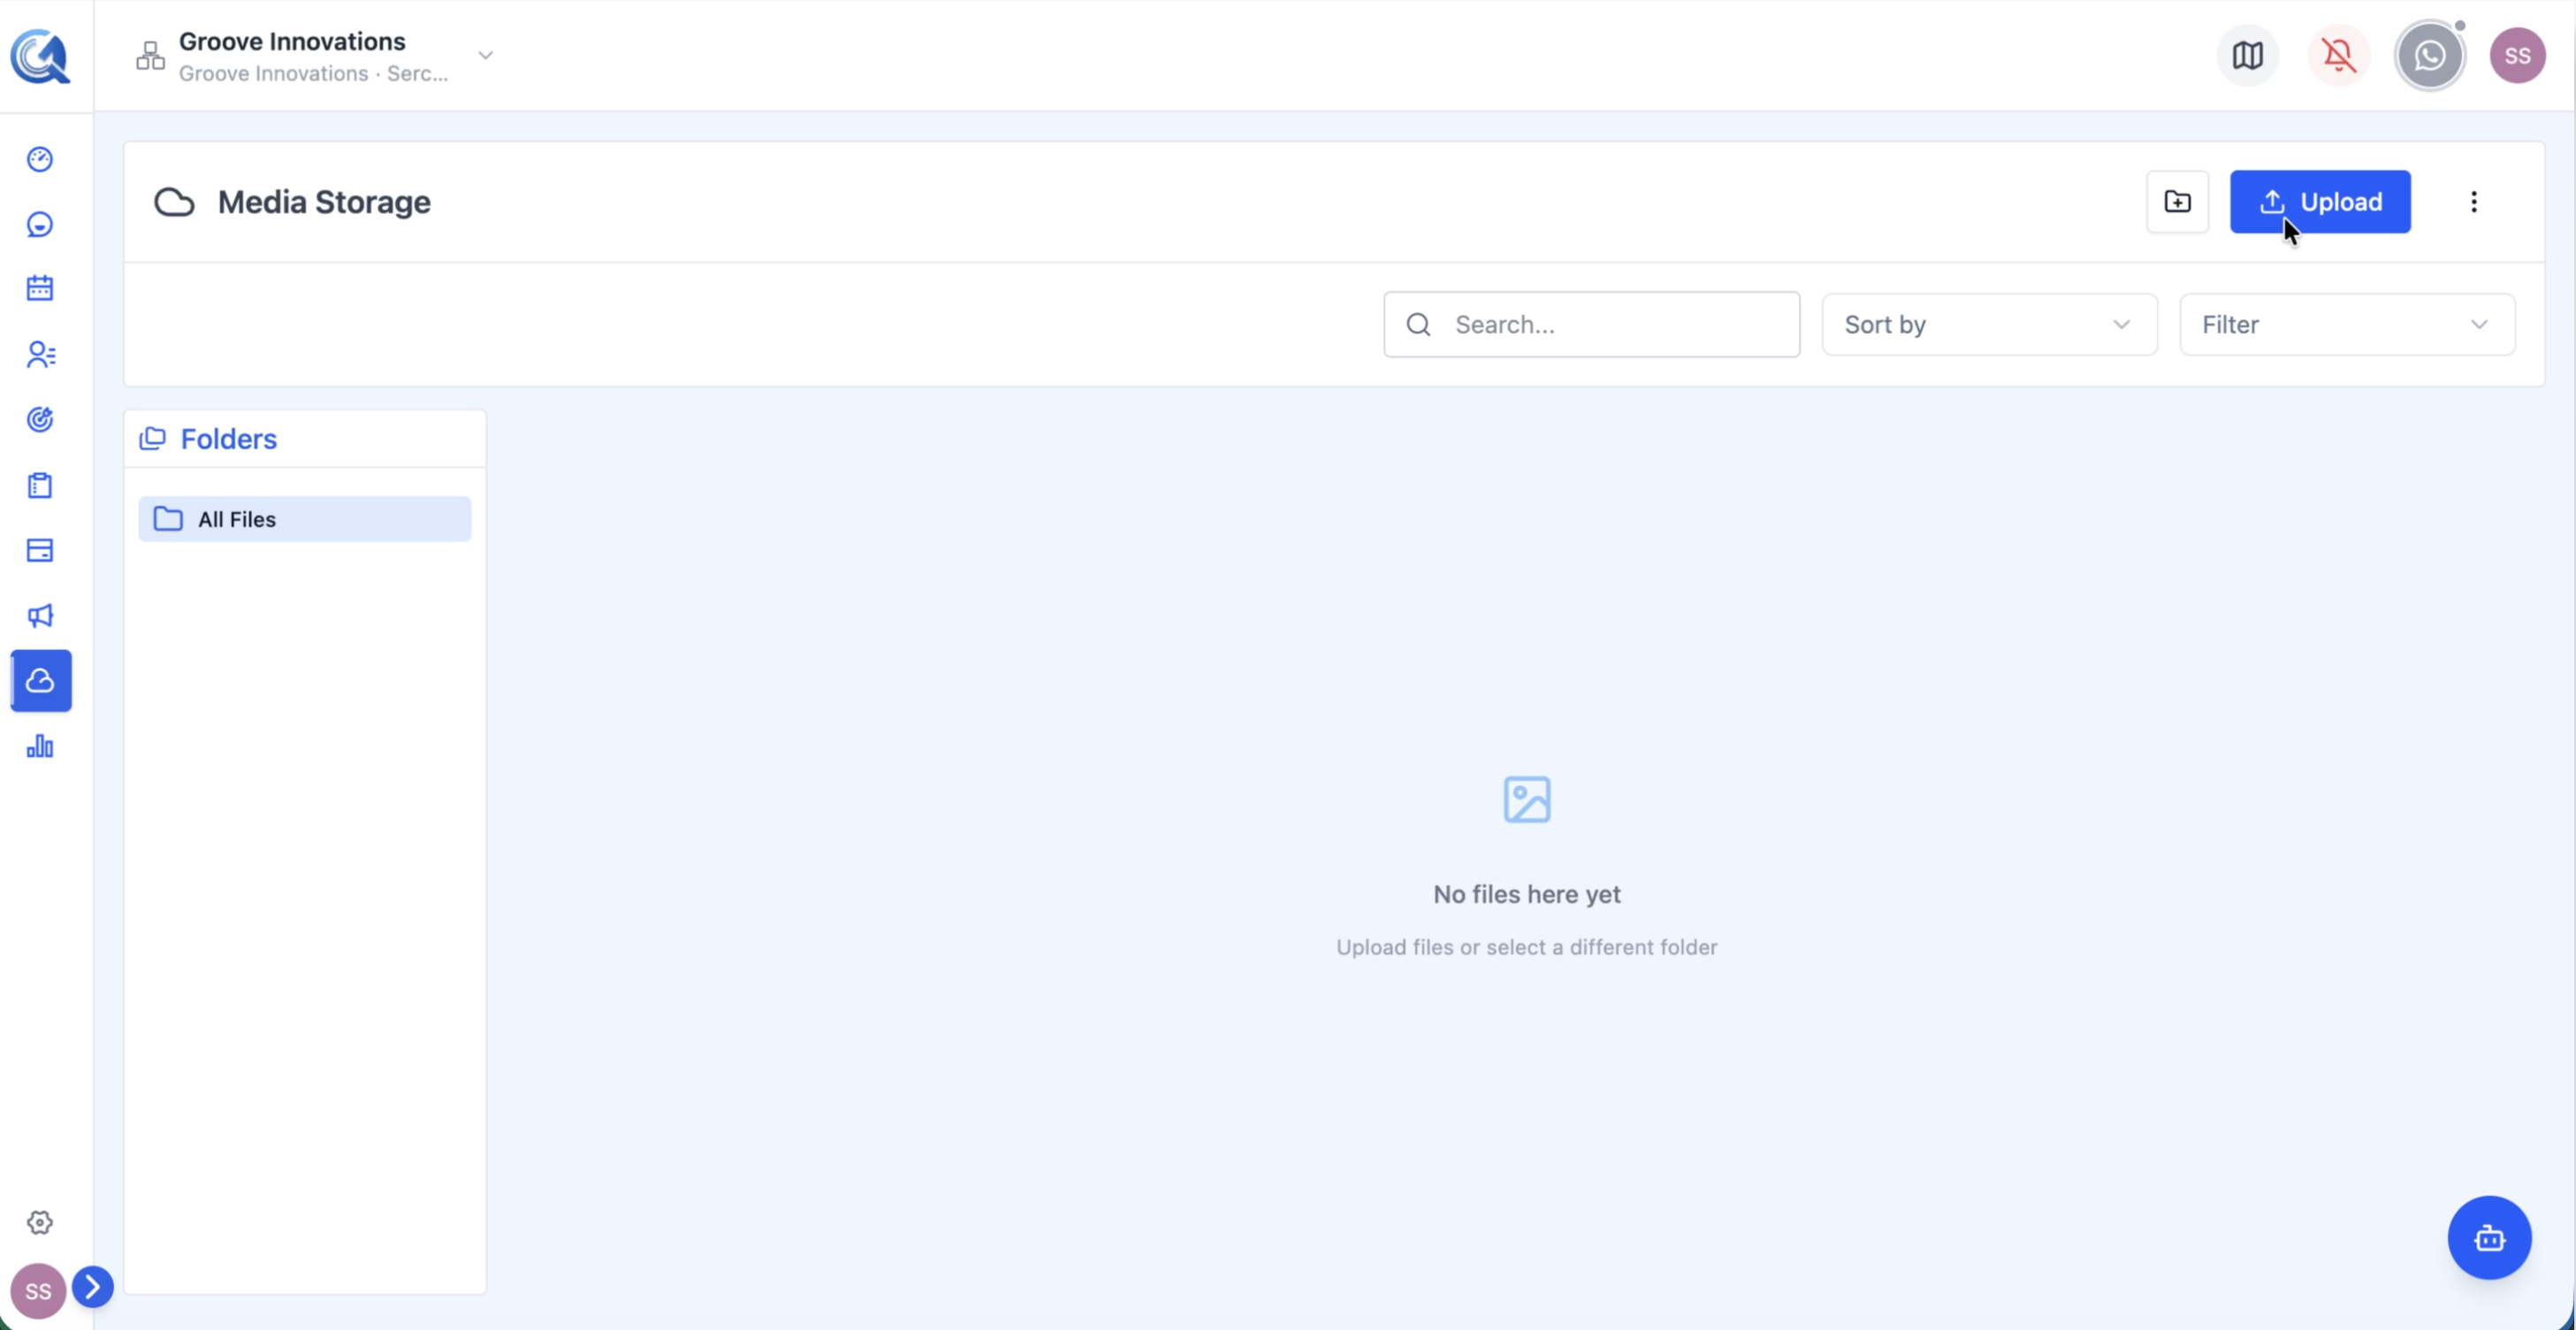 Click Upload to open the file upload dialog.
In the Upload dialog:
- Drag and drop files onto the upload area, or click Browse to select files from your device.
- Select the destination folder from the folder picker if you want to upload into a specific folder (defaults to root).
- Click Upload to begin the transfer.
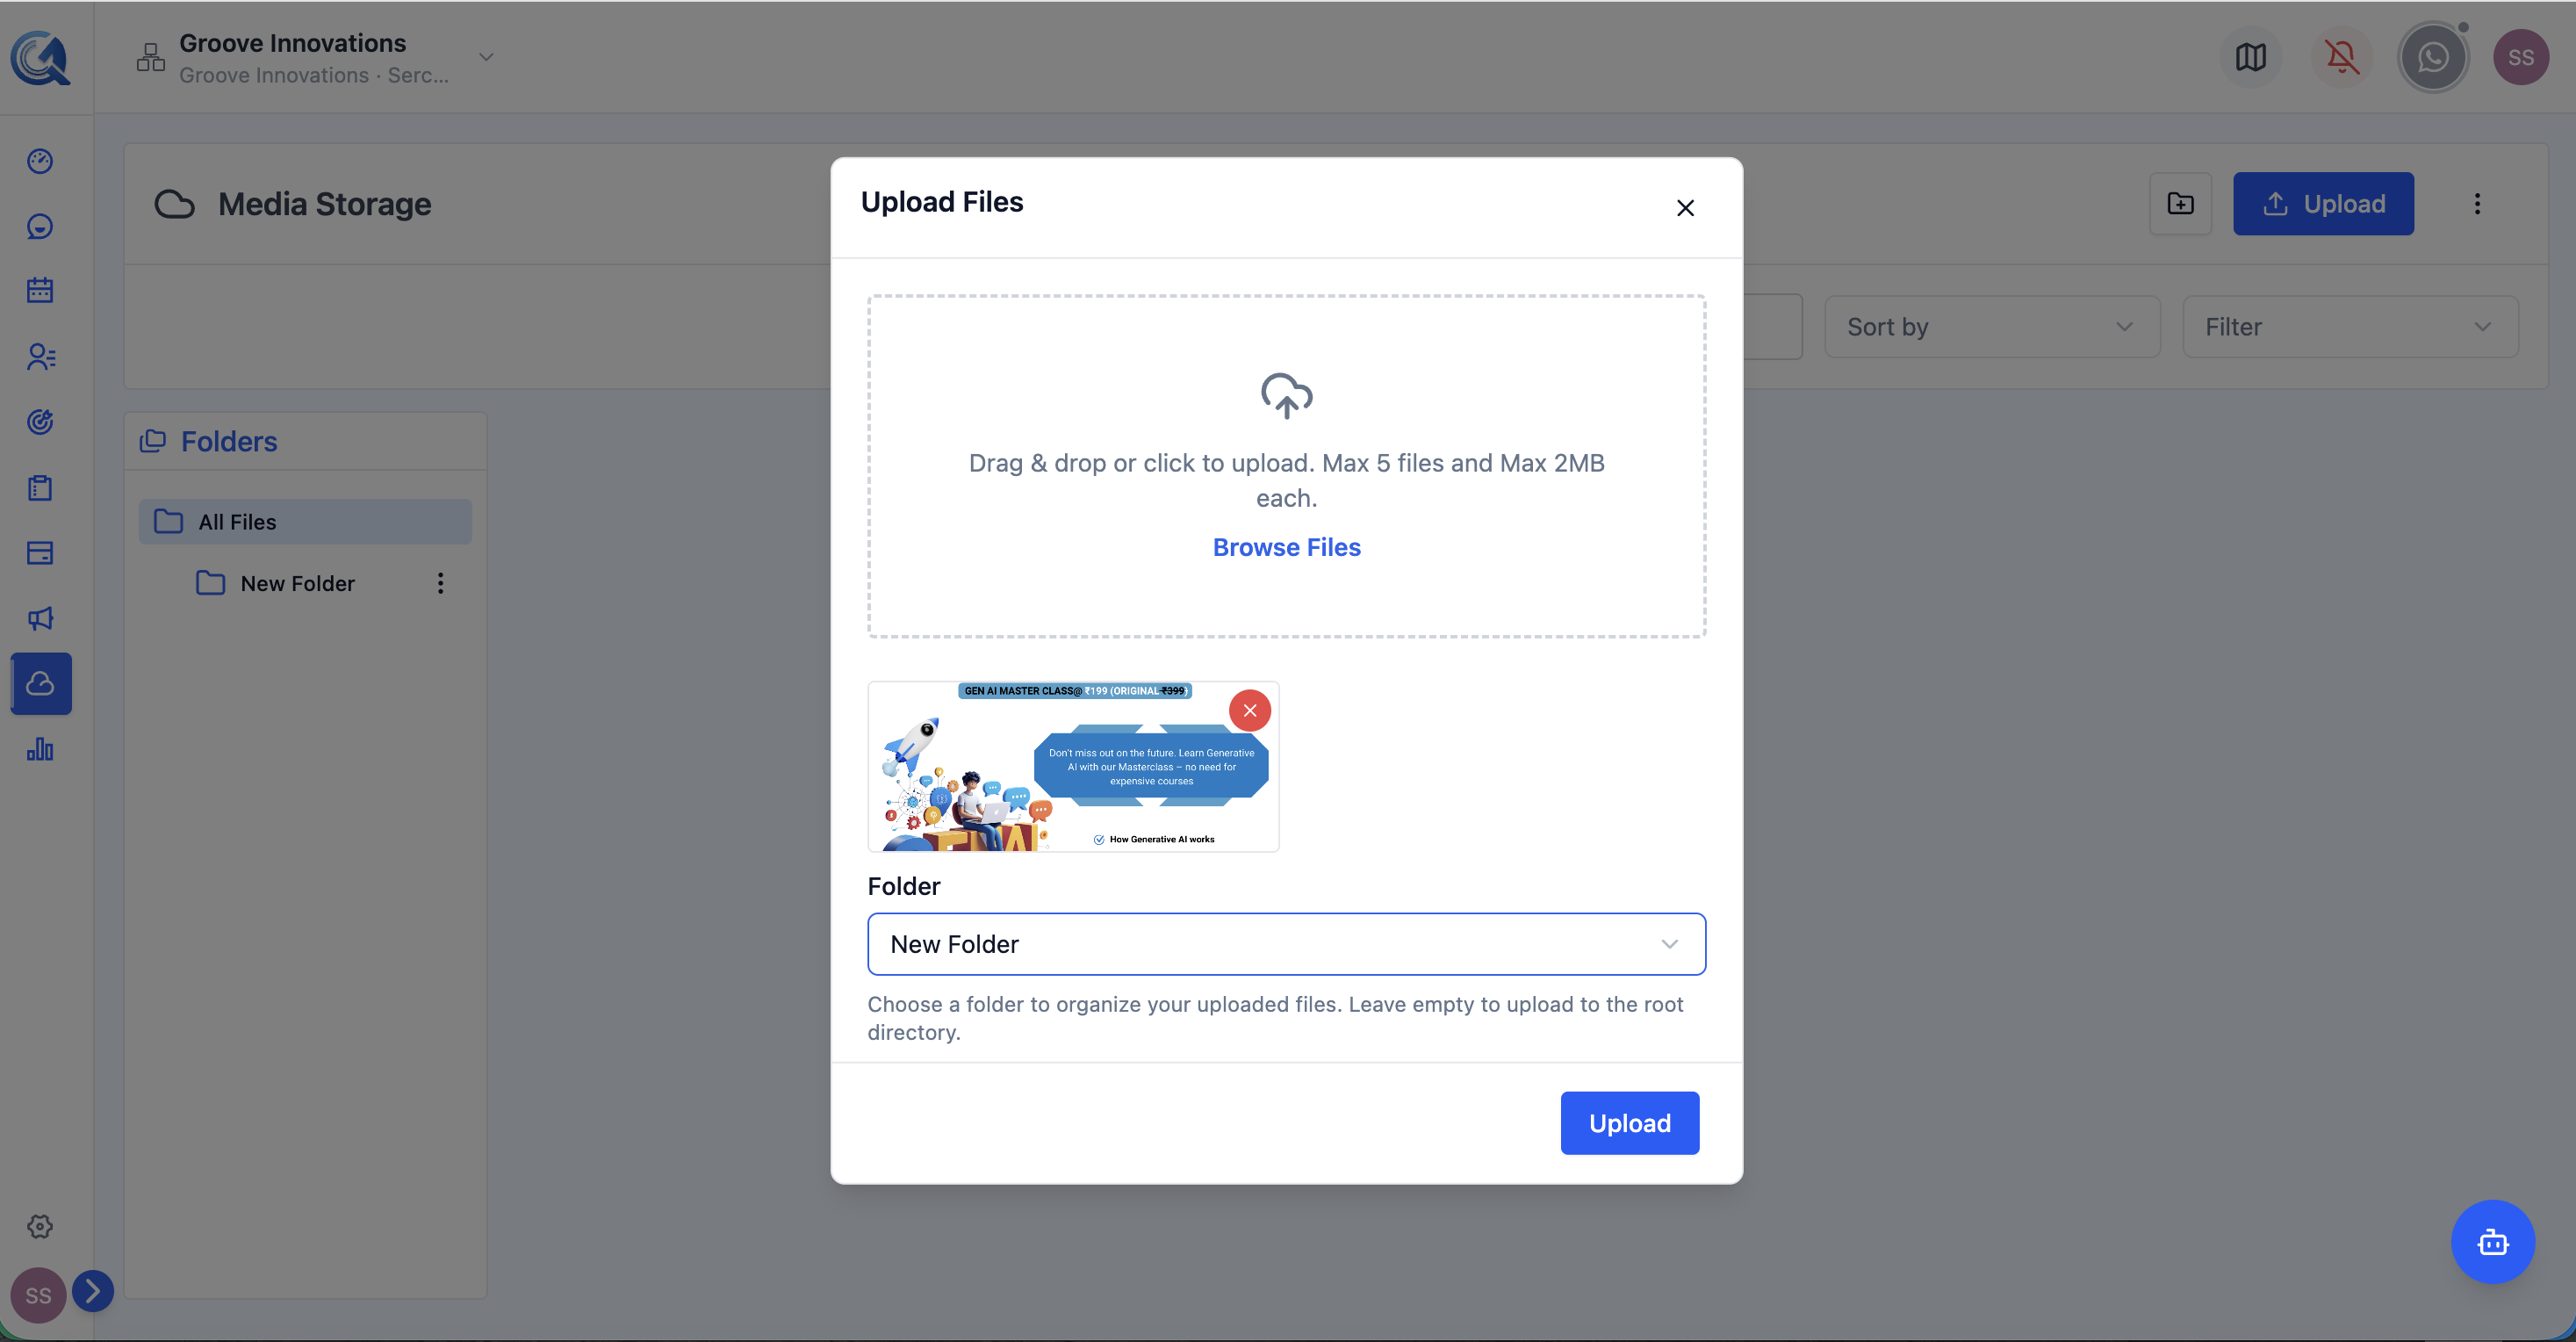 Drag files onto the upload zone or browse your device. Choose a folder before uploading.
Note: You can upload up to 5 files at a time, with a maximum size of 2 MB per file.
Creating a New Folder
Click the New Folder button in the top action bar.
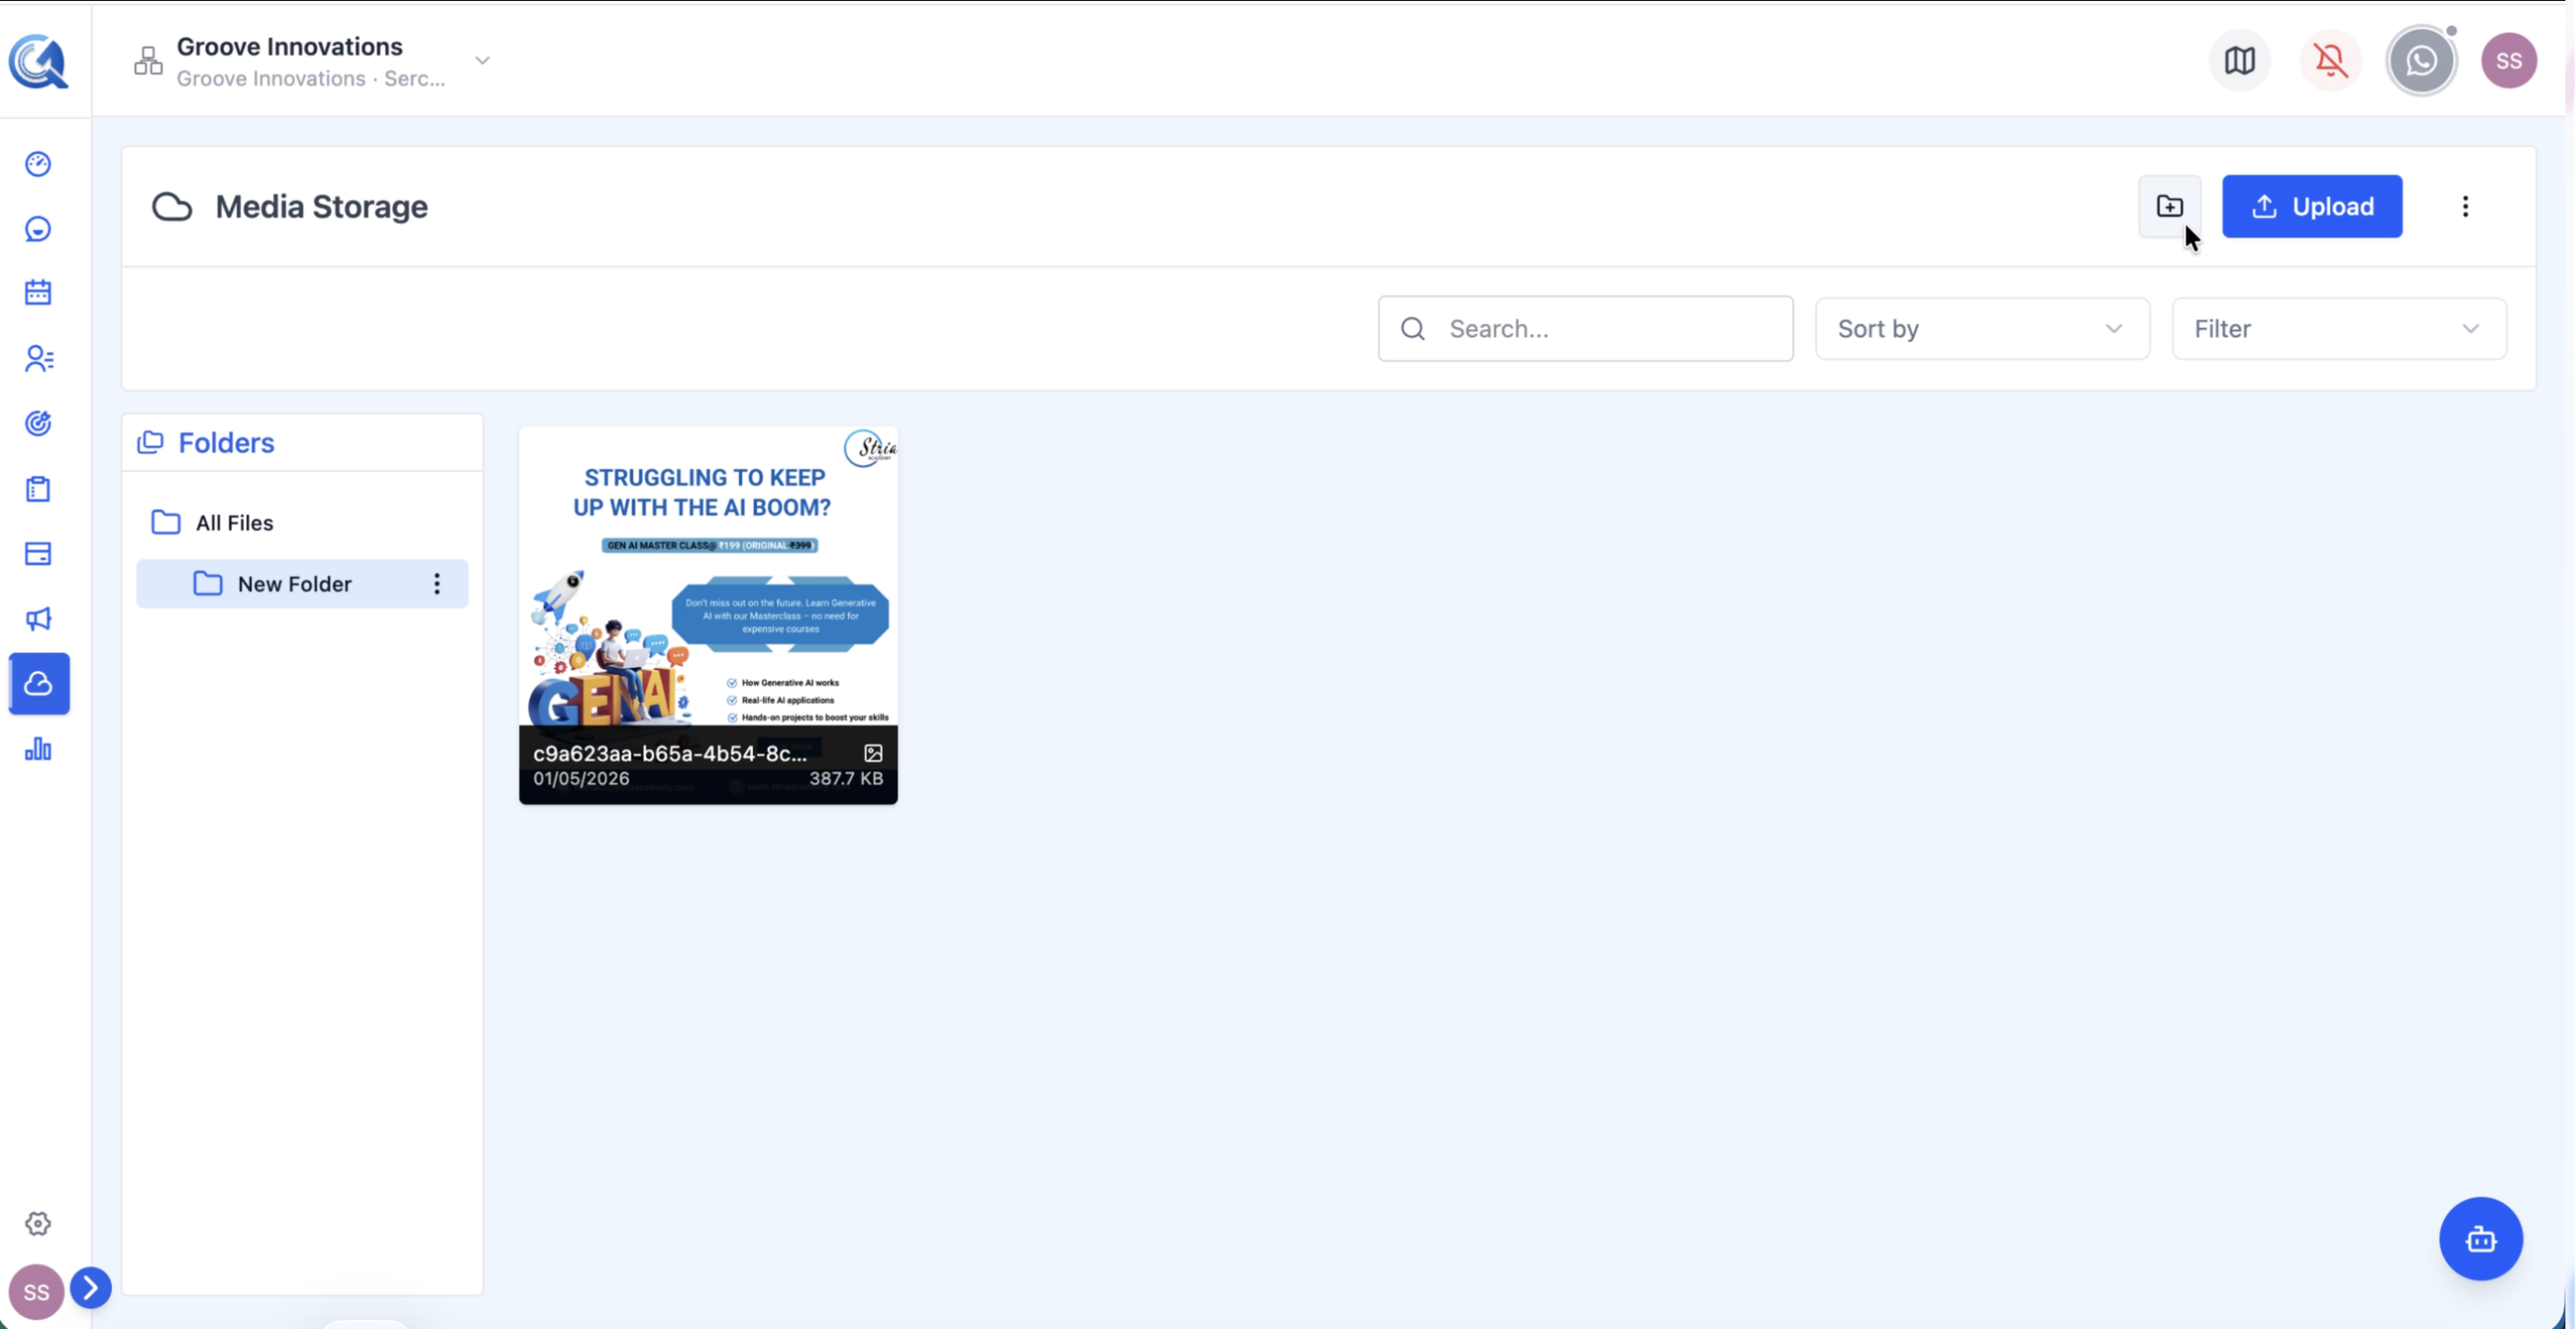 The New Folder button is next to the Upload button.
In the dialog:
- Enter a folder name.
- Optionally select a parent folder to nest the new folder inside an existing one.
- Click Create to save.
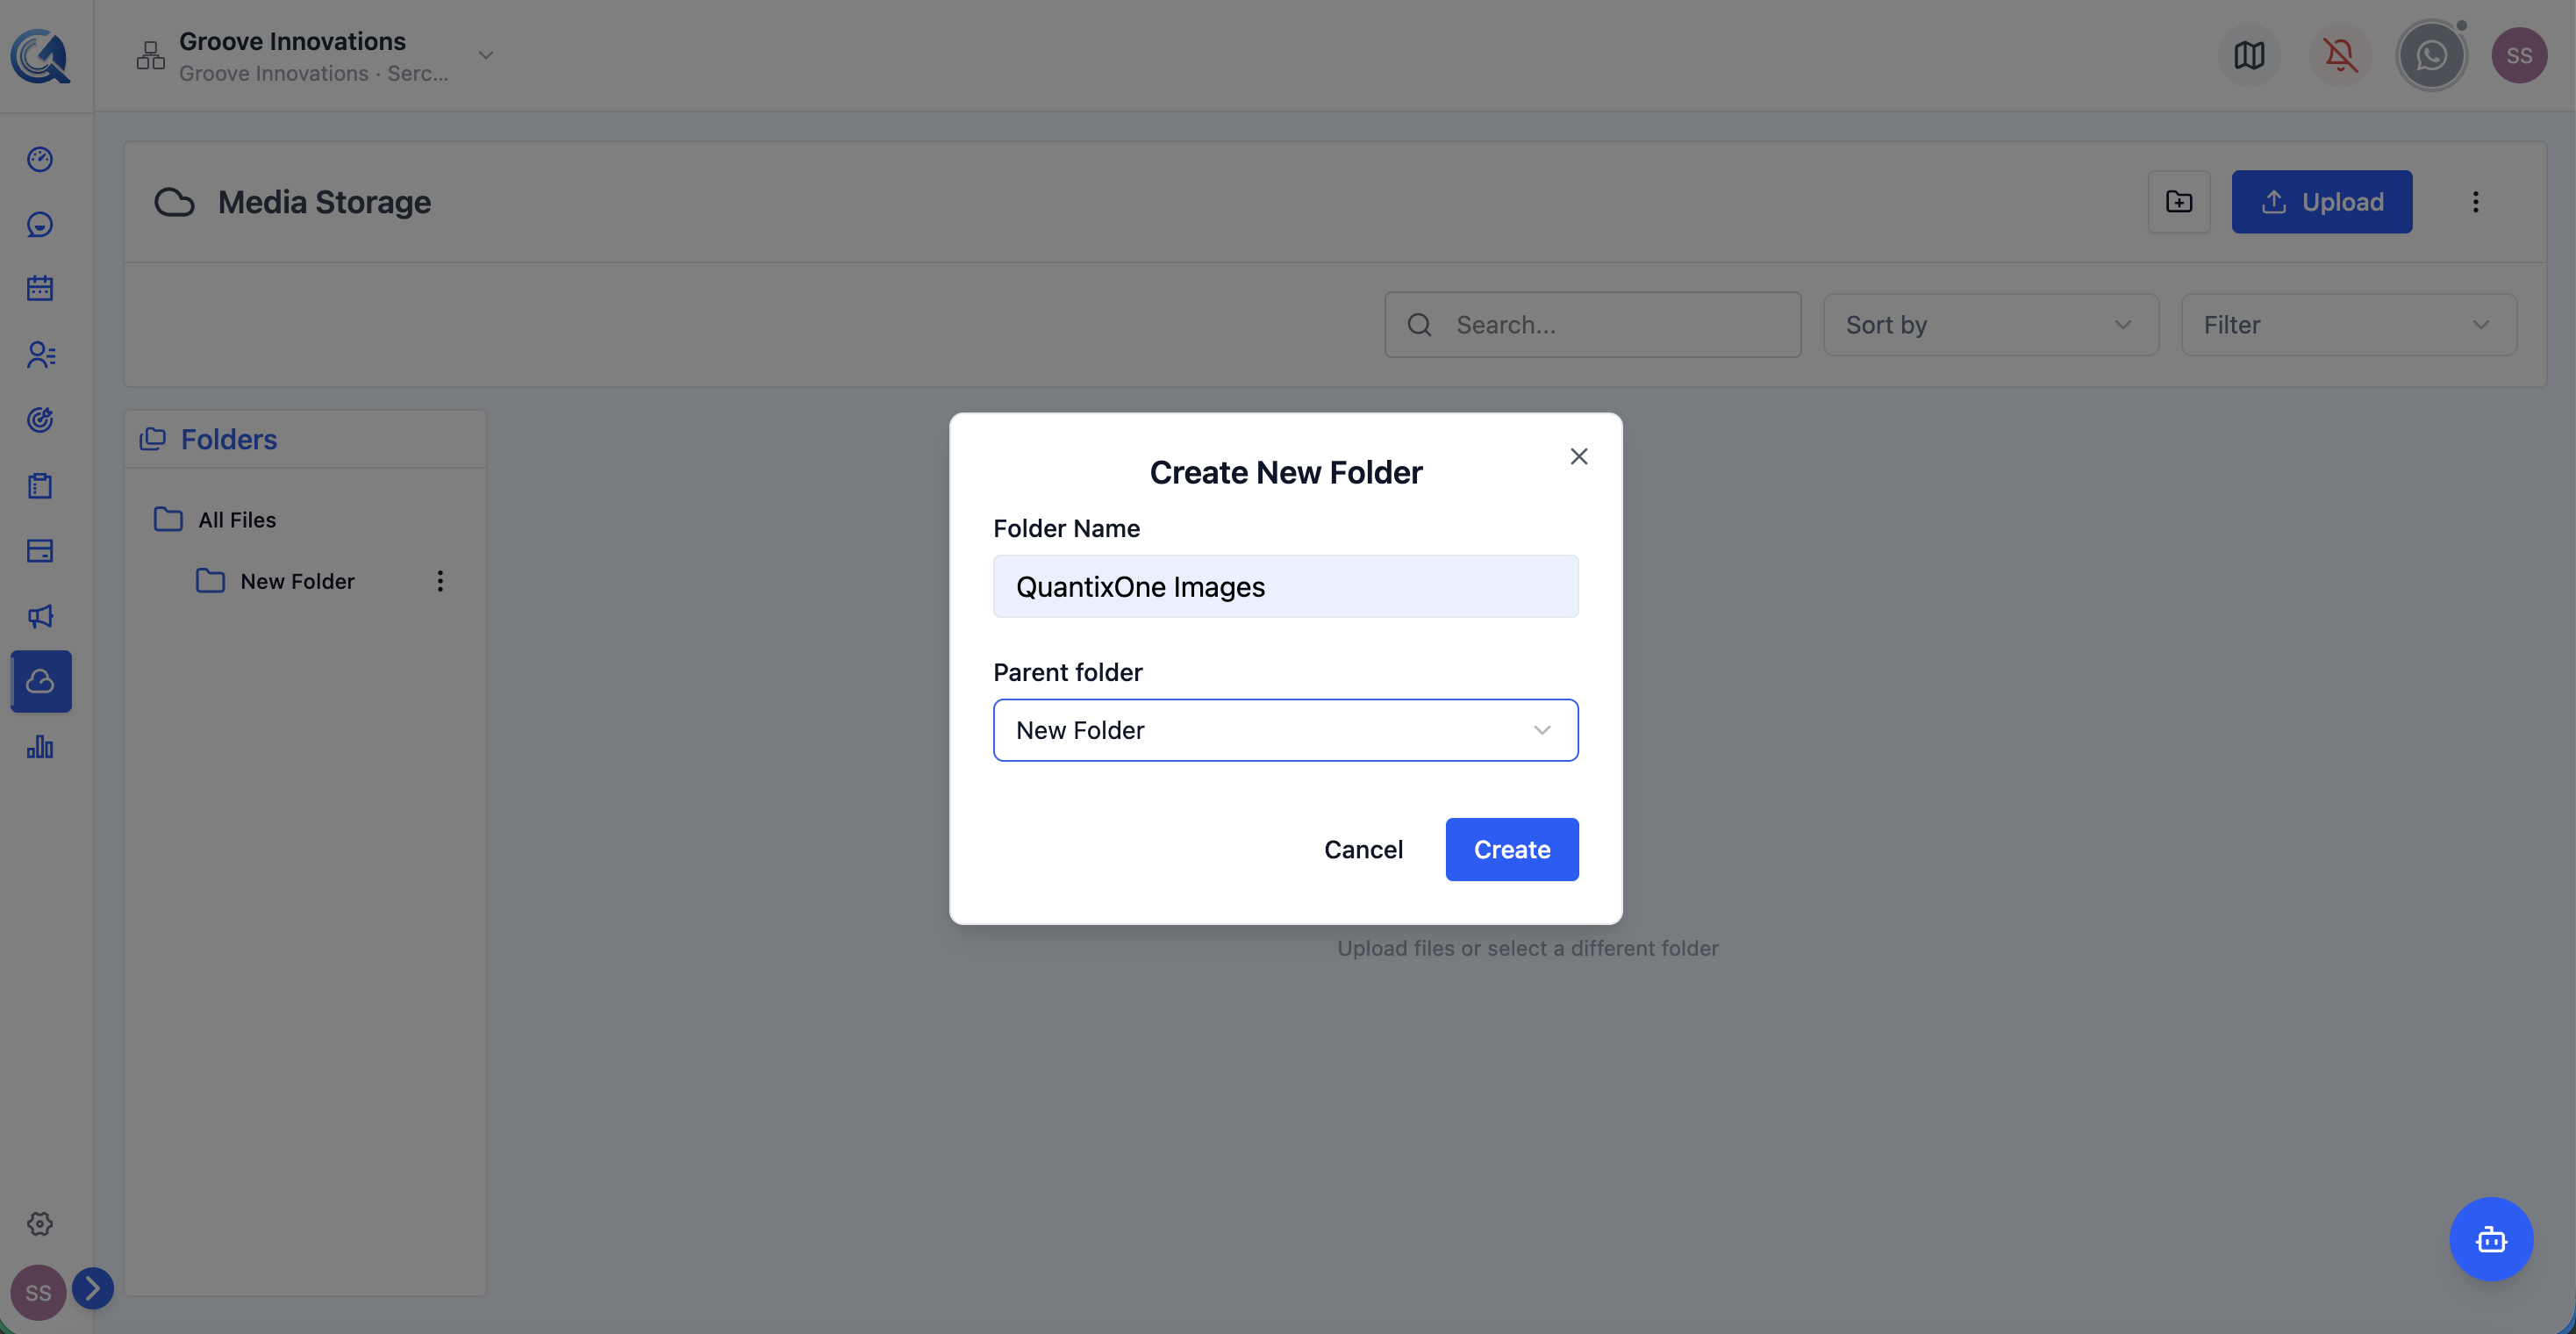 Enter a name and choose a parent folder if needed, then click Create.
Renaming a File or Folder
Hover over any file or folder card and click the ⋮ more actions icon, then select Rename.
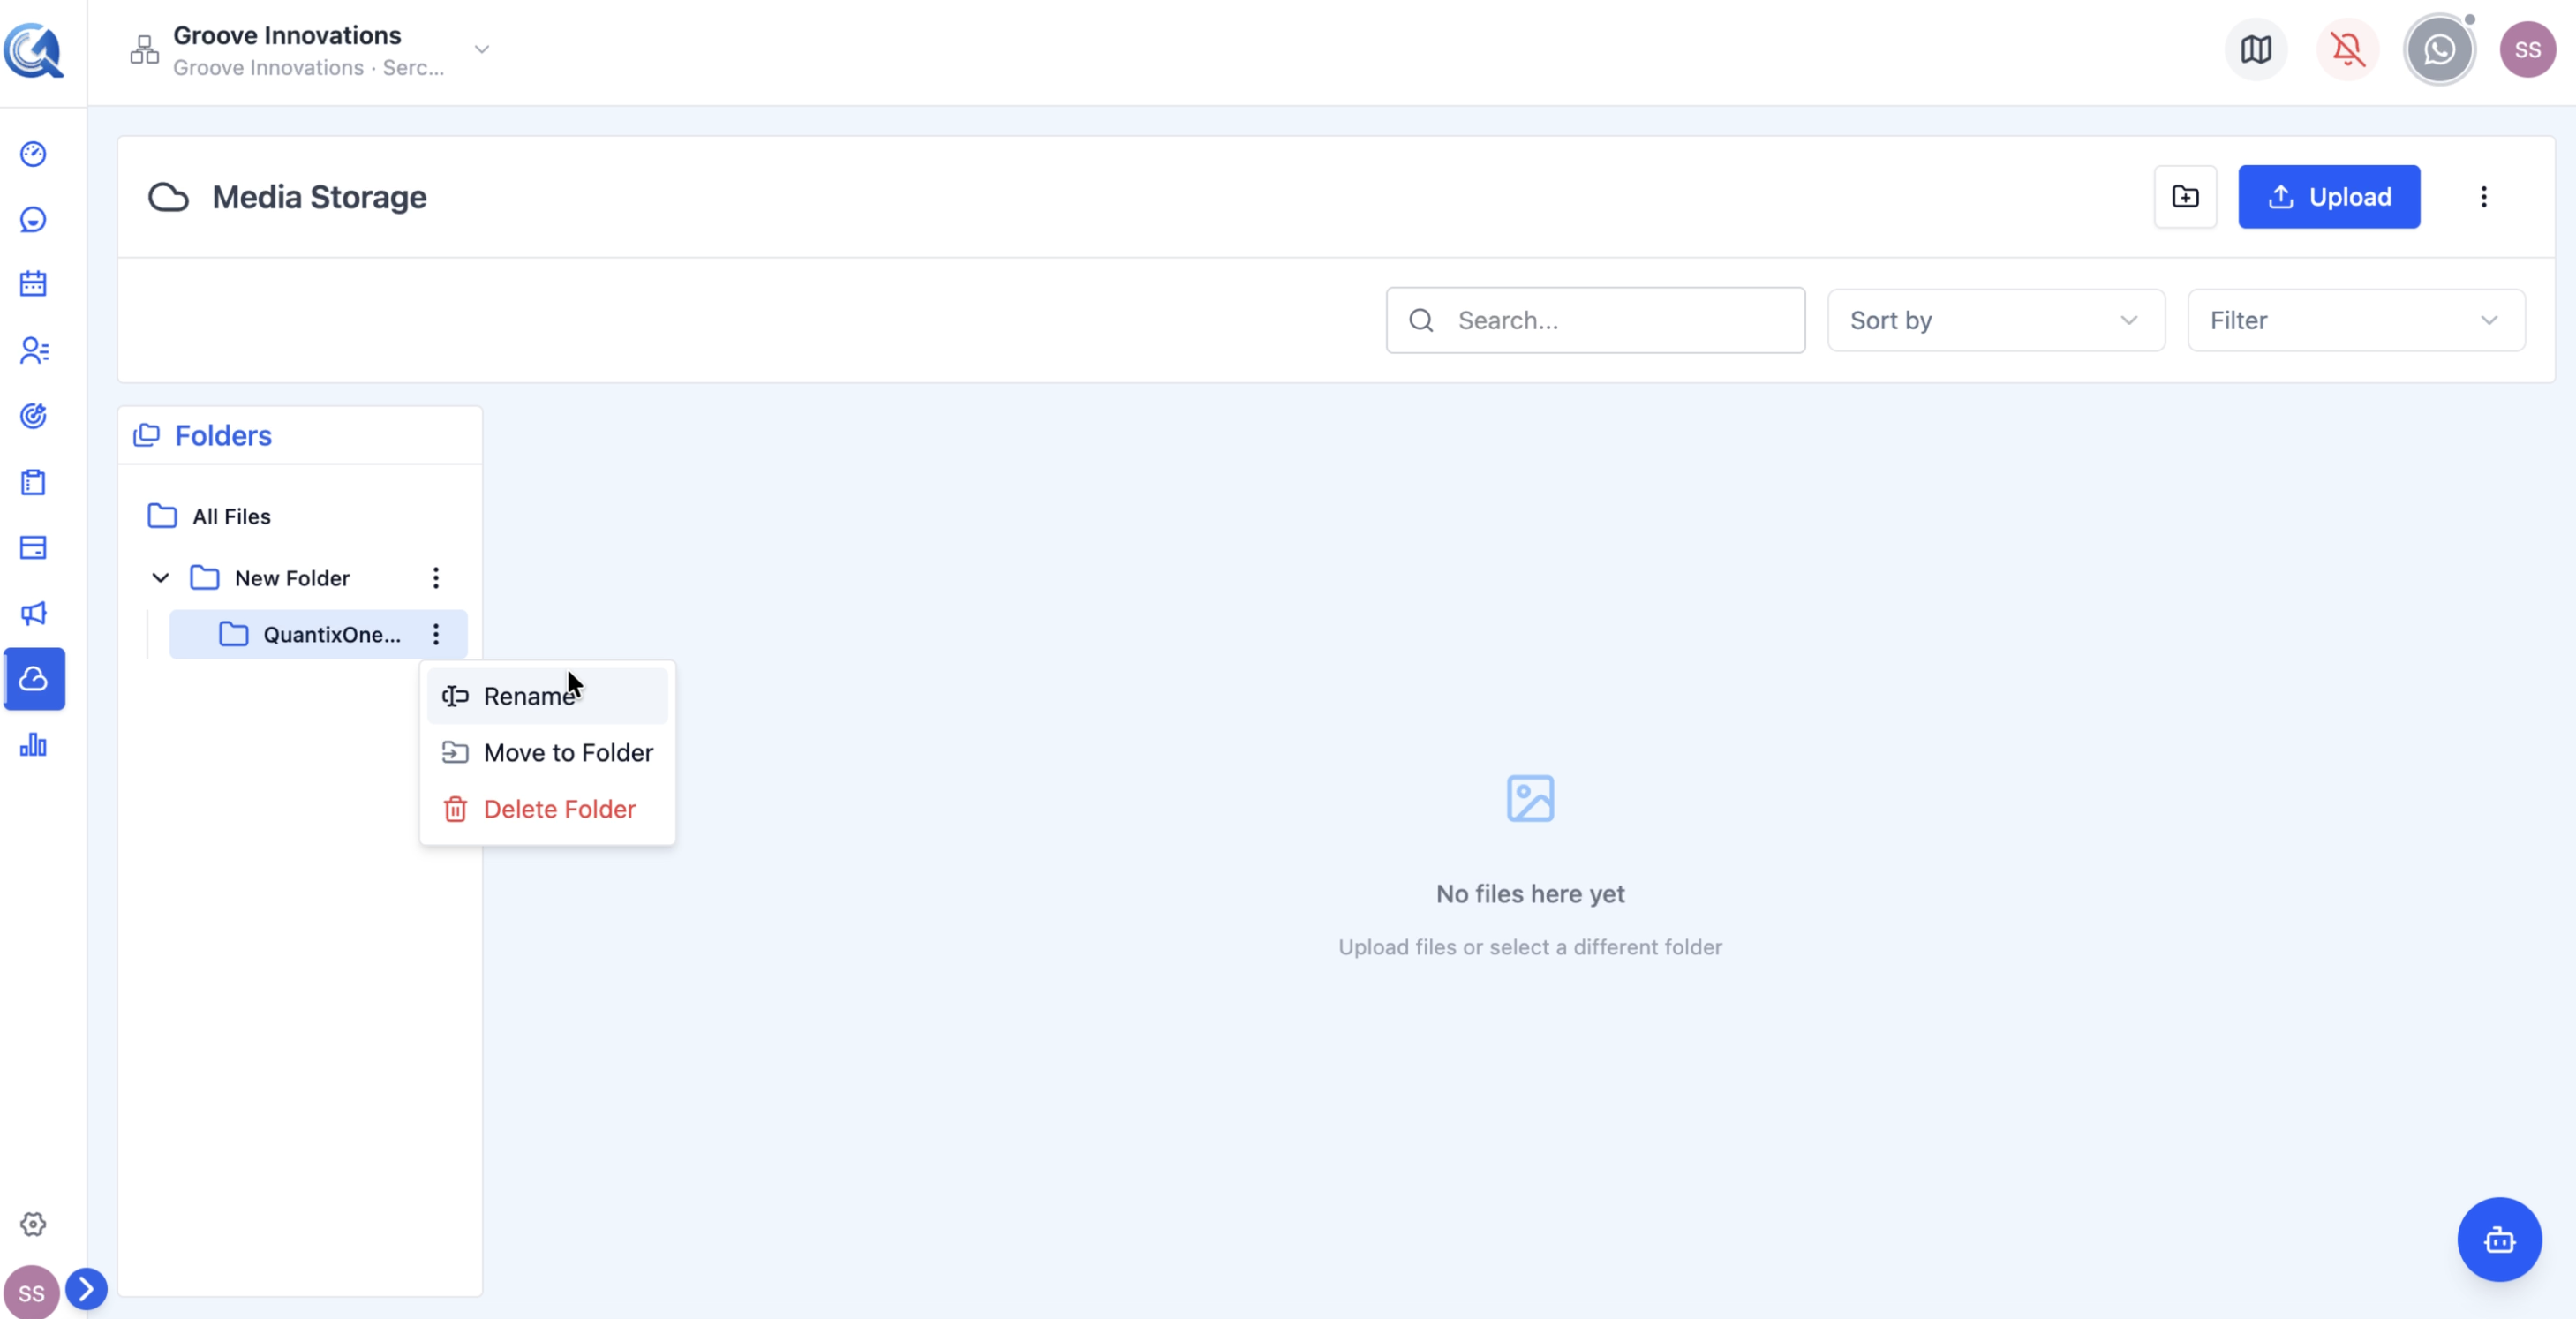 Select Rename from the file or folder's context menu.
Enter the new name in the dialog and click Save.
Moving a File or Folder
From a file or folder's ⋮ context menu, select Move to Folder.
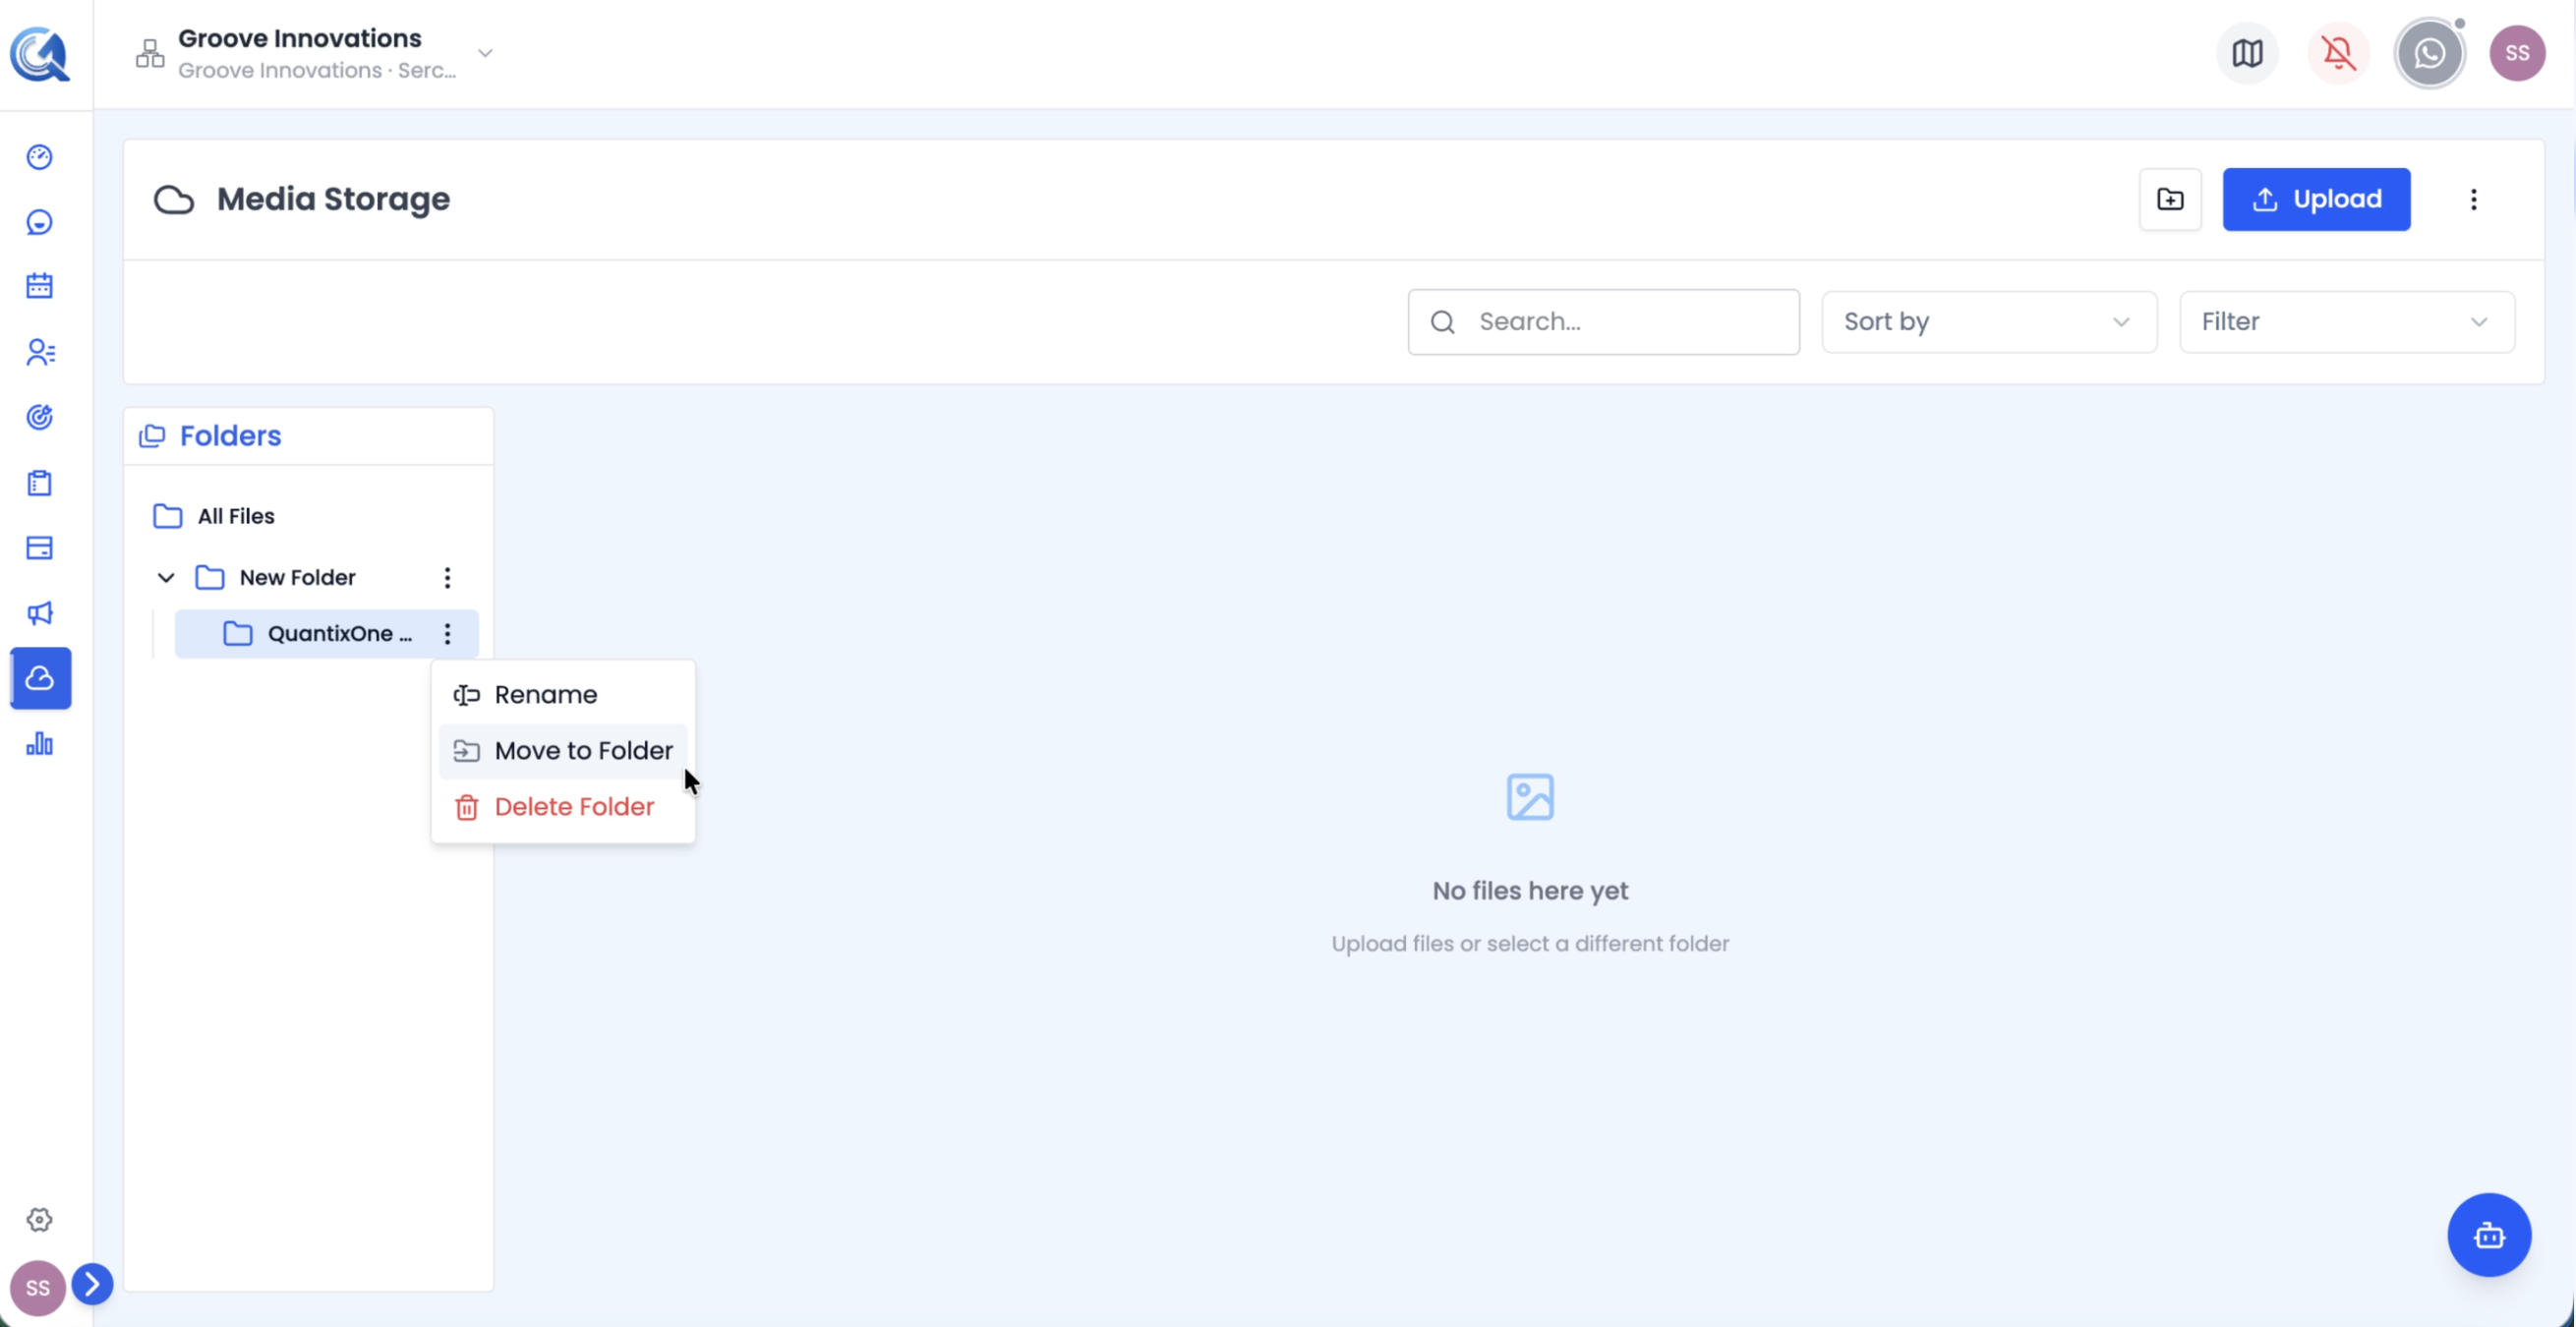 The Move to Folder dialog shows your full folder tree. Select the destination and click Move.
Select the destination folder from the folder tree and click Move.
Note: You can also move multiple items at once using bulk selection. Select items by clicking the checkbox that appears on hover, then use the bulk action bar to Move.
Bulk Operations
Select multiple files or folders by clicking the checkbox on each card. The bulk action bar appears at the top:
- Download — Download each selected item individually (files are downloaded one after another, not bundled into a zip).
- Move — Move selected items to a new folder.
- Delete — Move selected items to Trash.
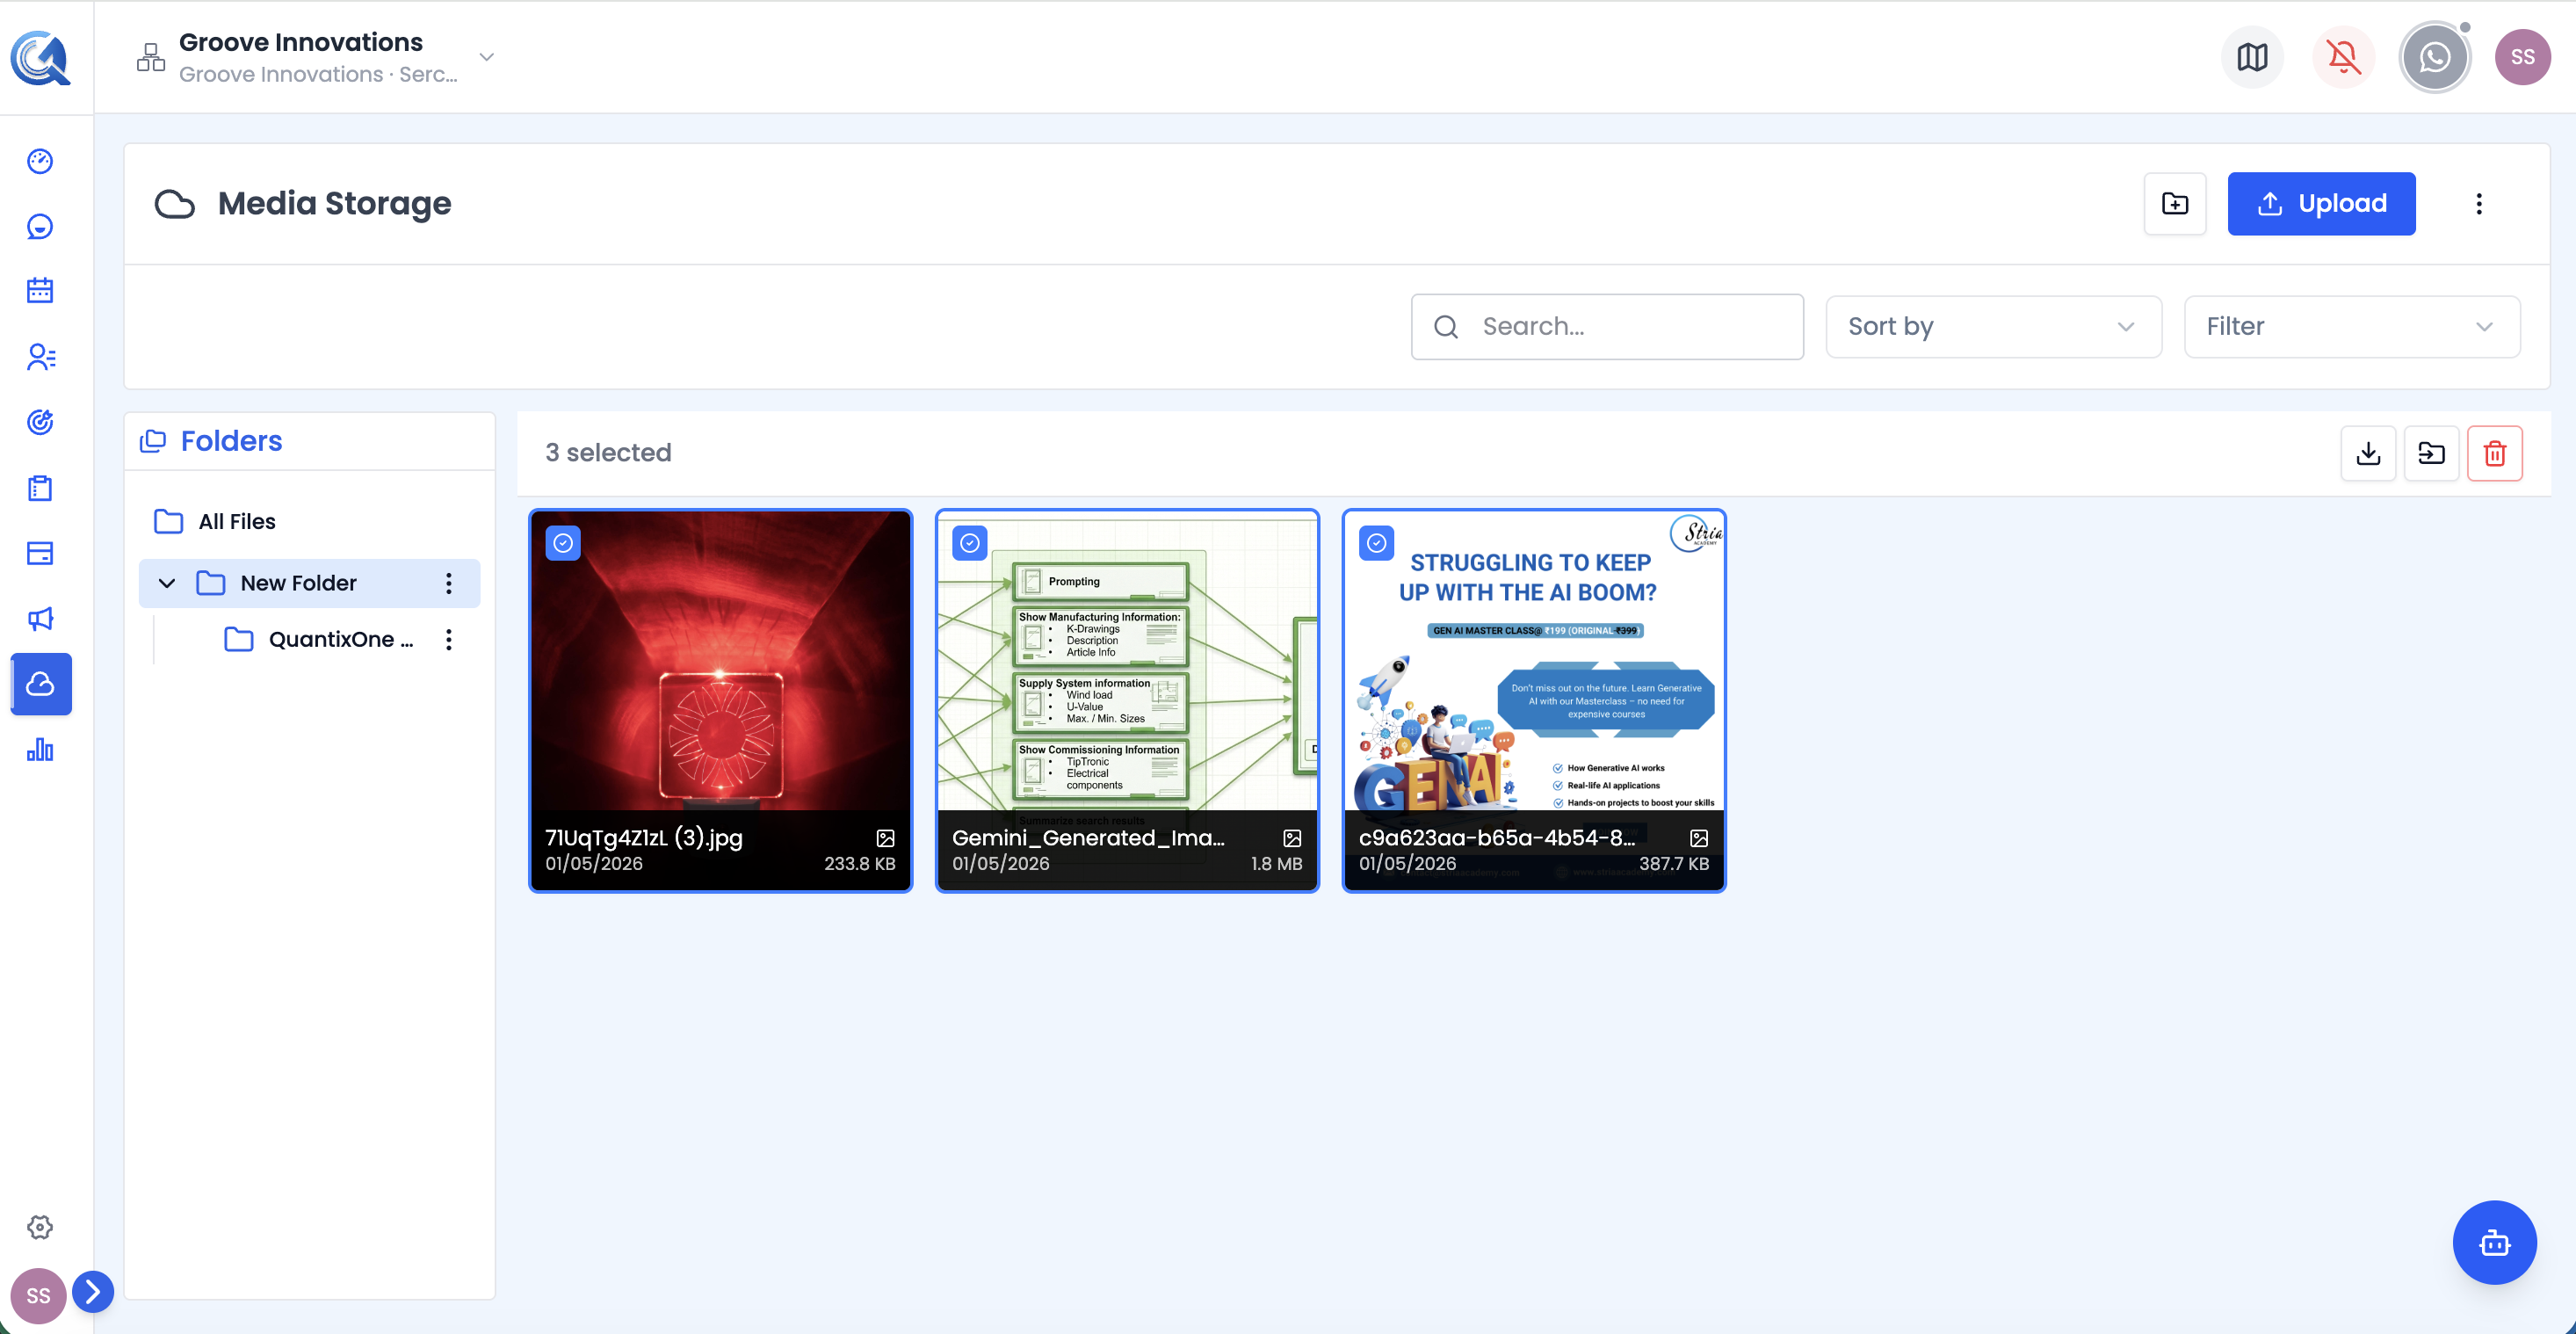 The bulk action bar appears when one or more items are selected.
Getting a Shareable Link
From a file's ⋮ context menu, select Get Link.
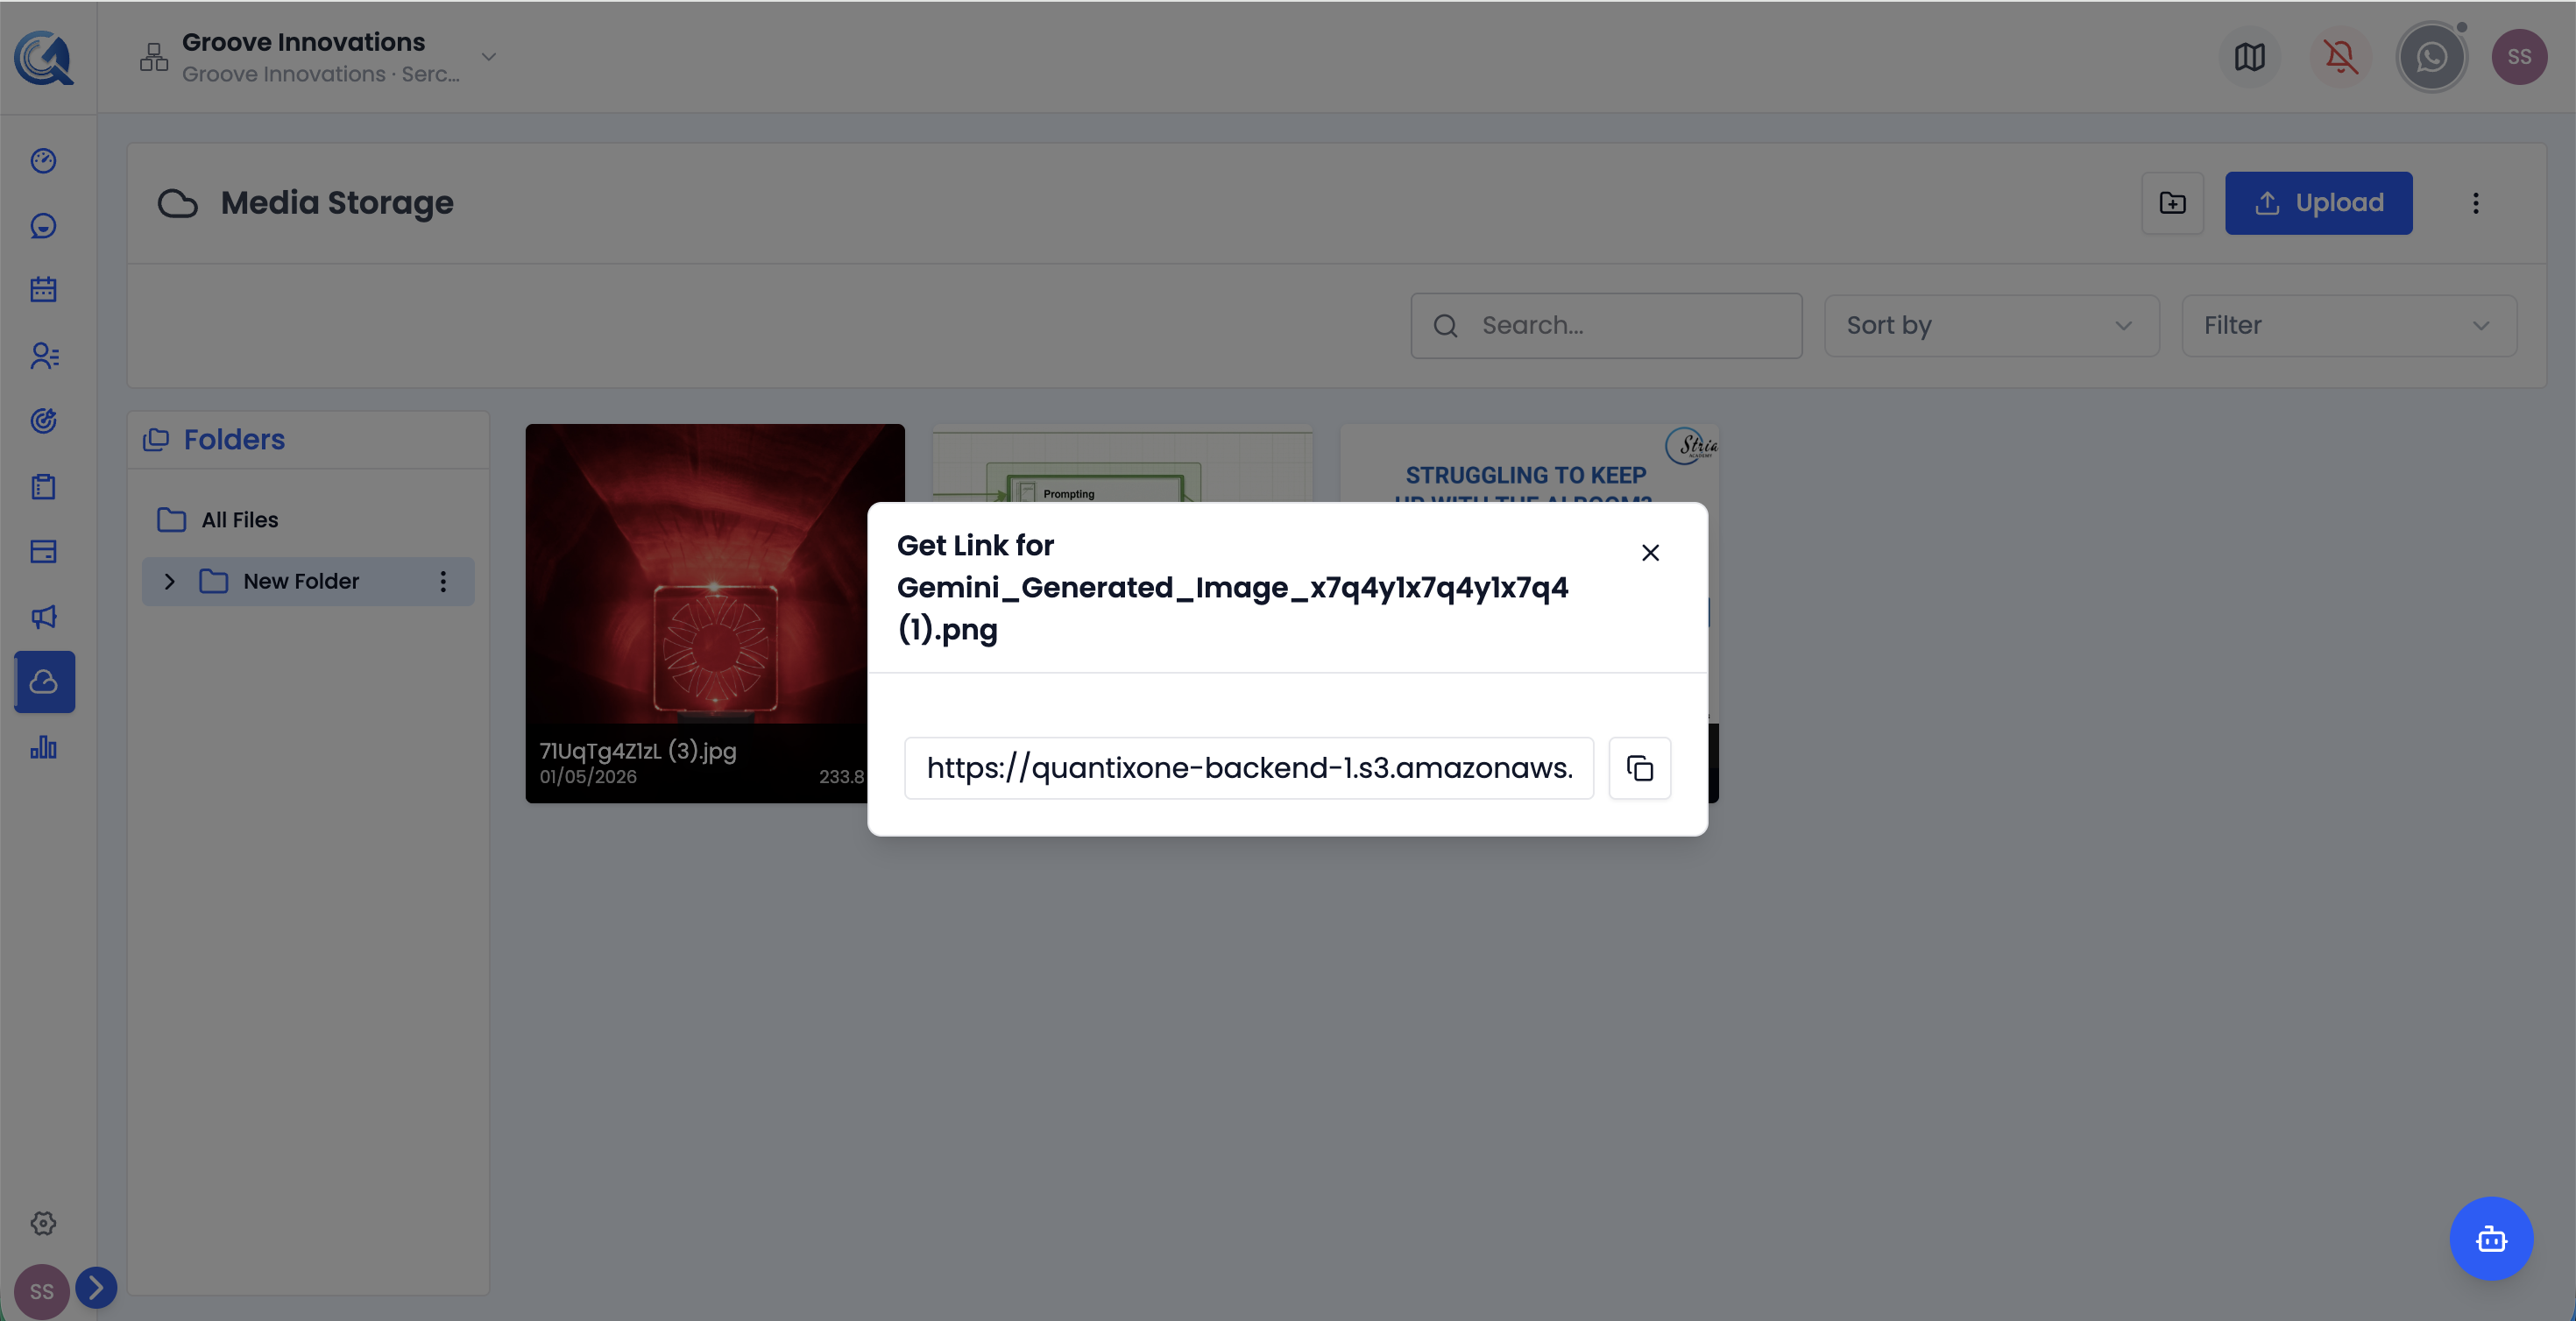 Manage the file's public links from the Get Link dialog.
The dialog shows the file's details (name, type, size, and upload date) and automatically generates a shareable link valid for 7 days the first time you open it. From here you can:
- Click Copy on any link to copy it to your clipboard.
- Click + New Link to generate an additional link with a custom expiry — 1 Day, 7 Days, 30 Days, or Never.
- Edit the expiry of an existing link, or Revoke it to disable access immediately.
Active links are shown highlighted; revoked or expired links are greyed out and can be removed.
Previewing a File
Click on any file card (not the checkbox or menu) to open the Preview modal. Images, videos, and audio files preview inline. For other formats, a "preview not available" message is shown along with a download option.
Video Walkthrough
Watch the complete walkthrough below.