Integrations
Integrations is where you connect Quantixone Payments to your payment gateway providers. Your payment provider handles the actual card and payment processing — Quantixone generates the payment links and records the results. Without a connected provider, the Pay Now button on invoices and documents will not work and contacts cannot pay online.
Navigating to Integrations
From the main navigation, click Payments → Integrations tab.
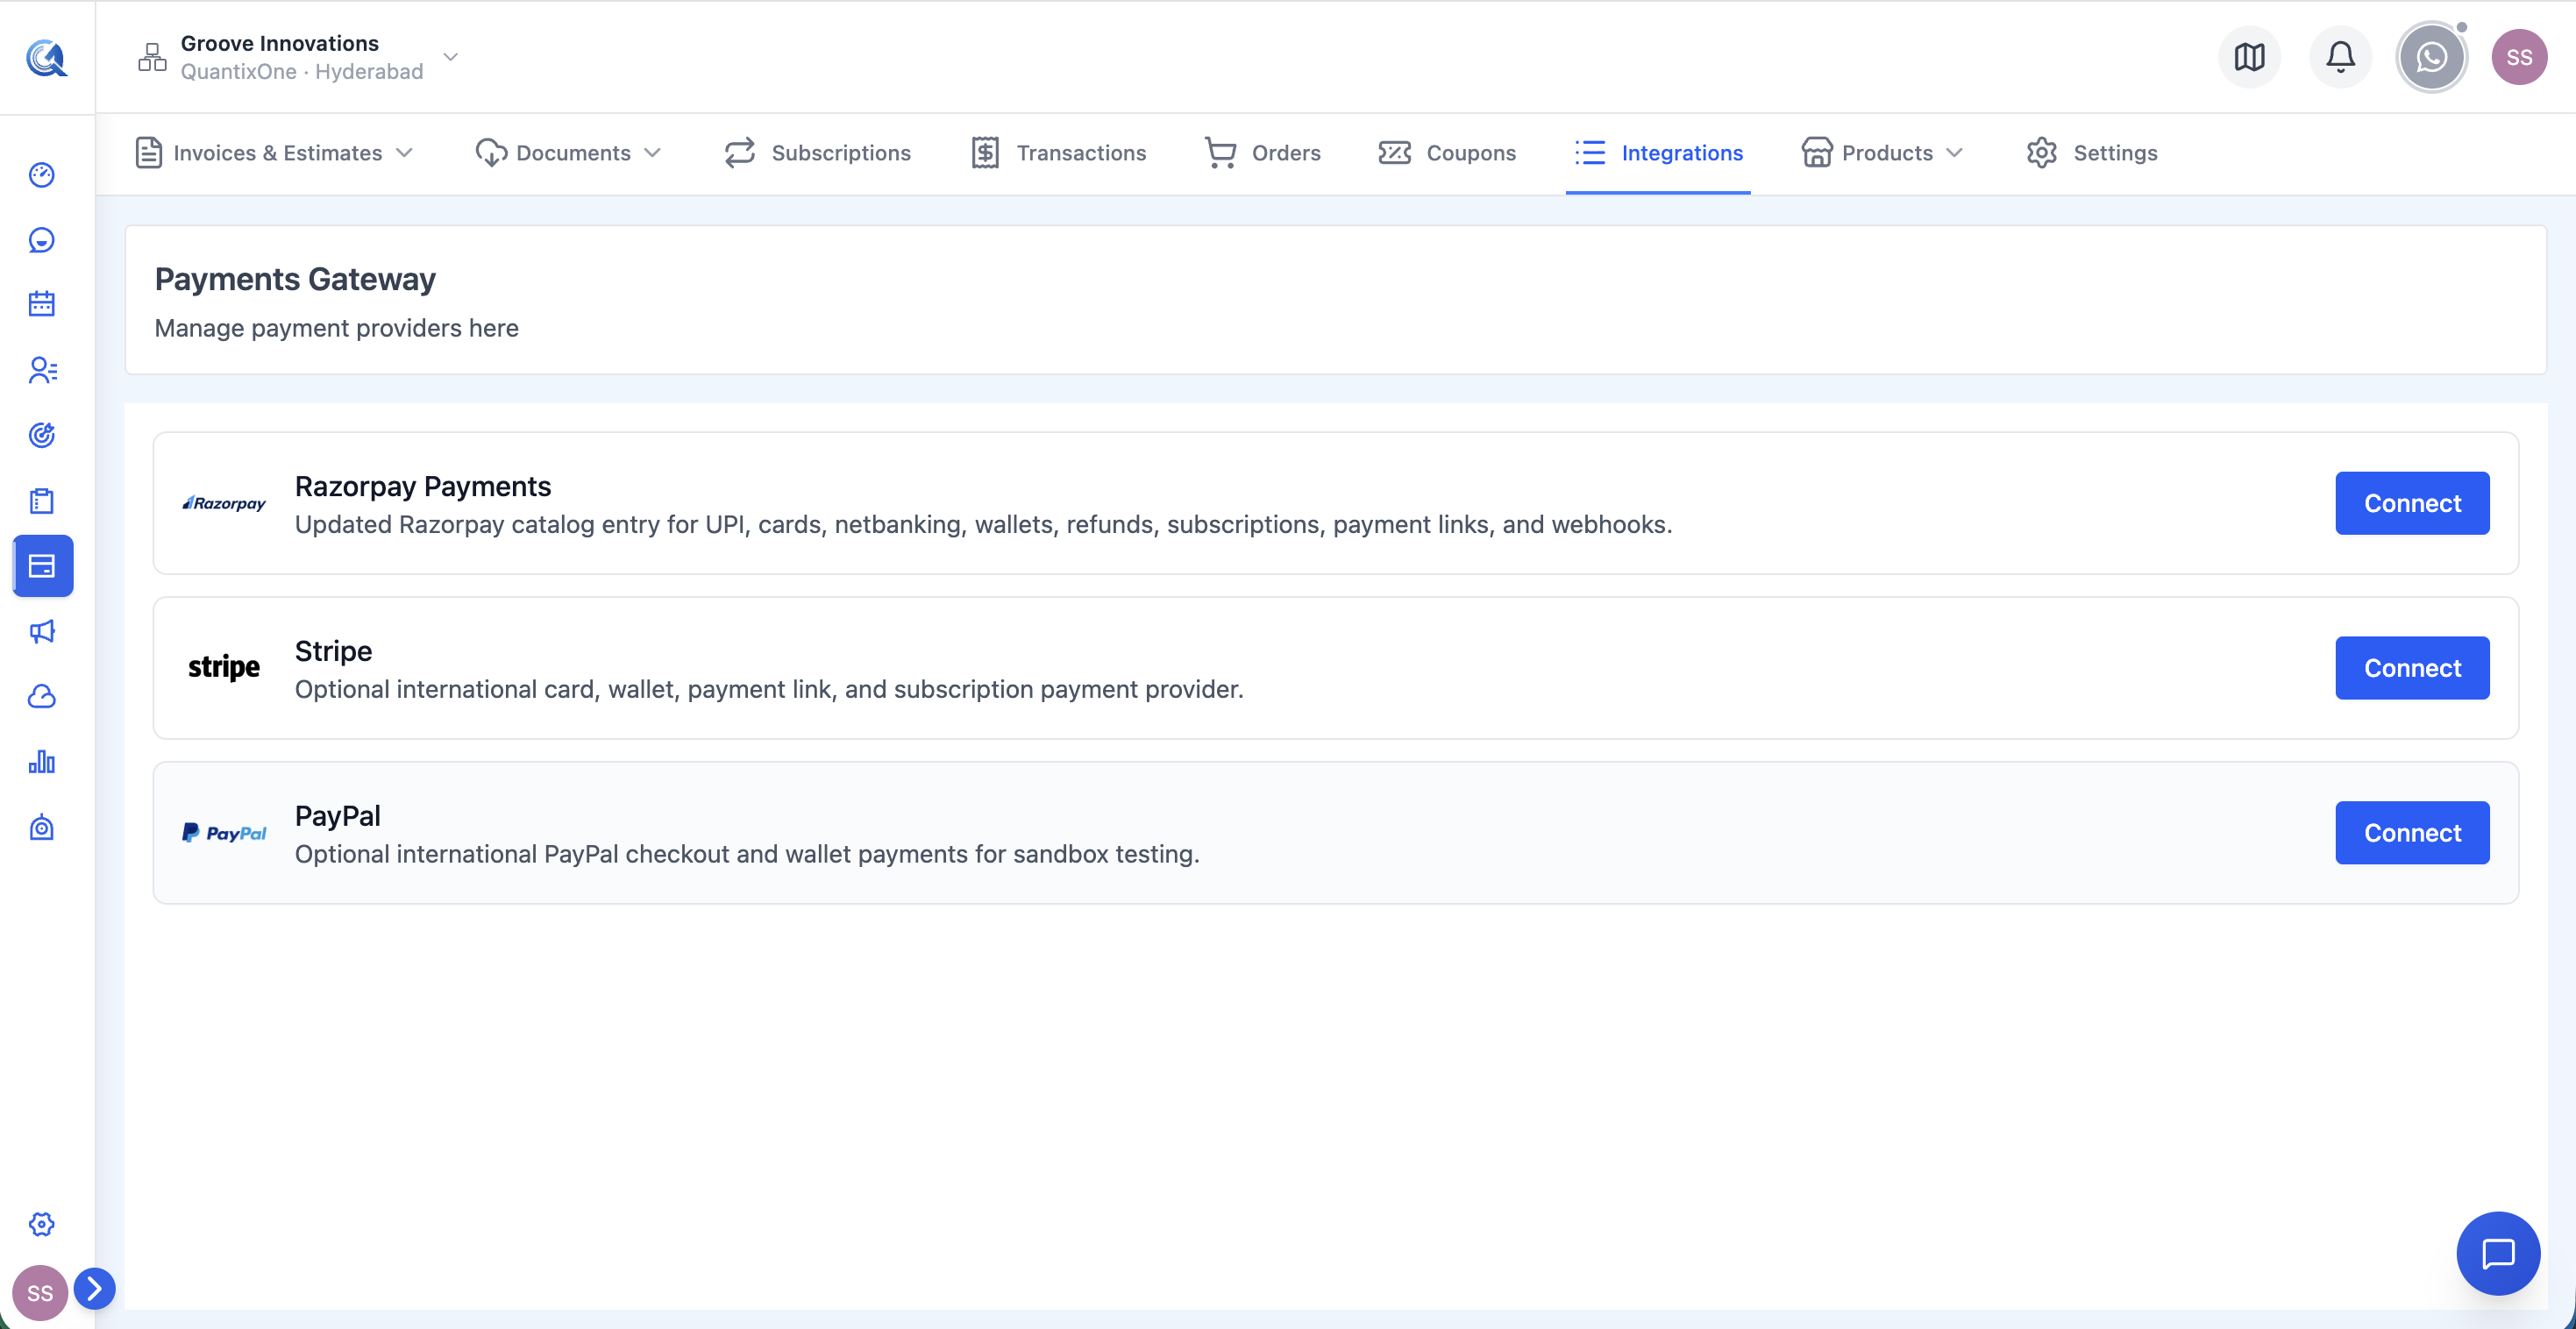 The Integrations page. Each provider card shows the provider logo, name, description, and a Connect button. Once connected, the button changes to Manage.
What Integrations Do
When a contact opens an invoice or document and clicks Pay Now:
- Quantixone sends the payment amount and customer details to your connected provider.
- The provider presents the checkout form (card entry, PayPal login, etc.) to the customer.
- The customer completes payment on the provider's secure page.
- The provider confirms the result back to Quantixone.
- Quantixone automatically updates the invoice status to Paid, creates a Transaction record, and (for product purchases) creates an Order record.
This happens automatically — you do not need to manually mark anything as paid.
Without a connected payment provider, Quantixone can still create and send invoices and documents — but contacts won't be able to pay online. The Pay Now button will be inactive. If you only collect payments manually (bank transfer, cash), you can still use Payments by marking invoices as paid manually.
Provider Card Layout
Each provider appears as a card showing:
- Provider logo — the official logo or icon for the payment gateway
- Provider name — e.g. "Stripe", "PayPal"
- Description — a short summary of what the provider offers
- Supported features — the payment types and capabilities this provider supports
- Supported regions — the countries and regions where this provider operates
- Connect / Manage button — Connect if not yet linked; Manage if already connected
Before You Connect
- You need admin or owner access to your payment provider account. If you only have limited access, ask your provider account admin to authorise the connection.
- The connection uses OAuth — Quantixone requests a secure, scoped access token from your provider. Your provider password and full API credentials are never stored in Quantixone.
- The connection is revocable at any time from Quantixone or directly from your provider's dashboard.
Connecting a Provider
Follow these steps to link a payment provider to Quantixone:
Step 1 — Find the Provider Card
Locate the card for the payment gateway you want to use on the Integrations page.
Step 2 — Click Connect
Click the Connect button on the provider card.
 Click Connect on the provider card to begin the authorisation flow. You will be redirected to the provider's site.
Step 3 — Authorise on the Provider's Site
You are redirected to the provider's website. Depending on the provider, this may be:
- An OAuth consent screen — log in to your provider account and click "Approve" or "Allow"
- An API key entry form — paste in your API keys from the provider's developer dashboard
Complete all the steps shown on the provider's site.
Step 4 — Return to Quantixone
After authorisation, you are redirected back to Quantixone automatically. The provider card updates to show Connected with a Manage button.
 The provider card after successful connection. The status shows as Connected and the button changes from Connect to Manage.
Provider Connection States
| State | Button shown | What it means |
|---|---|---|
| Not connected | Connect | Not yet authorised. Online payment collection via this provider is not active. |
| Connected | Manage | Authorised and active. Contacts can pay through this provider immediately. |
| Expired / Disconnected | Reconnect (inside Manage) | OAuth token has expired or been revoked. Payments via this provider are paused until reconnected. |
Managing a Connected Provider
Click Manage on a connected provider card to access the management options.
 The Manage panel. Use Reconnect to re-authorise an expired token, or Disconnect to remove the integration entirely.
Reconnect
Re-authorises the connection when the OAuth token has expired. This happens after extended inactivity or when you change your provider account credentials.
- Click Reconnect inside the Manage panel.
- You are redirected to the provider's site to re-approve the connection.
- Complete the authorisation steps.
- You are returned to Quantixone. The connection is restored and payment collection resumes immediately.
The reconnect process takes under a minute and does not affect any existing records.
If invoices are being sent but contacts report that the Pay Now button isn't working, check Integrations first. An expired connection is the most common cause — reconnecting resolves it immediately.
Disconnect
Removes the Quantixone integration with this provider entirely.
- Click Disconnect inside the Manage panel.
- Confirm the action in the confirmation dialog.
- The provider card reverts to showing the Connect button.
What stops working: The Pay Now button on invoices and documents linked to this provider will stop functioning. New payments cannot be collected through this provider.
What is kept: All existing transaction, subscription, and order records are retained — disconnecting never deletes historical data.
If contacts have active subscriptions processed through this provider, disconnecting does not cancel the subscriptions — but future renewal charges may fail without an active provider connection. Monitor your Subscriptions section after disconnecting and reconnect or switch providers promptly.
What Happens to Existing Data on Disconnect
| Data type | What happens |
|---|---|
| Transactions | All existing transaction records remain intact in the Transactions section |
| Subscriptions | Existing subscription records remain visible in the Subscriptions section |
| Orders | All order records are retained |
| Invoices | Invoices remain in their current status — Paid invoices stay Paid |
You can connect more than one payment provider simultaneously. This lets you accept payments via different providers for different customers or regions. The provider used for each payment is the one active at the time the payment link was generated.
Video Walkthrough
Watch the complete walkthrough below.