Payments Overview
Payments is the complete commerce and billing module of Quantixone. It covers everything in your revenue lifecycle — creating and sending invoices, building signable proposals and contracts, managing a product catalogue, tracking subscriptions, collecting payments through connected payment providers, and reconciling every transaction in one place.
Navigating to Payments
From the main navigation, click Payments. The module opens to the Invoices section by default. Use the top navigation tabs to switch between all Payments sections.
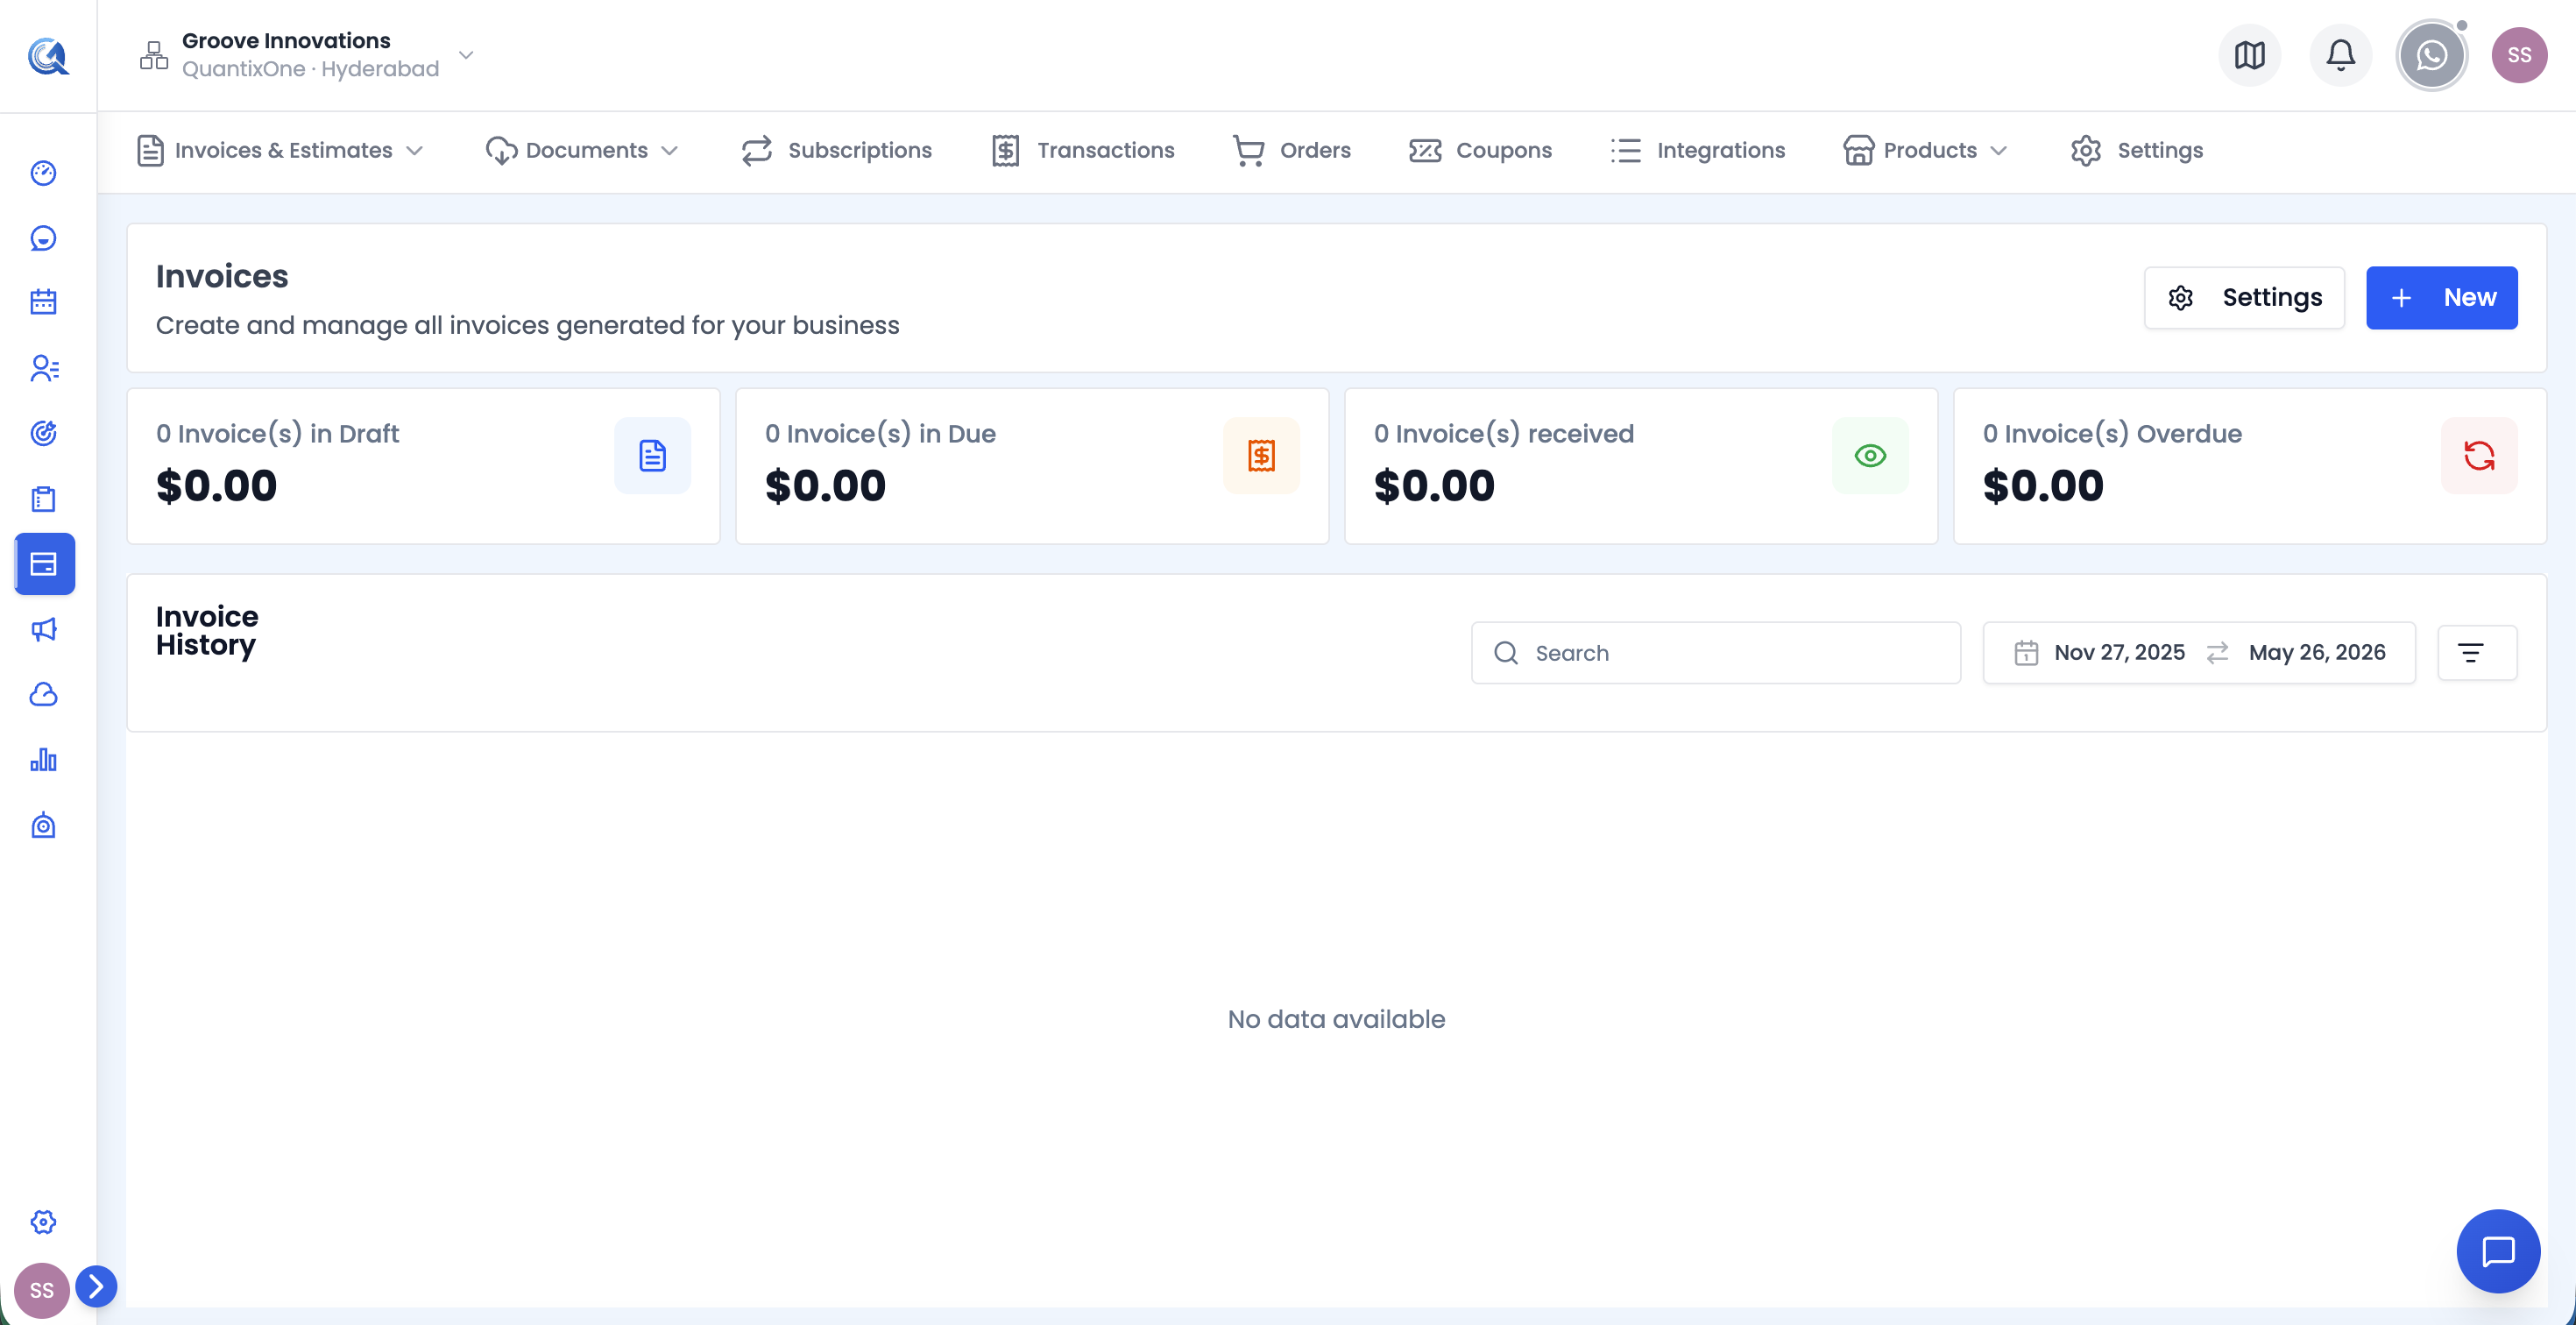 The Payments module. Use the top tabs to navigate between Invoices, Documents & Contracts, Products, and all other sections.
First-Time Setup
Two steps are required before you can collect online payments or apply taxes. Complete these before creating any invoices or documents.
Step 1 — Connect a Payment Provider
Go to Integrations and connect at least one payment gateway (e.g. Stripe, PayPal).
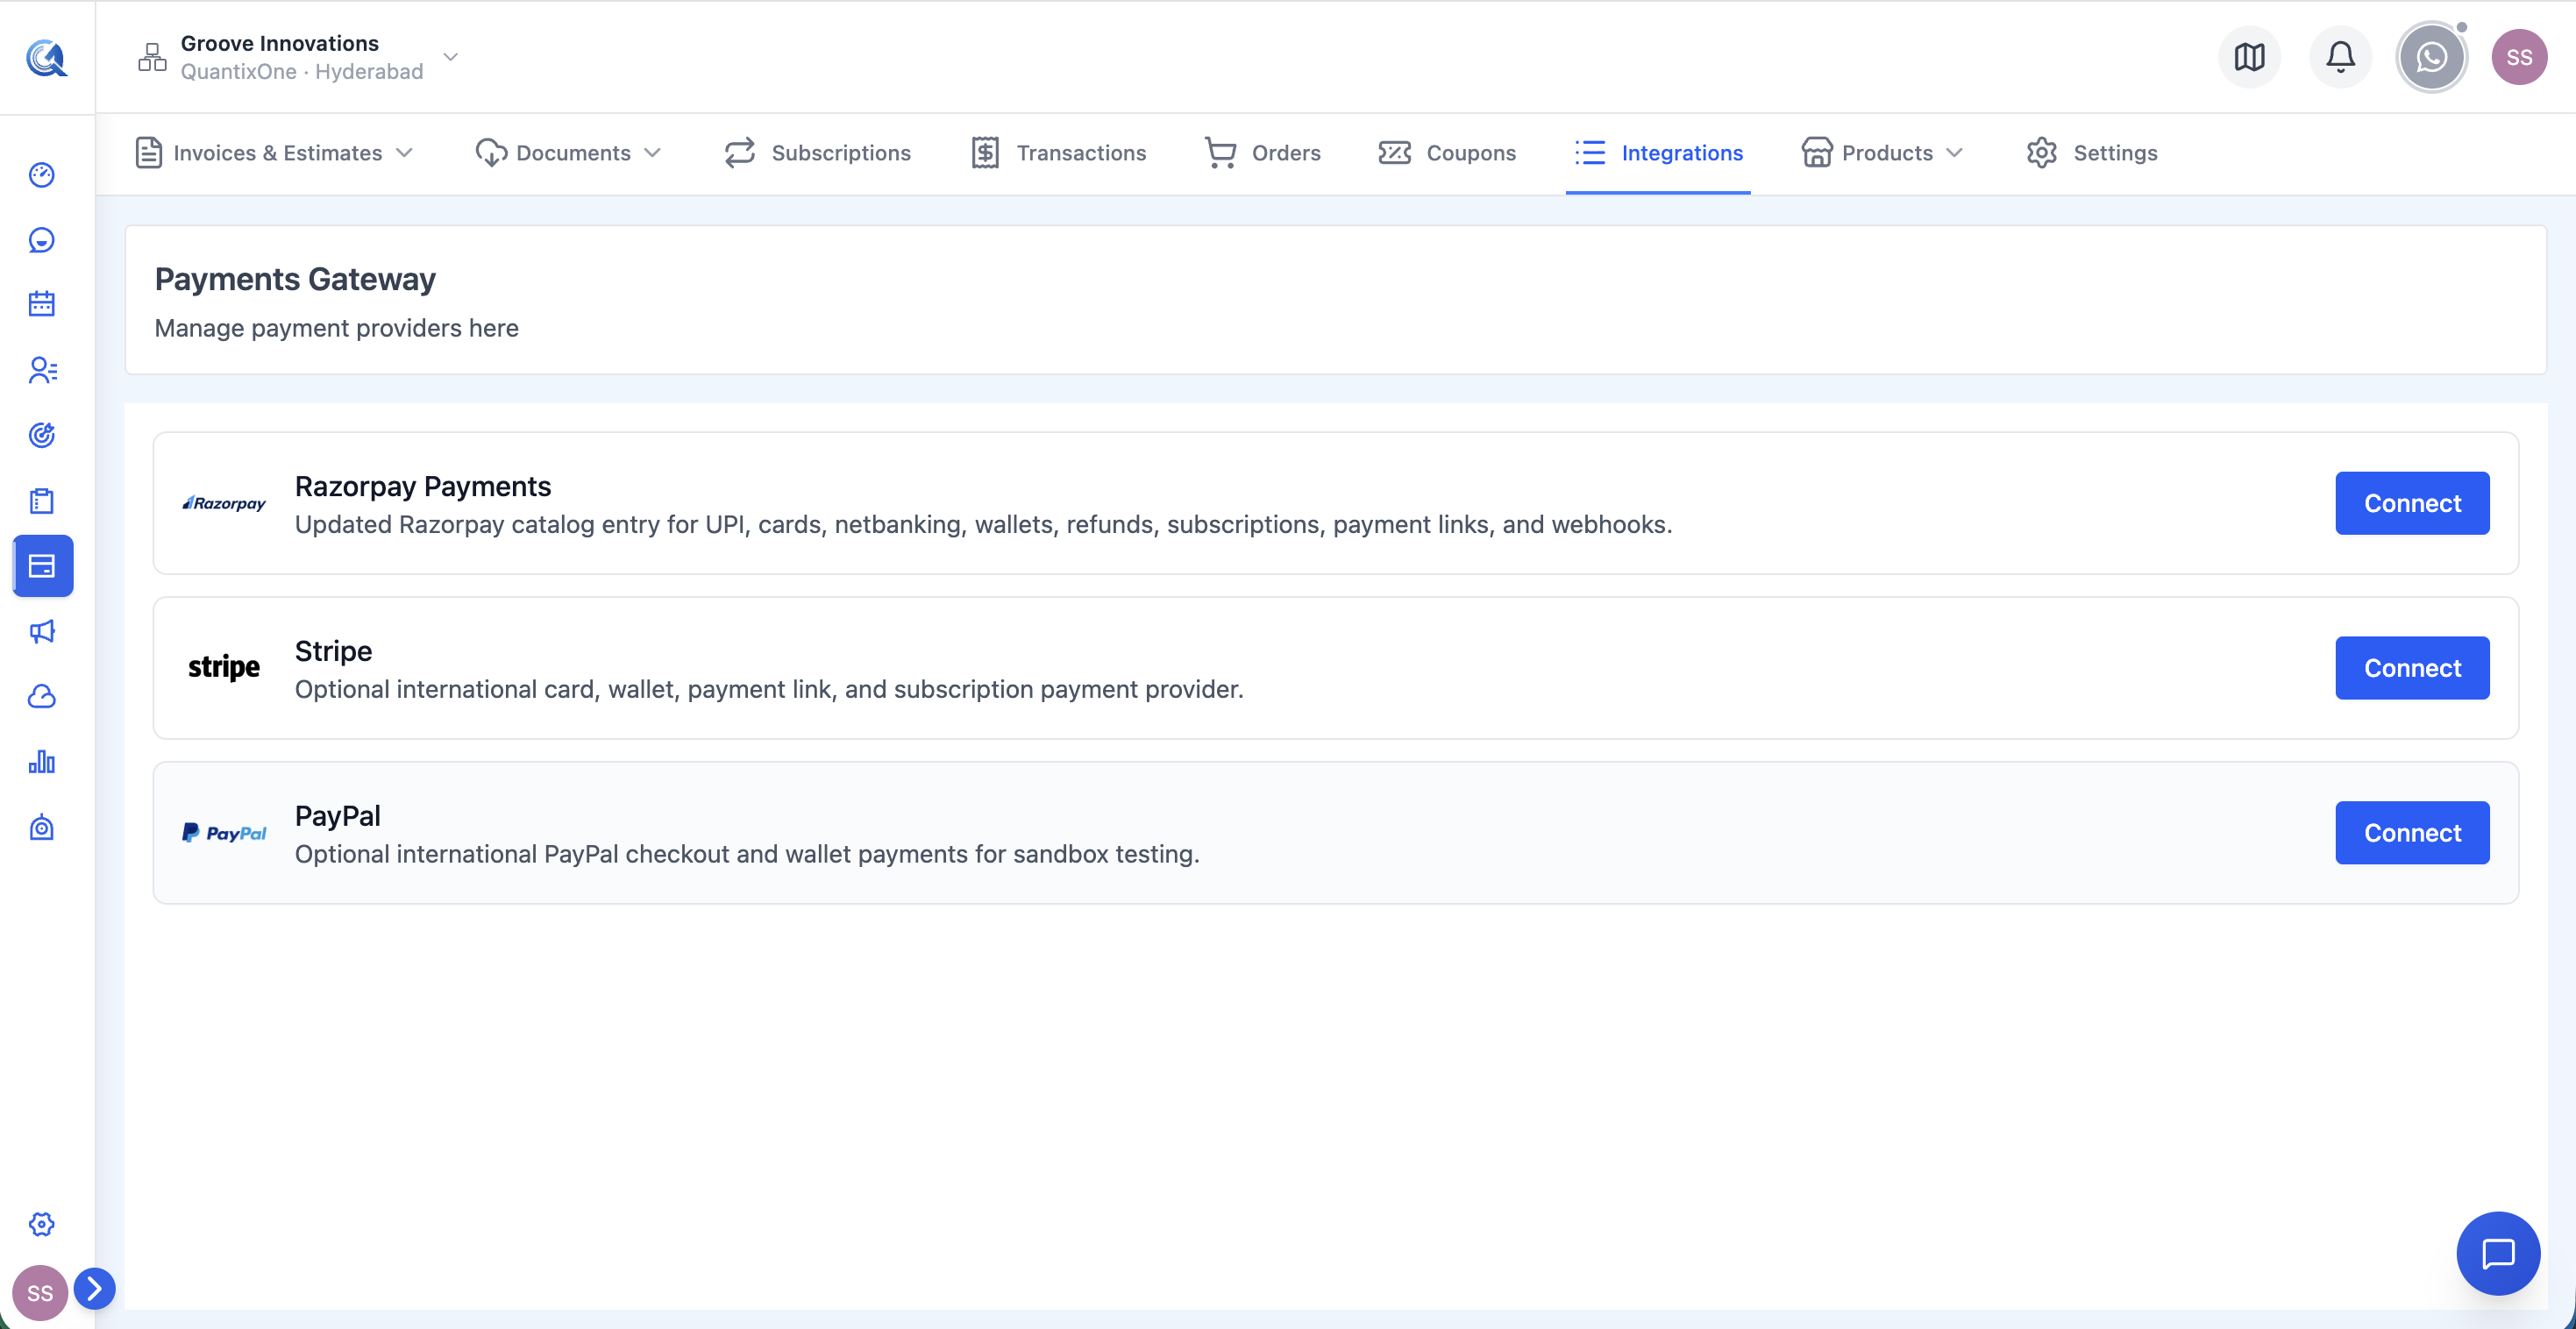 Connect a payment provider in the Integrations section. Until a provider is connected, the Pay Now button on invoices and documents is inactive.
Without a connected provider, contacts will see the Pay Now button on invoices and documents but cannot complete a payment. Once a provider is connected, the button becomes live immediately on all sent invoices and documents.
Step 2 — Configure Tax Rates
Go to Settings → Taxes and create your tax rates (e.g. "GST 10%", "VAT 20%").
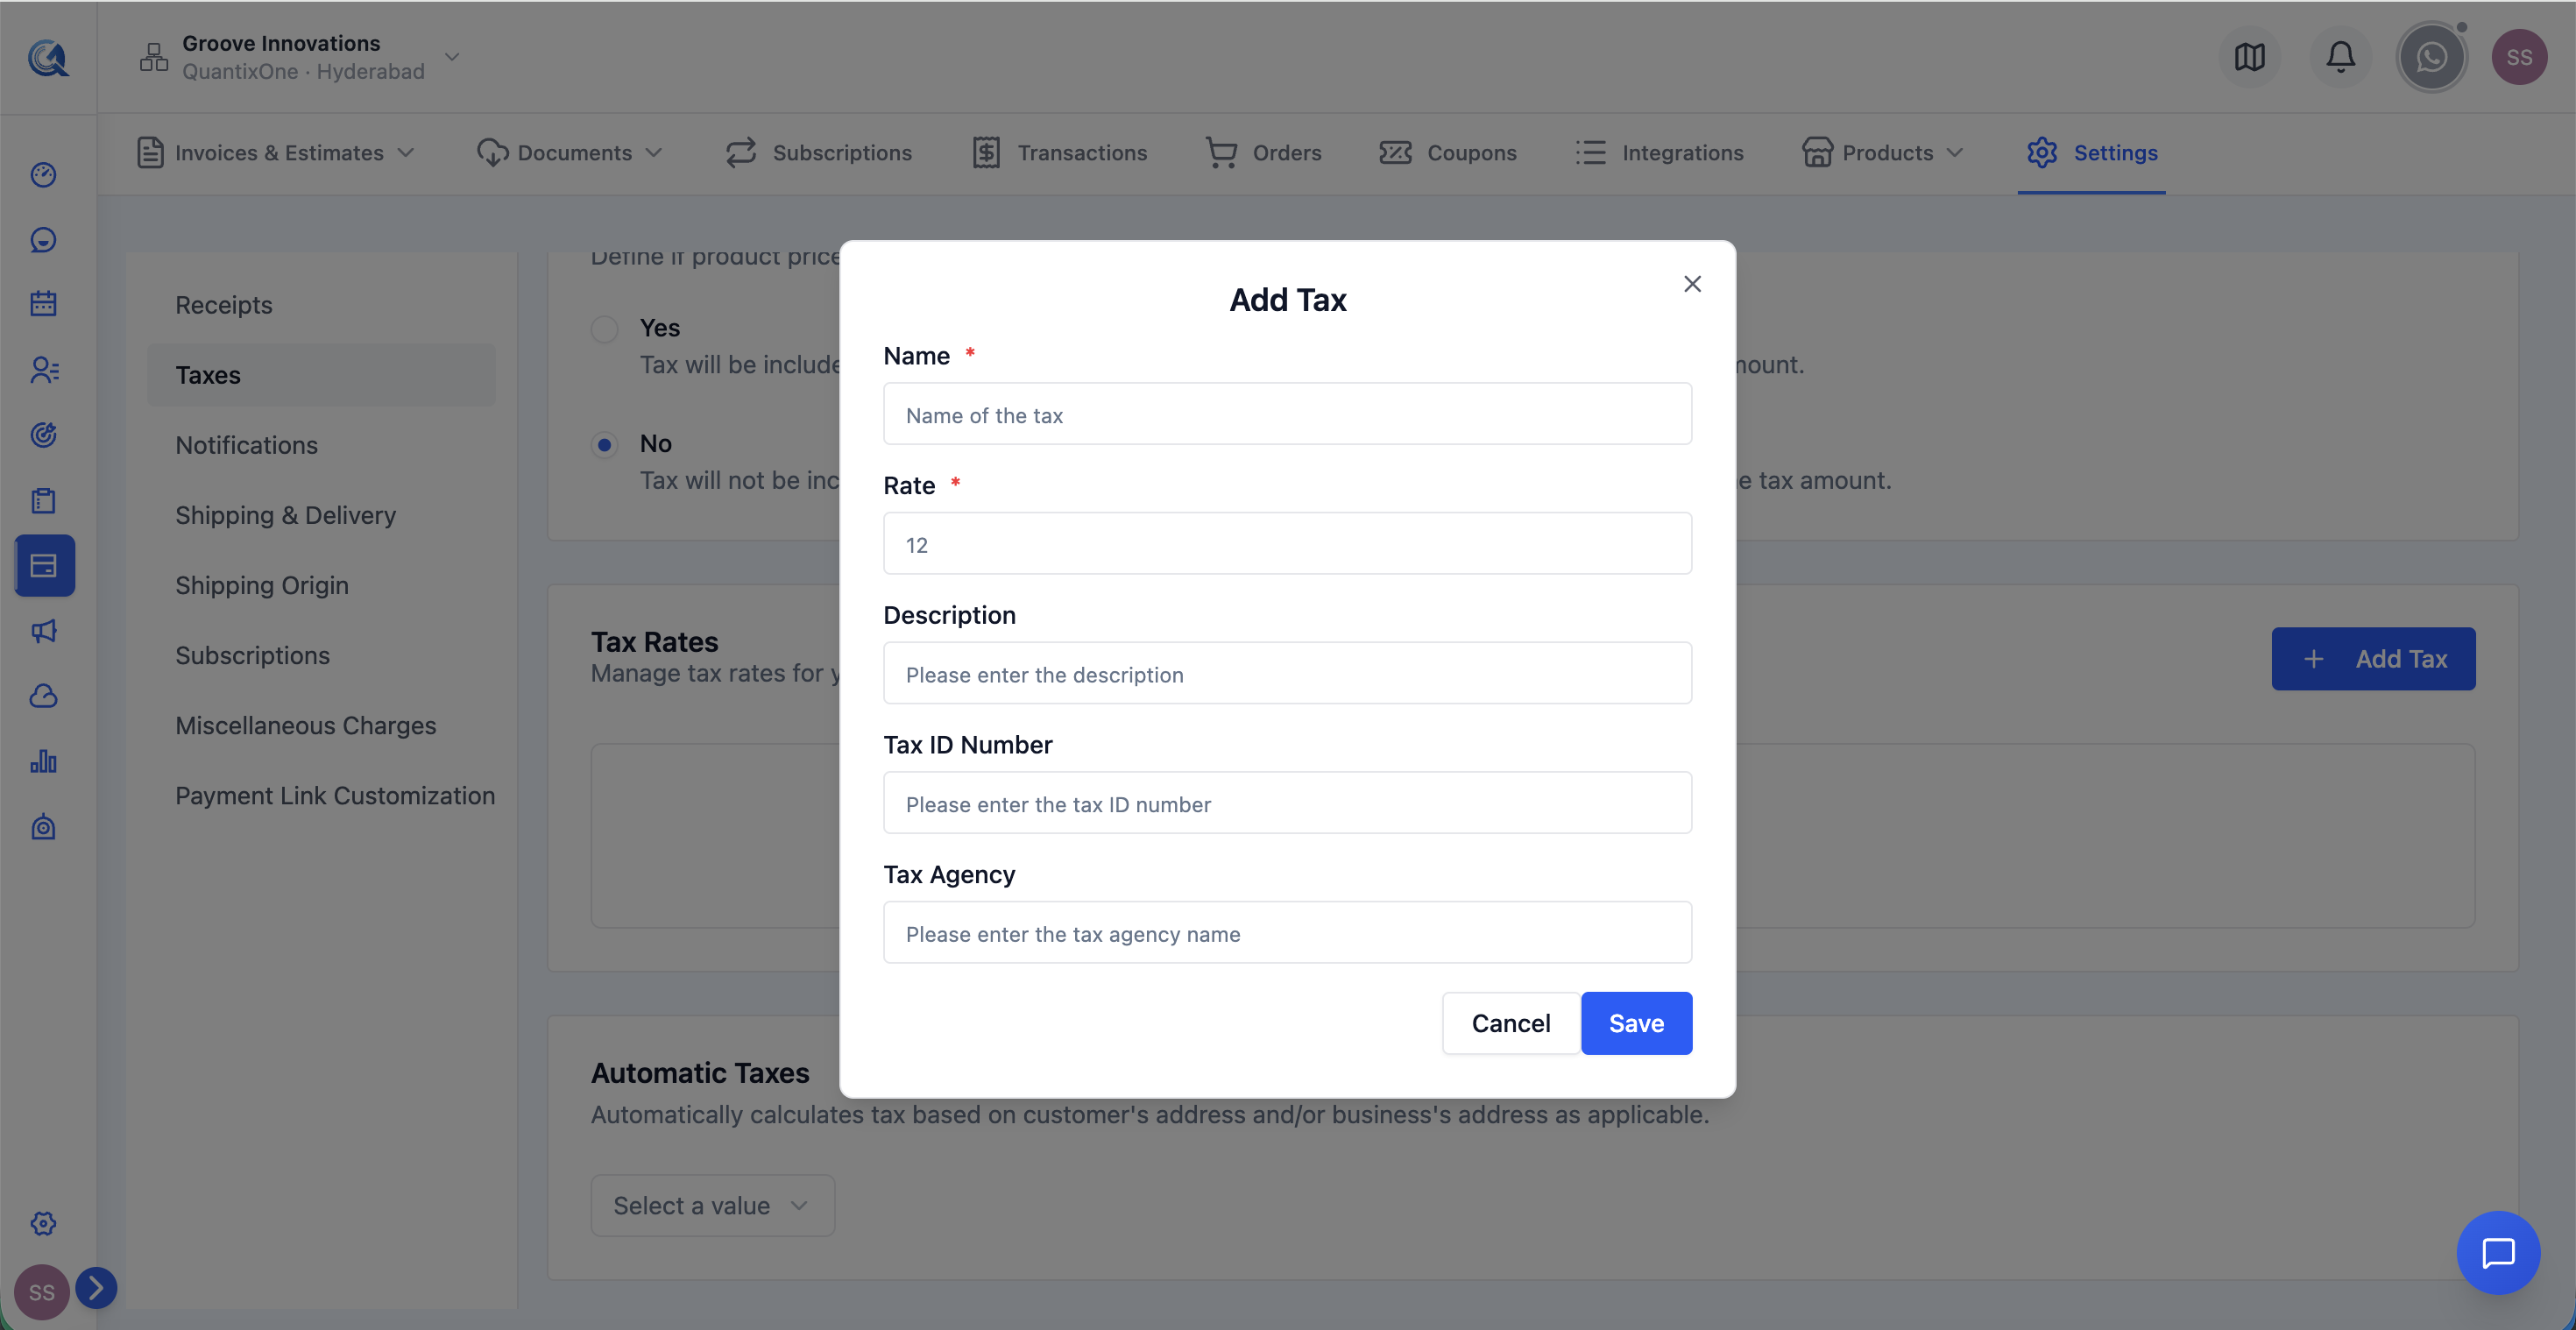 Create tax rates in Settings → Taxes. Rates must exist here before they can be applied to products and invoice line items.
Tax rates must exist in Settings before you can apply them to products and invoice line items. You can skip this step if you do not charge tax.
Both steps are done once at the start. After initial configuration, you won't need to revisit Integrations or Settings for day-to-day use.
Optional Setup
Configure these before you start sending invoices and documents for the best experience.
Receipt Branding
Go to Settings → Receipts to upload your logo and set the heading and footer text that appears on every automated payment receipt email sent after a successful charge.
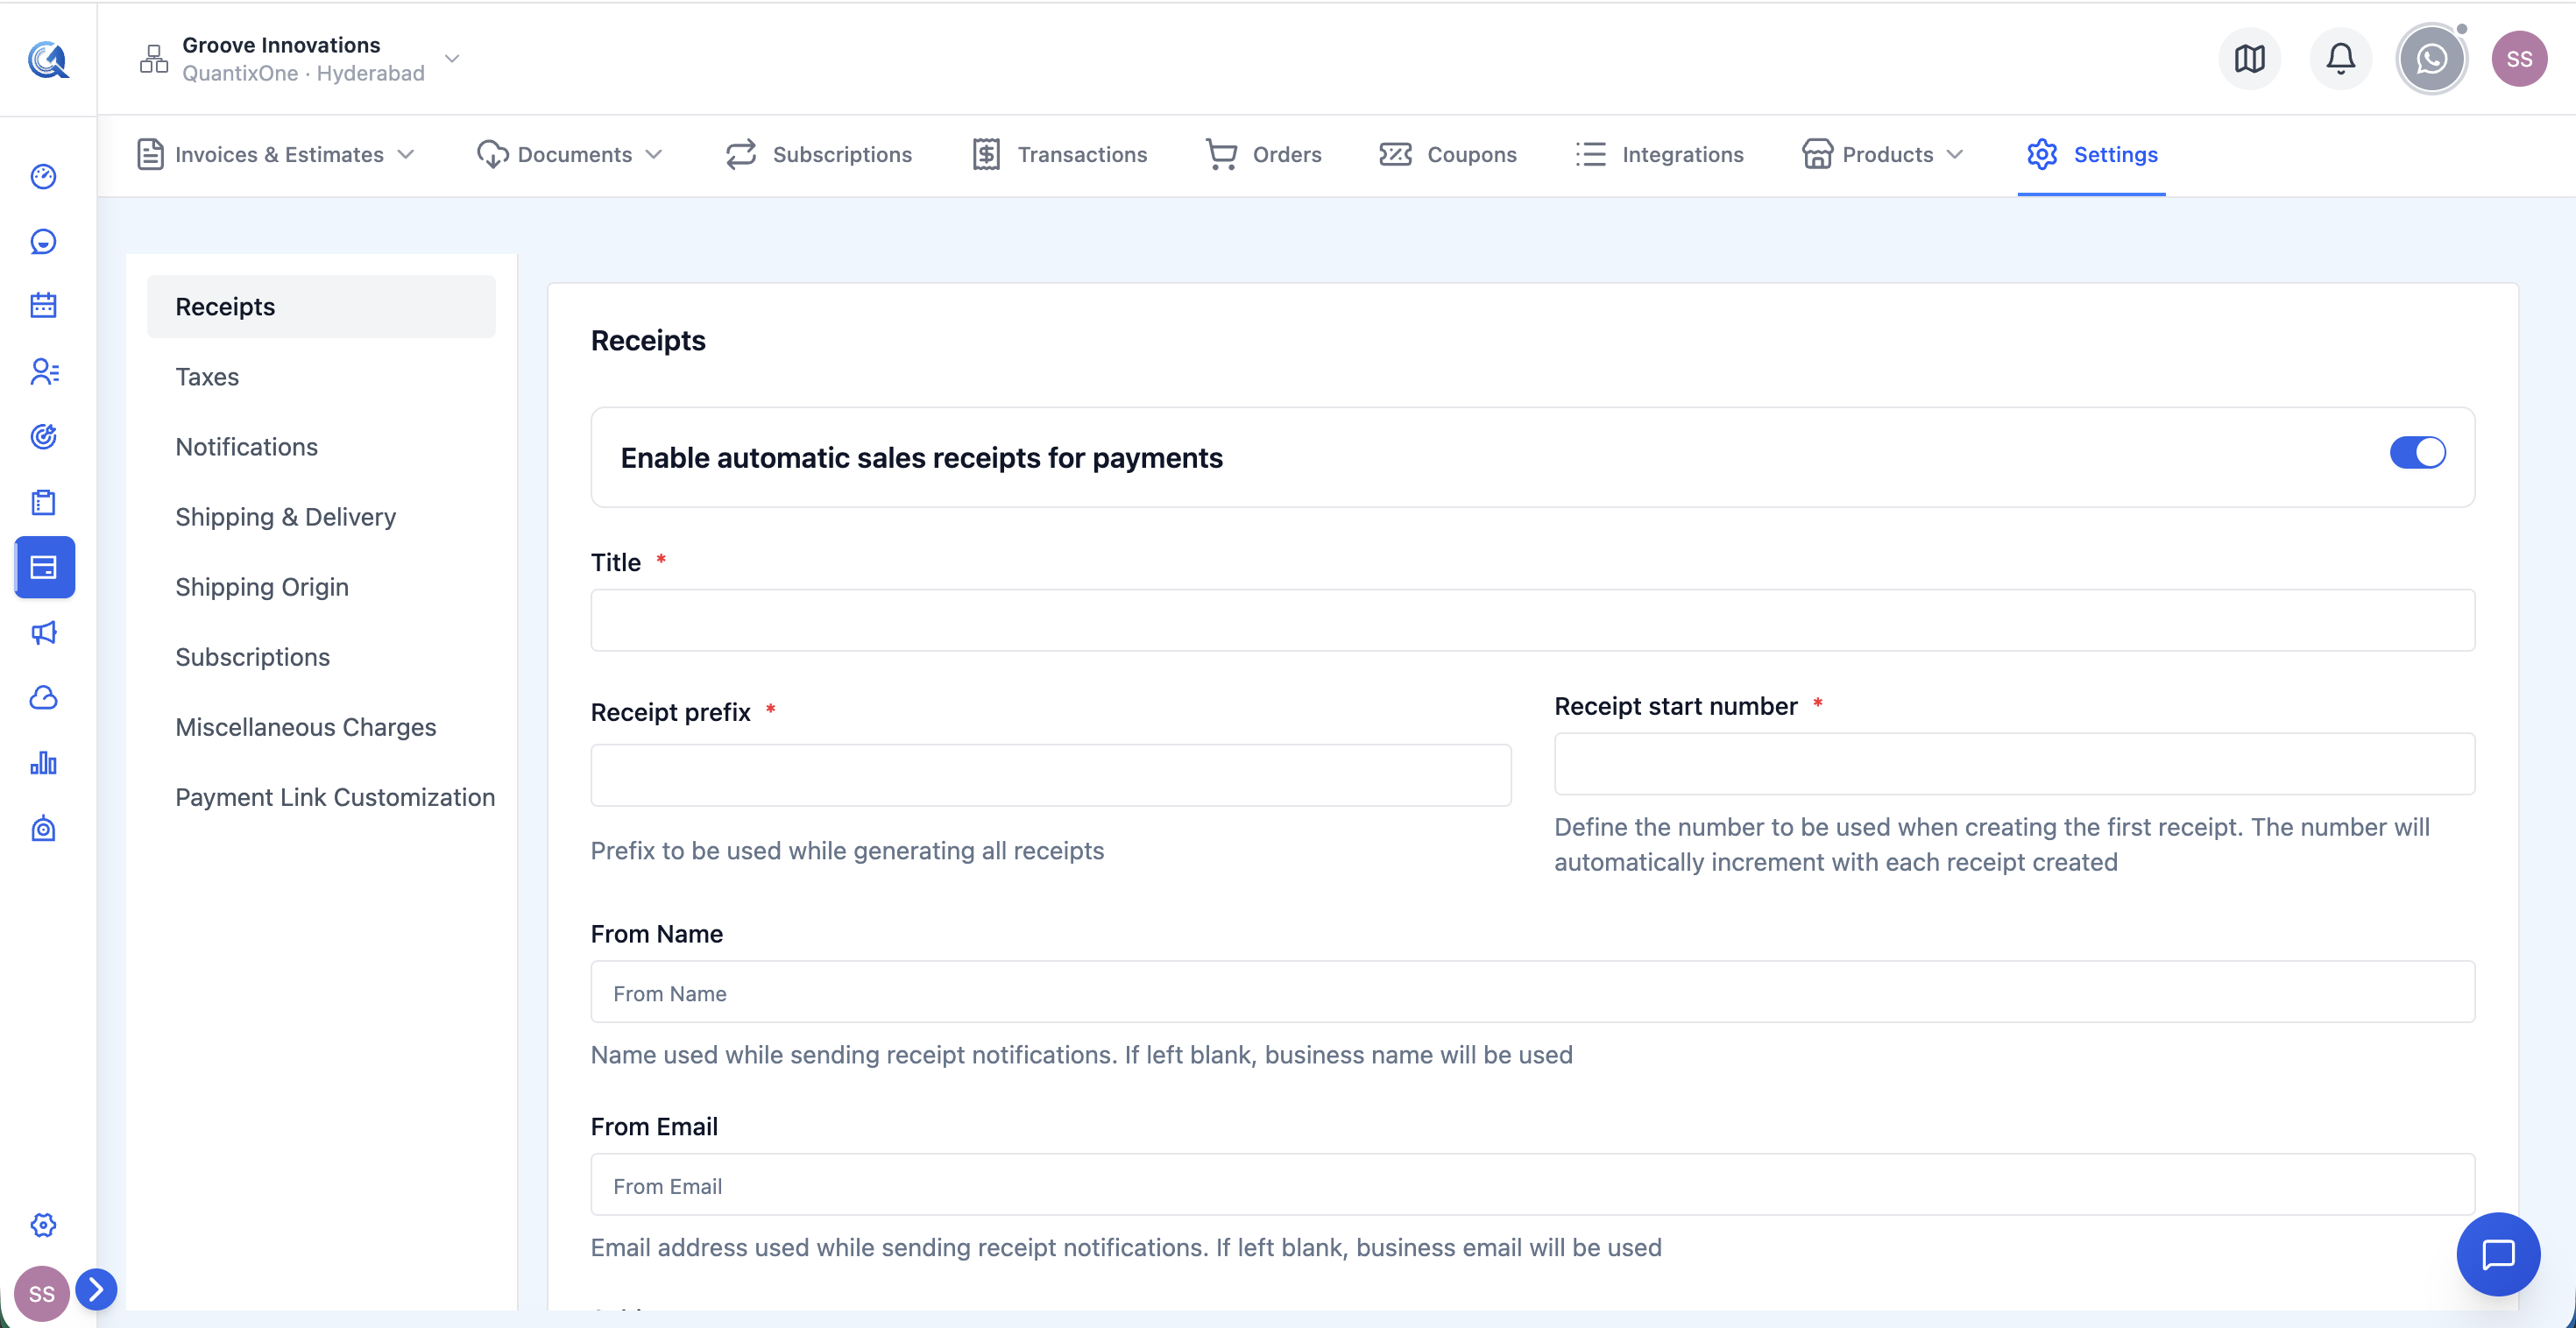 Configure receipt branding in Settings → Receipts. Your logo, heading text, and footer message appear on every payment confirmation email sent to customers.
Shipping Zones
Go to Settings → Shipping & Delivery to define which countries you ship to and what rates you charge. Required if you sell physical products.
Subscription Defaults
Go to Settings → Subscription Defaults to set the default billing interval and trial period that pre-fills when you create a new recurring product — so you don't re-enter the same values each time.
Miscellaneous Charges
Go to Settings → Miscellaneous Charges to create reusable fee line items (e.g. "Setup Fee", "Rush Delivery") that can be added to any invoice from the line item picker without typing from scratch.
Payments Sections
| Section | What it does |
|---|---|
| Invoices | Create and send one-off invoices with line items, discounts, payment schedules (including instalment plans), late fees, and tips |
| Recurring Invoices | Set up repeating billing schedules that auto-generate and send an invoice to a contact on a defined interval |
| Documents & Contracts | Build proposals, contracts, and signable documents on a drag-and-drop canvas editor; collect digital signatures from one or more recipients |
| Products | Maintain your full product catalogue with one-time and recurring pricing, product variants, inventory tracking, and SEO metadata |
| Collections | Organise products into named groups (Manual or Smart) so they are easier to find and attach when building invoices and documents |
| Subscriptions | Monitor every recurring subscription — current status, billing cycle, next charge date, payment method, and payment provider |
| Transactions | Complete audit log of every payment event across all contacts and providers — successful charges, failures, refunds, and pending payments |
| Orders | Track product purchases with three status dimensions: order status, payment status, and fulfillment status; view full line-item detail and address information |
| Coupons | Create and manage discount codes — percentage or fixed amount, time-limited or open-ended, usage-capped, product-restricted, with optional extension to recurring charges |
| Integrations | Connect payment gateway providers to enable online payment collection; manage connection state, reconnect expired tokens, and disconnect providers |
| Settings | Configure receipts, tax rates, shipping zones and rates, subscription defaults, and miscellaneous charges |
How the Sections Connect
Understanding the data flow between sections helps you navigate the module effectively.
Products and Settings are the foundation:
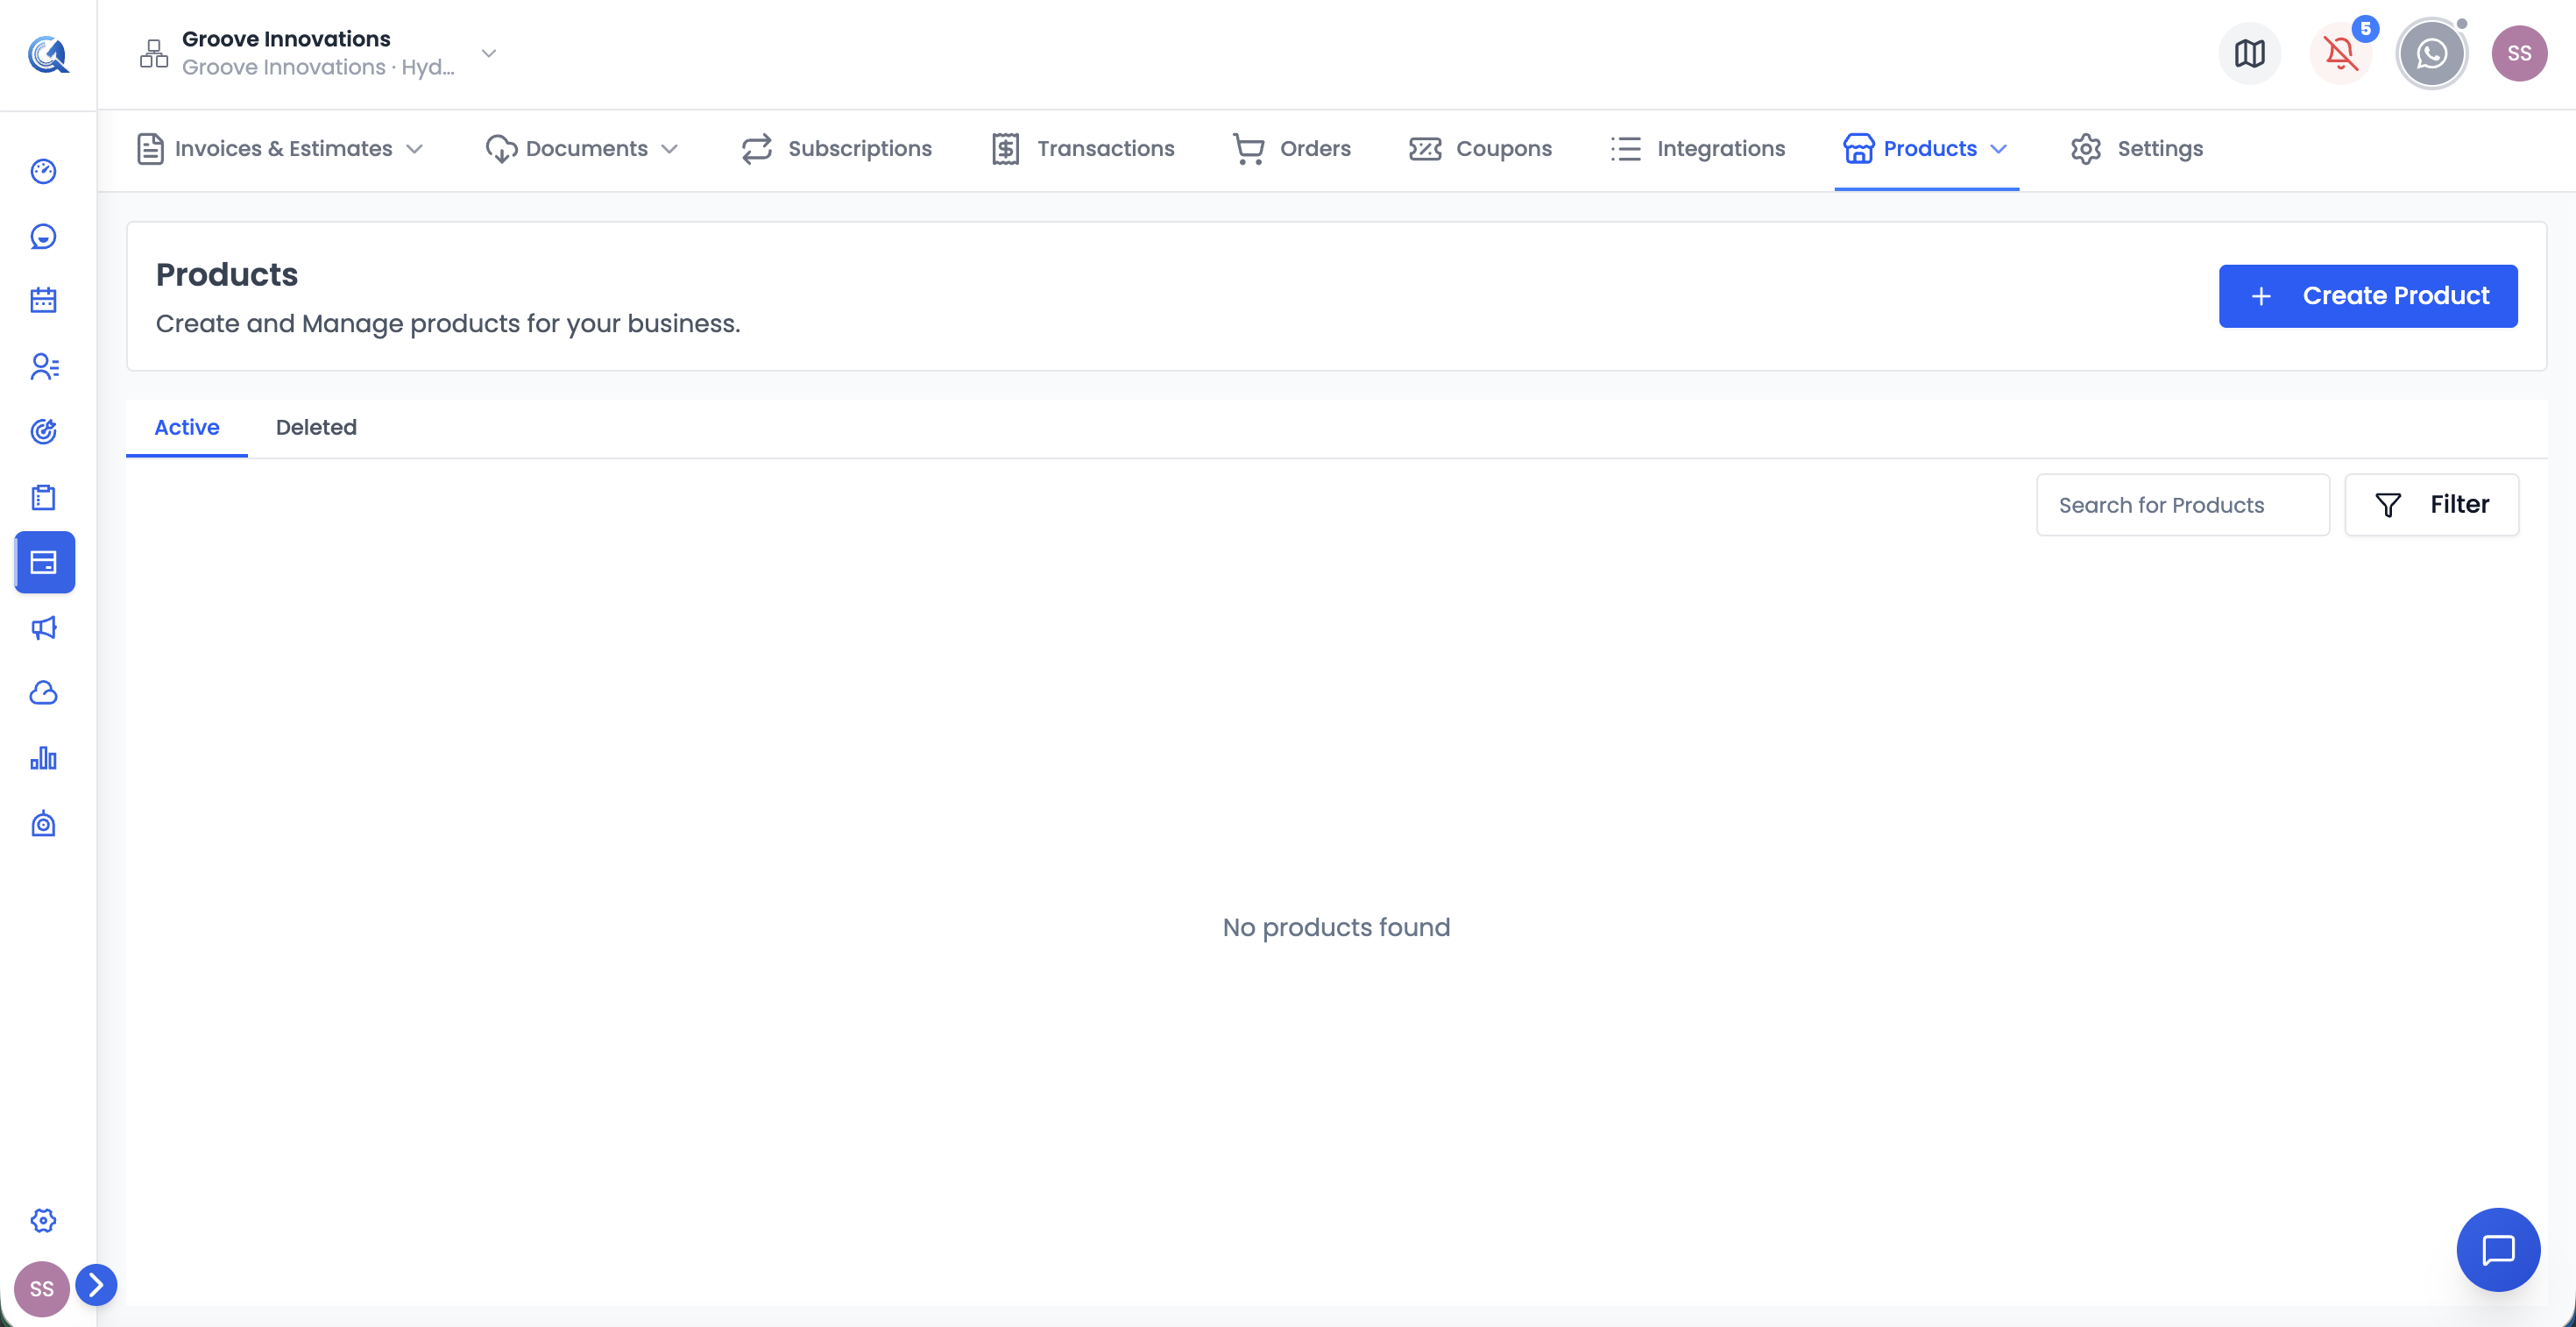 Products are the foundation of Payments. Create your product catalogue first, then use products in invoices, documents, and coupons.
- Products are created in Products with pricing, tax rates, and inventory.
- Tax rates are configured in Settings and attached to products and invoice line items.
- Products are grouped into Collections for easier filtering when building invoices and documents.
Billing happens through Invoices and Documents:
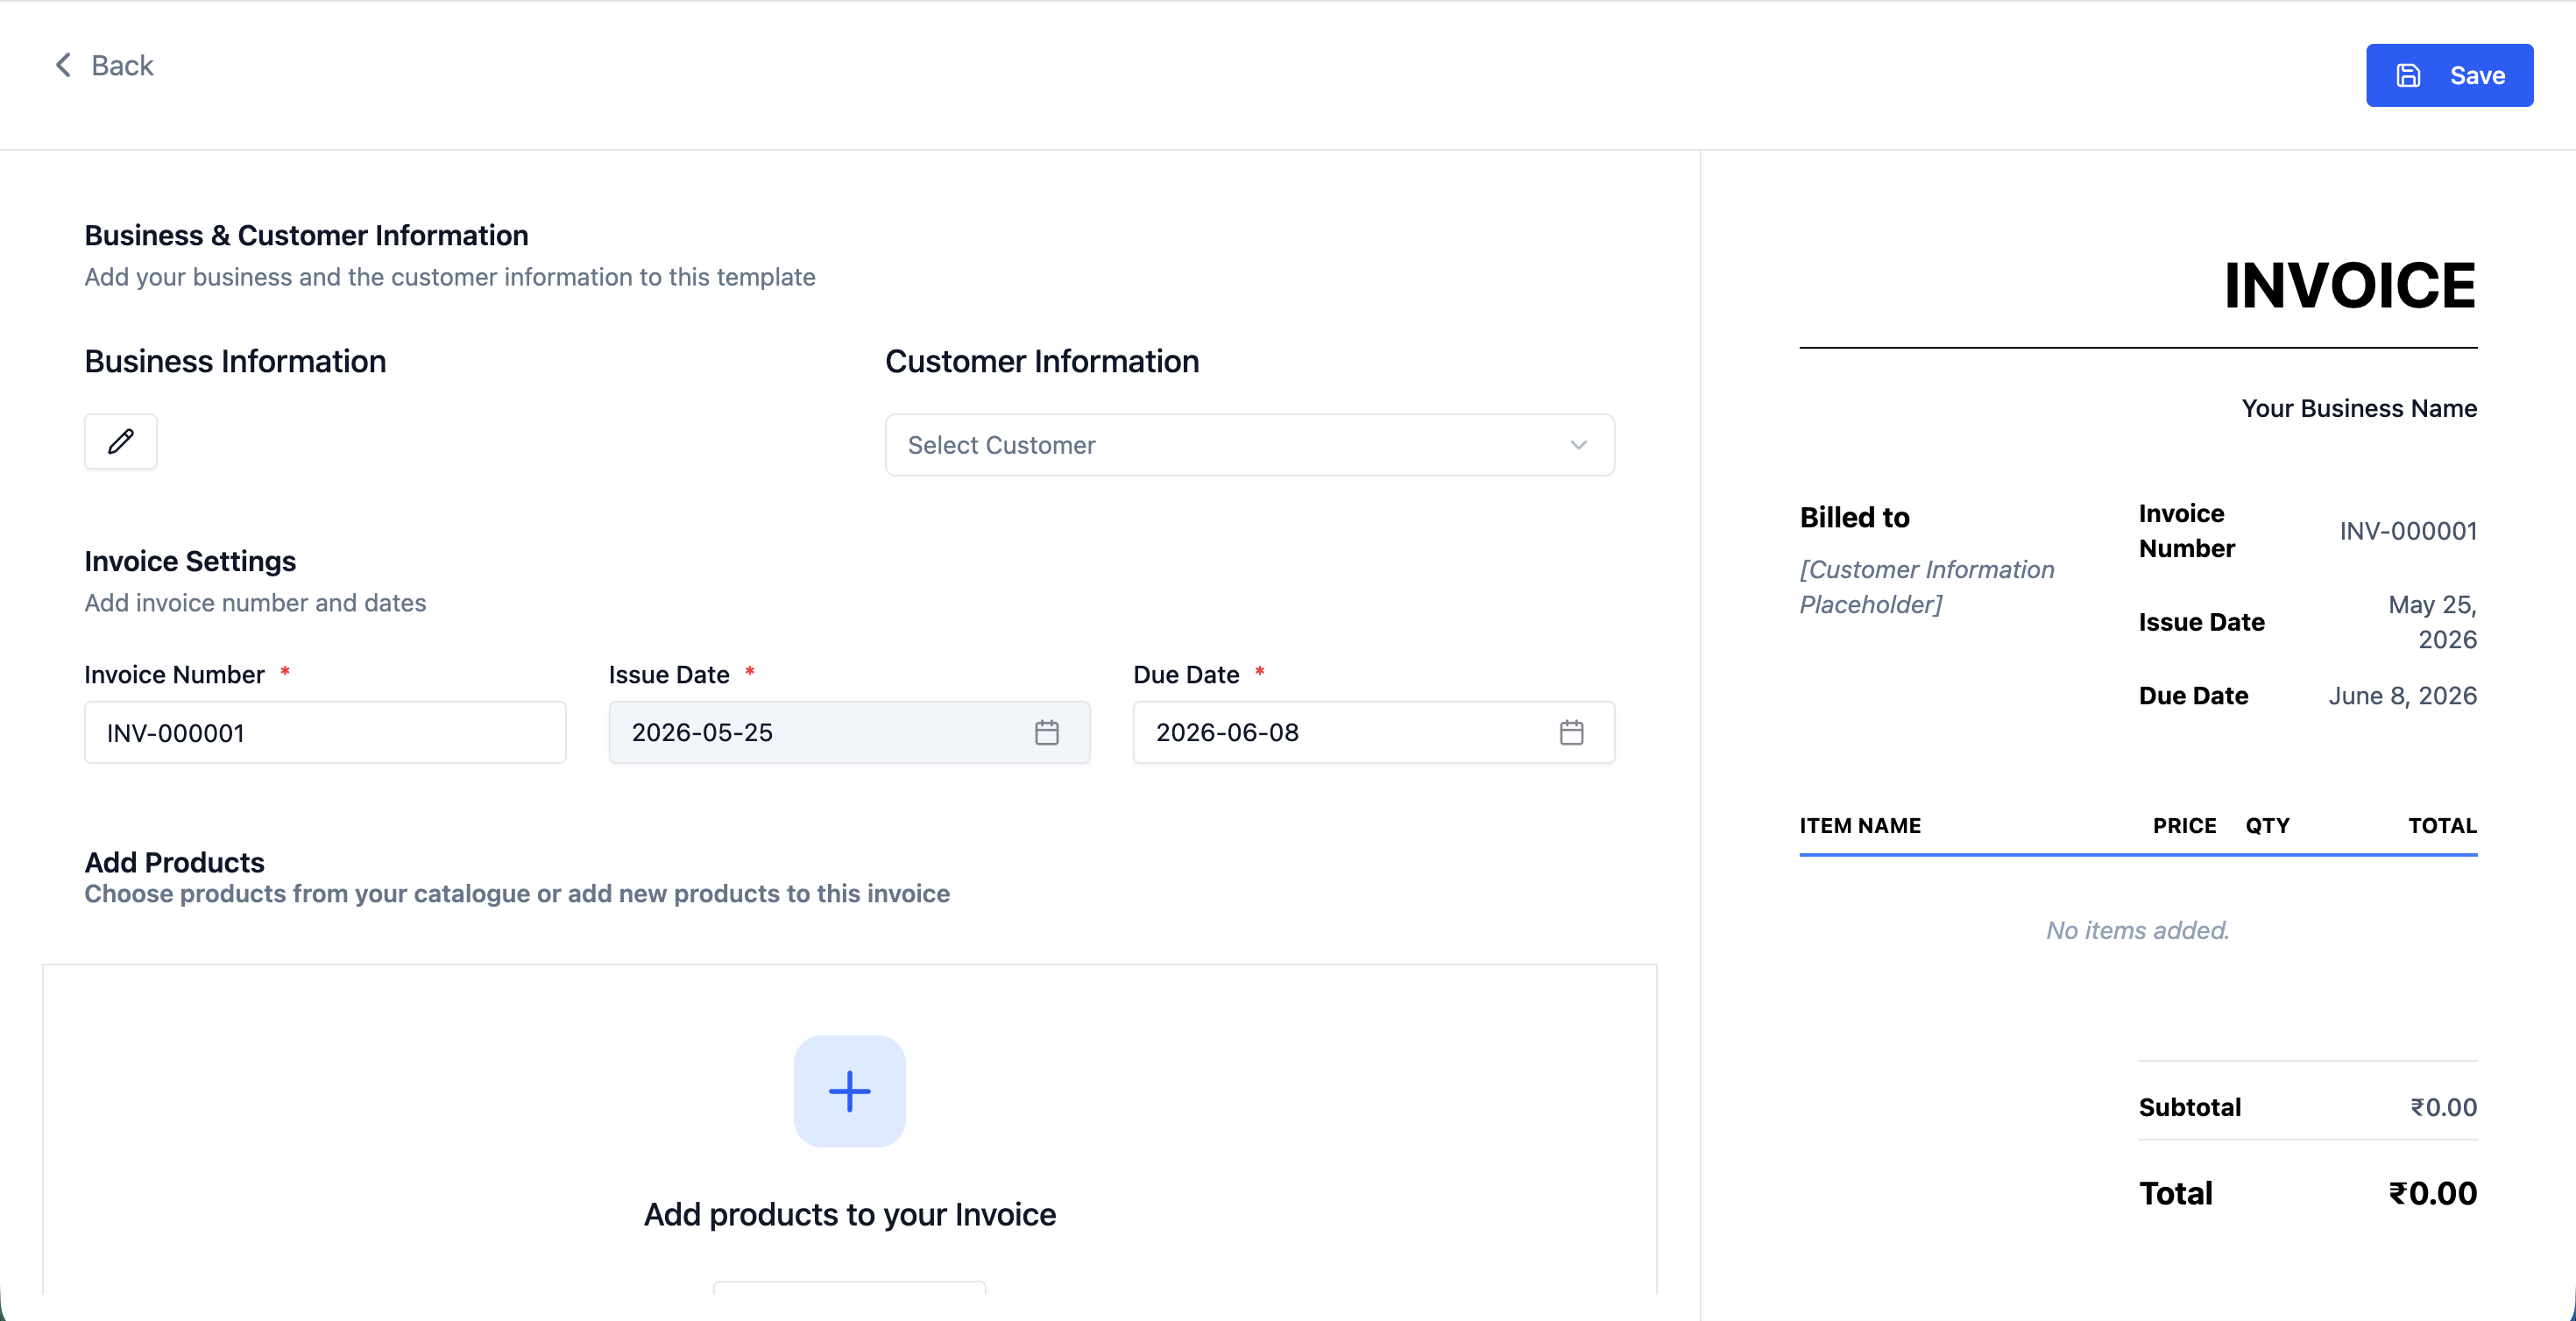 Invoices reference products as line items. Documents can include a Product List component to turn a proposal into a payable checkout experience.
- Invoices reference products from the catalogue as line items.
- Documents & Contracts can embed a Product List component, turning a proposal into a payable checkout.
- Both can apply Coupons at checkout to discount the total.
Payments flow through Integrations and into Transactions:
- A connected provider in Integrations makes Pay Now buttons work.
- When a contact pays, a Transaction record is automatically created with the provider's transaction ID, payment method, and amount.
Purchase outcomes are stored in Orders and Subscriptions:
- A one-time product purchase creates an Order record.
- A recurring product purchase creates a Subscription record that tracks ongoing billing.
- Both are linked back to the originating Transaction.
Key Capabilities
- Invoicing — Send one-off or recurring invoices with custom payment schedules, instalments, late fees, and tips. Track status from Draft through to Paid and Overdue.
- Document Signing — Create proposals and contracts on a canvas editor. Assign signature, initials, checkbox, and date fields to recipients. Collect digital signatures and track completion status.
- Product Catalogue — Maintain a full product library with one-time and recurring pricing, multi-option variants, inventory, SEO listings, and collection groupings.
- Subscriptions & Recurring Billing — Track every recurring subscription with real-time status, next billing date, and payment method. Subscriptions are created automatically when contacts purchase recurring products.
- Financial Records — All transactions, orders, and subscription data is stored and searchable. Filter by status, date range, contact, and payment method. Use Provider Transaction IDs to reconcile against your payment gateway's dashboard.
Video Walkthrough
Watch the complete walkthrough below.