Products
Products is your central product catalogue — every item, service, or plan you sell lives here. Products can be one-time purchases or recurring subscriptions, can have multiple pricing variants, carry inventory counts, and include SEO metadata for public-facing pages. Once created, products can be attached to invoices, documents, and coupons.
Navigating to Products
From the main navigation, click Payments → Products tab.
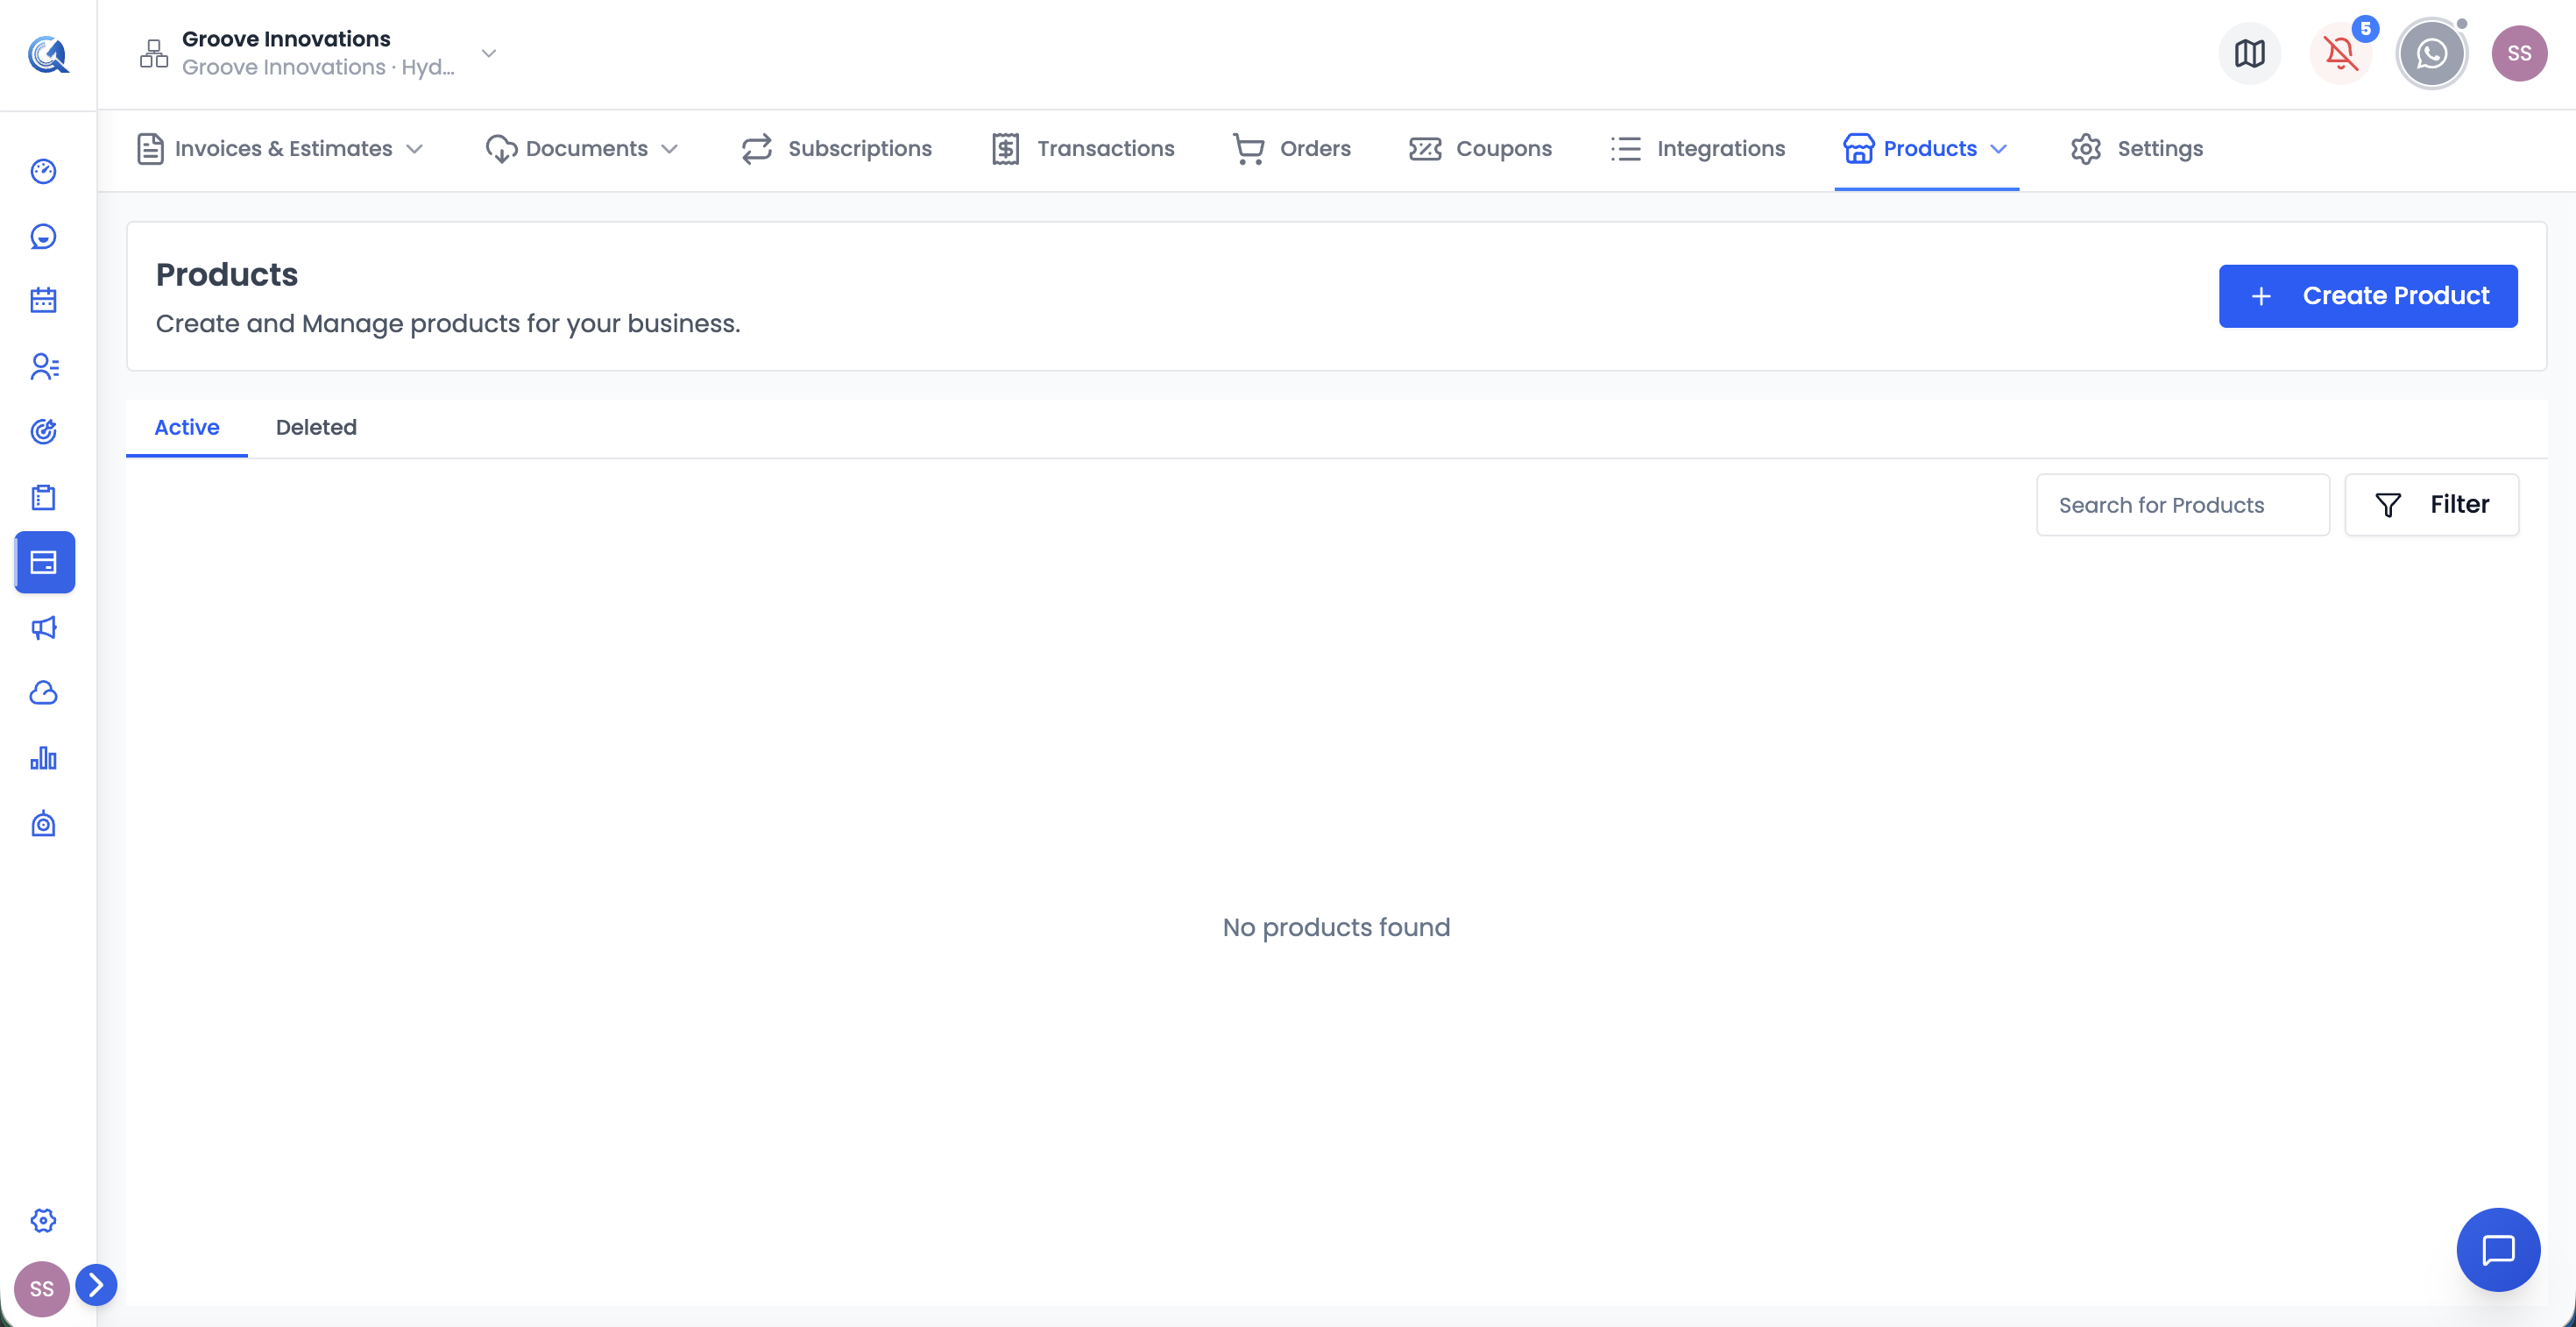 The Products list. Use the search bar and the status filter to find specific products. Switch to the Deleted tab to see soft-deleted products.
Products List
The list shows all products in your catalogue. Each row shows the product title, price, type (one-time or recurring), status (active/inactive), and available stock.
Use the search bar to find products by name. Use the status filter to view only Active or Inactive products. Switch to the Deleted tab to view soft-deleted products.
Creating a Product
Click + New Product to open the product form.
Step 1 — Product Information
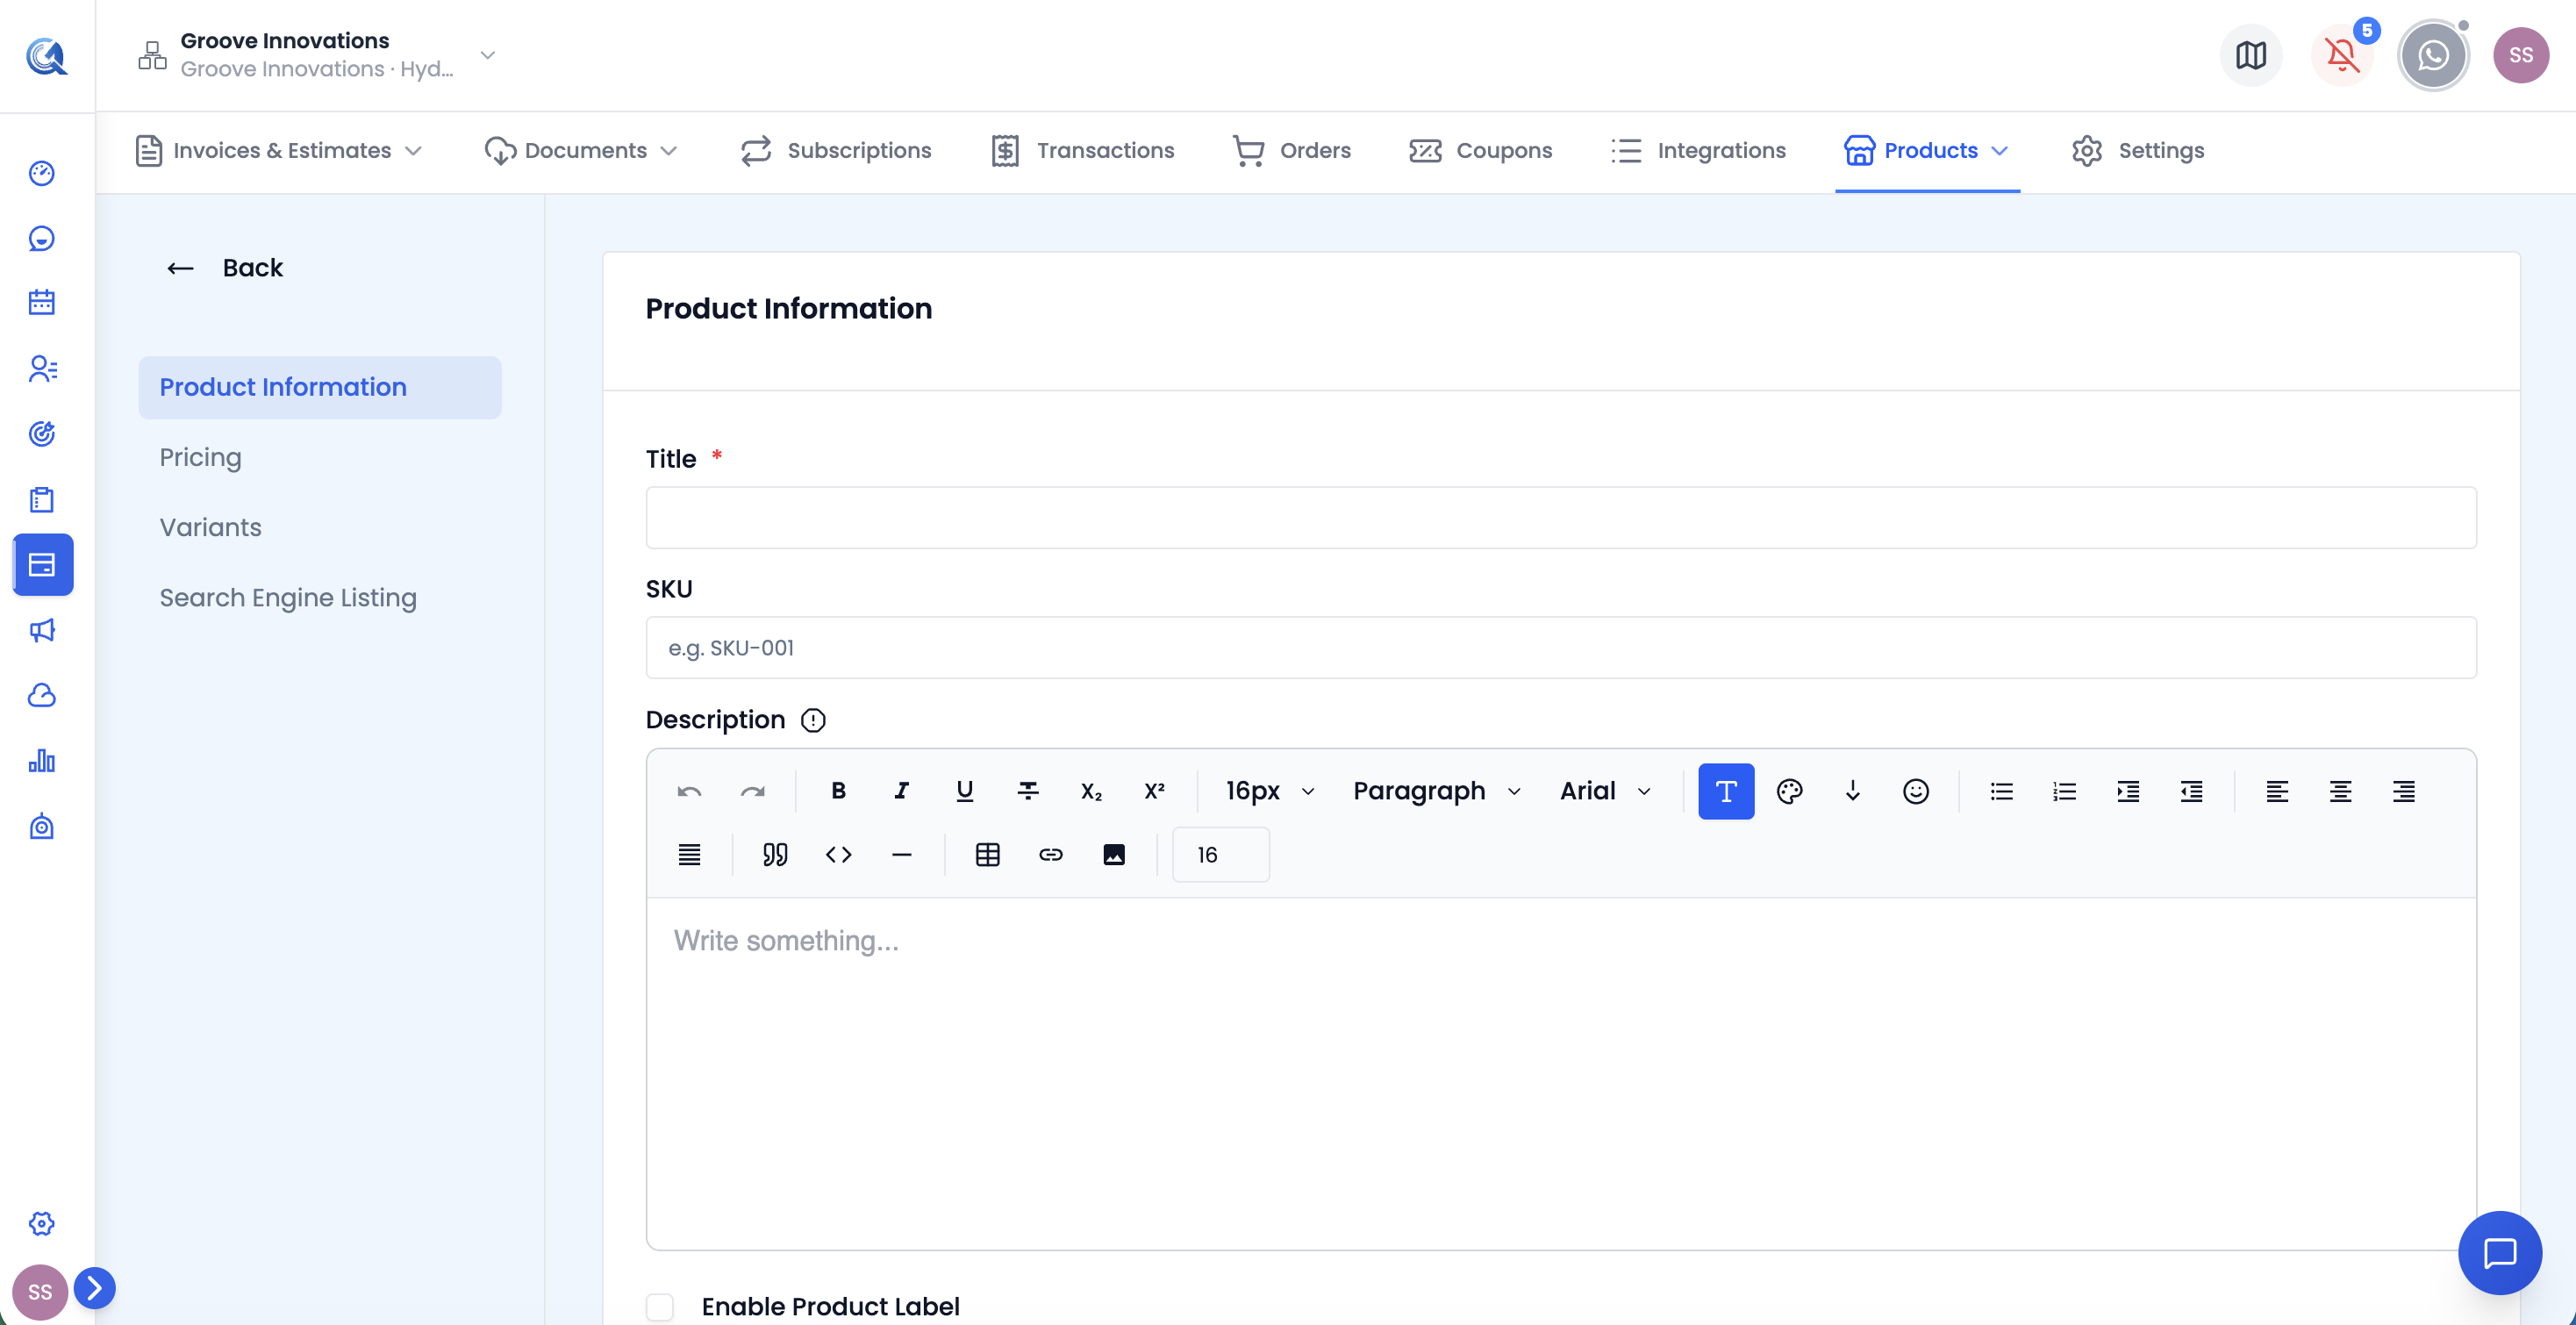 The Product Information section. Title is required. SKU, description, status, and featured are optional but recommended for catalogue management.
| Field | Description |
|---|---|
| Title | The product name (required). This is what appears on invoices, documents, and payment pages. |
| SKU | Stock Keeping Unit — a unique identifier code for this product. Optional, but useful for inventory management and reconciliation. |
| Description | A rich text description of the product. Supports bold, italic, bullet lists, and headings. This description can appear on invoices and product pages depending on your template settings. |
| Status | Active — the product is available for use on invoices and documents. Inactive — the product is hidden from all pickers and search results but not deleted. Use Inactive for discontinued or seasonal products you may reactivate later. |
| Featured | Marks the product as featured. Featured products may be highlighted in product pickers or on your storefront depending on your configuration. |
Step 2 — Product Label (optional)
The Product Label toggle lets you display a time-limited promotional badge on the product (e.g. "Sale", "New", "Limited").
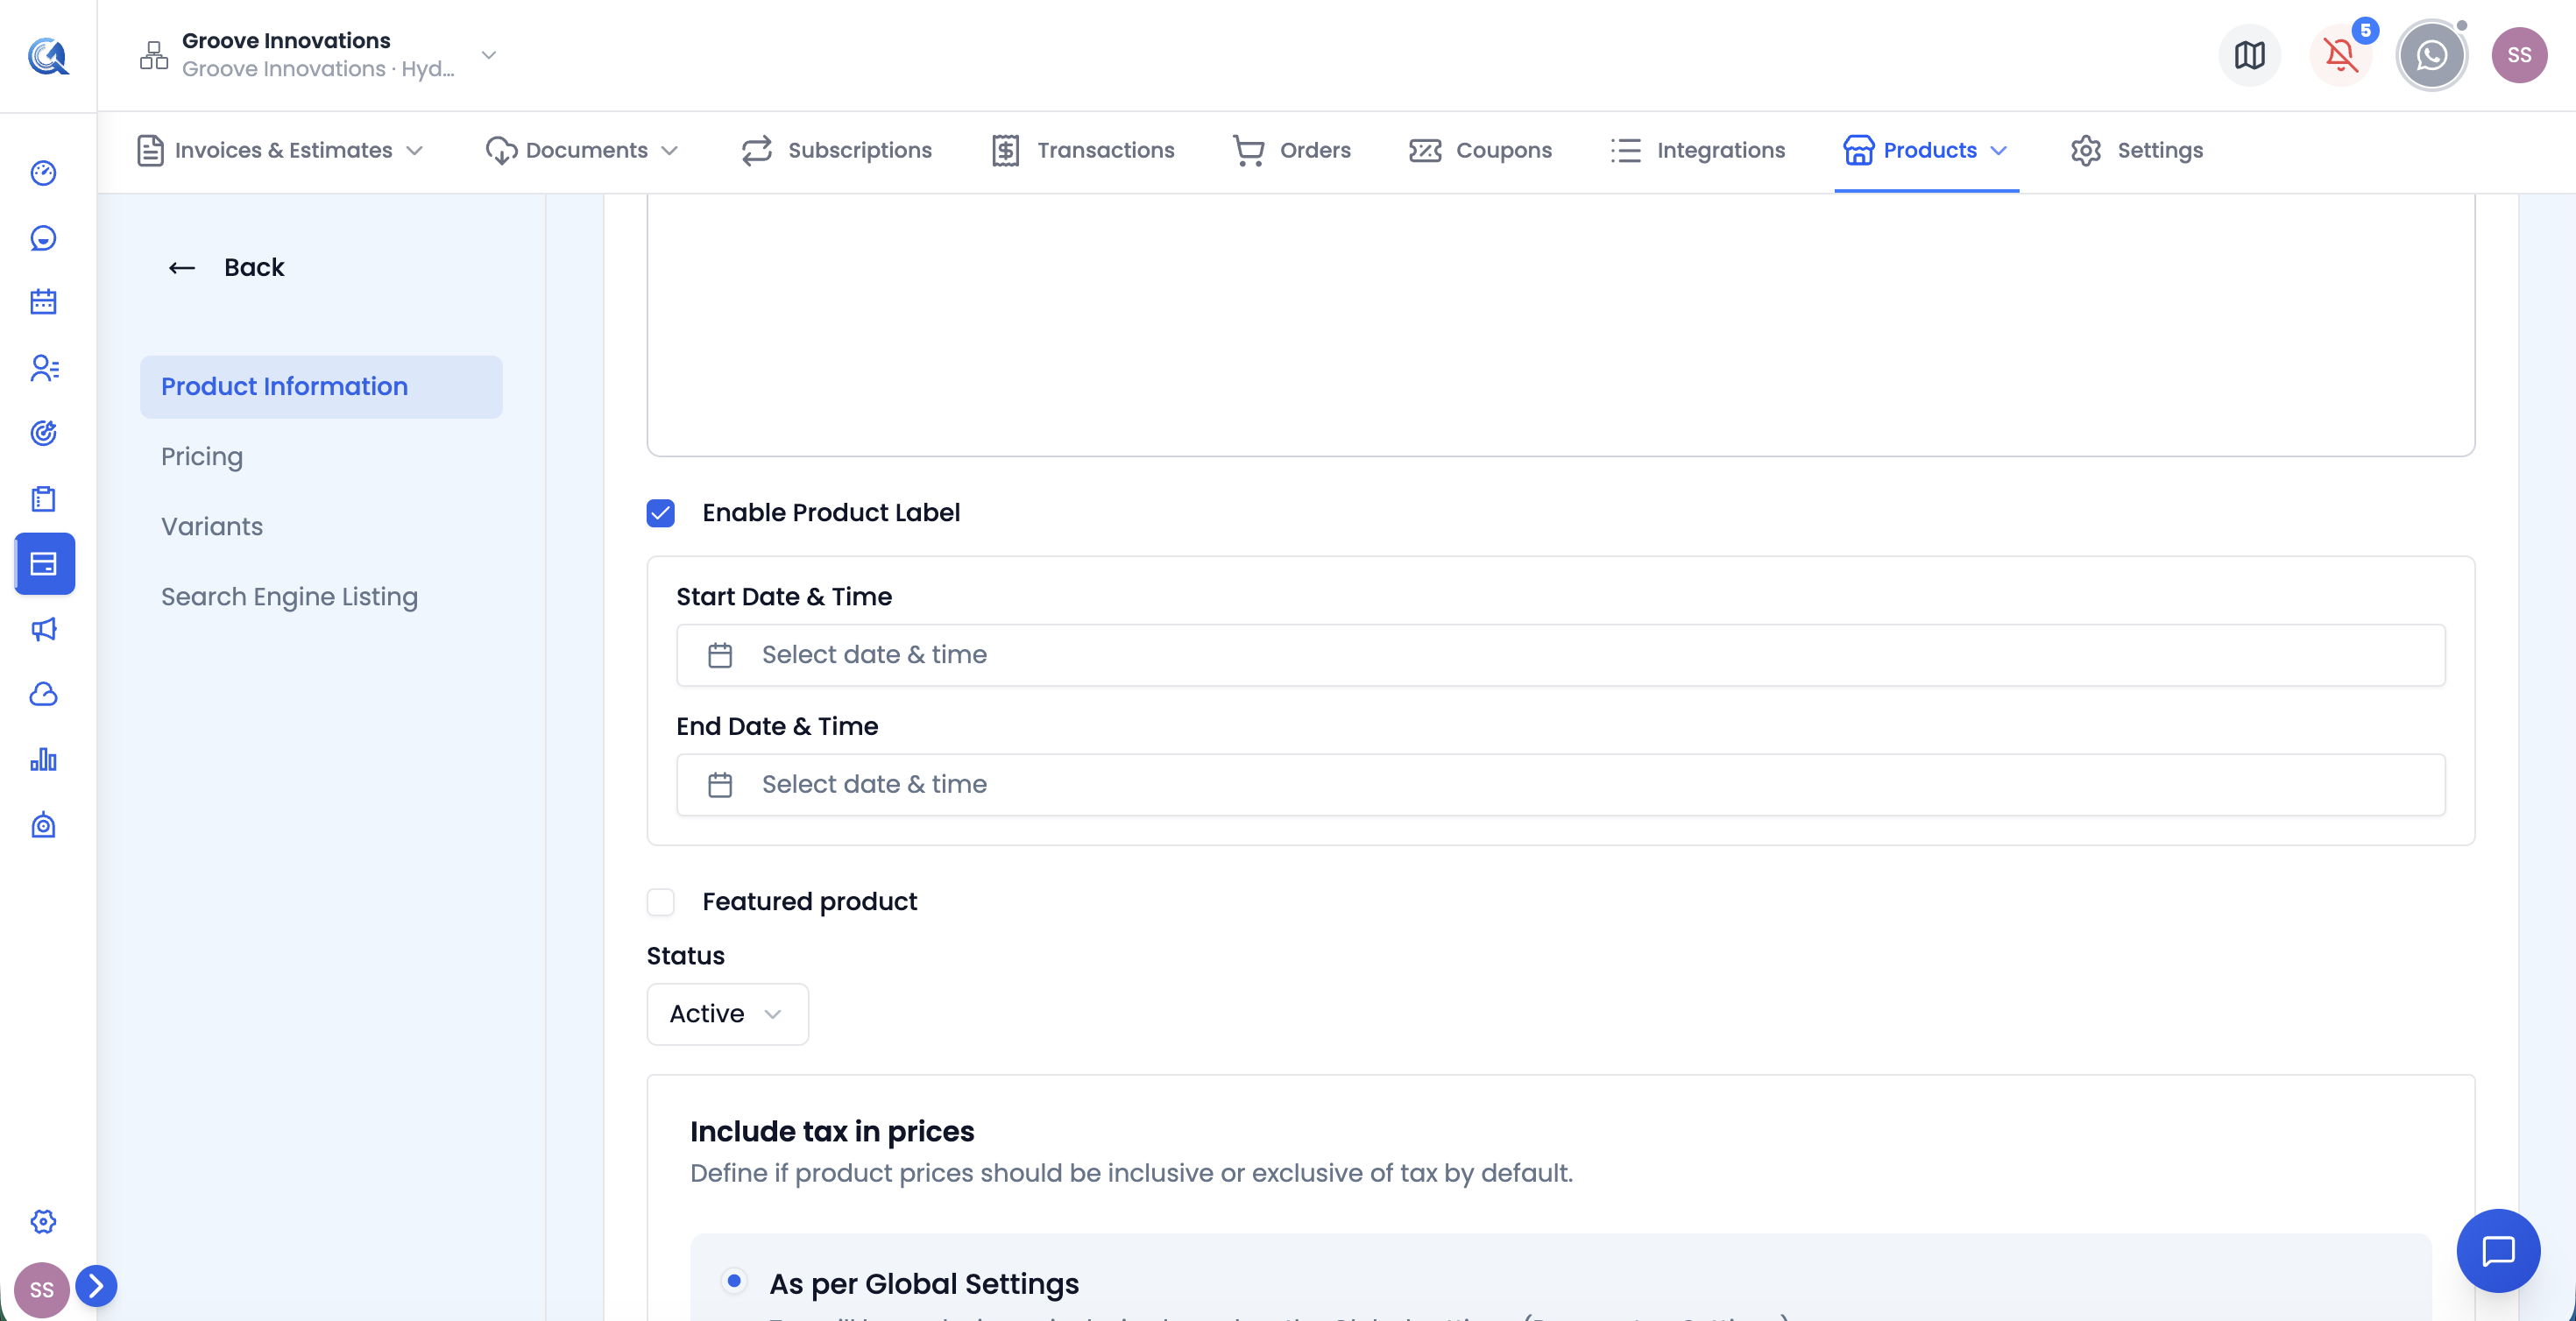 The Product Label toggle expanded. Set a start and end date — the label appears automatically during that window and disappears without any manual action.
- Toggle on to activate.
- Set a Start Date & Time — when the label begins showing.
- Set an End Date & Time — when the label stops showing.
- The label appears automatically within the defined window and disappears after the end time without any manual action.
Step 3 — Pricing
Price Type — choose between the two billing models:
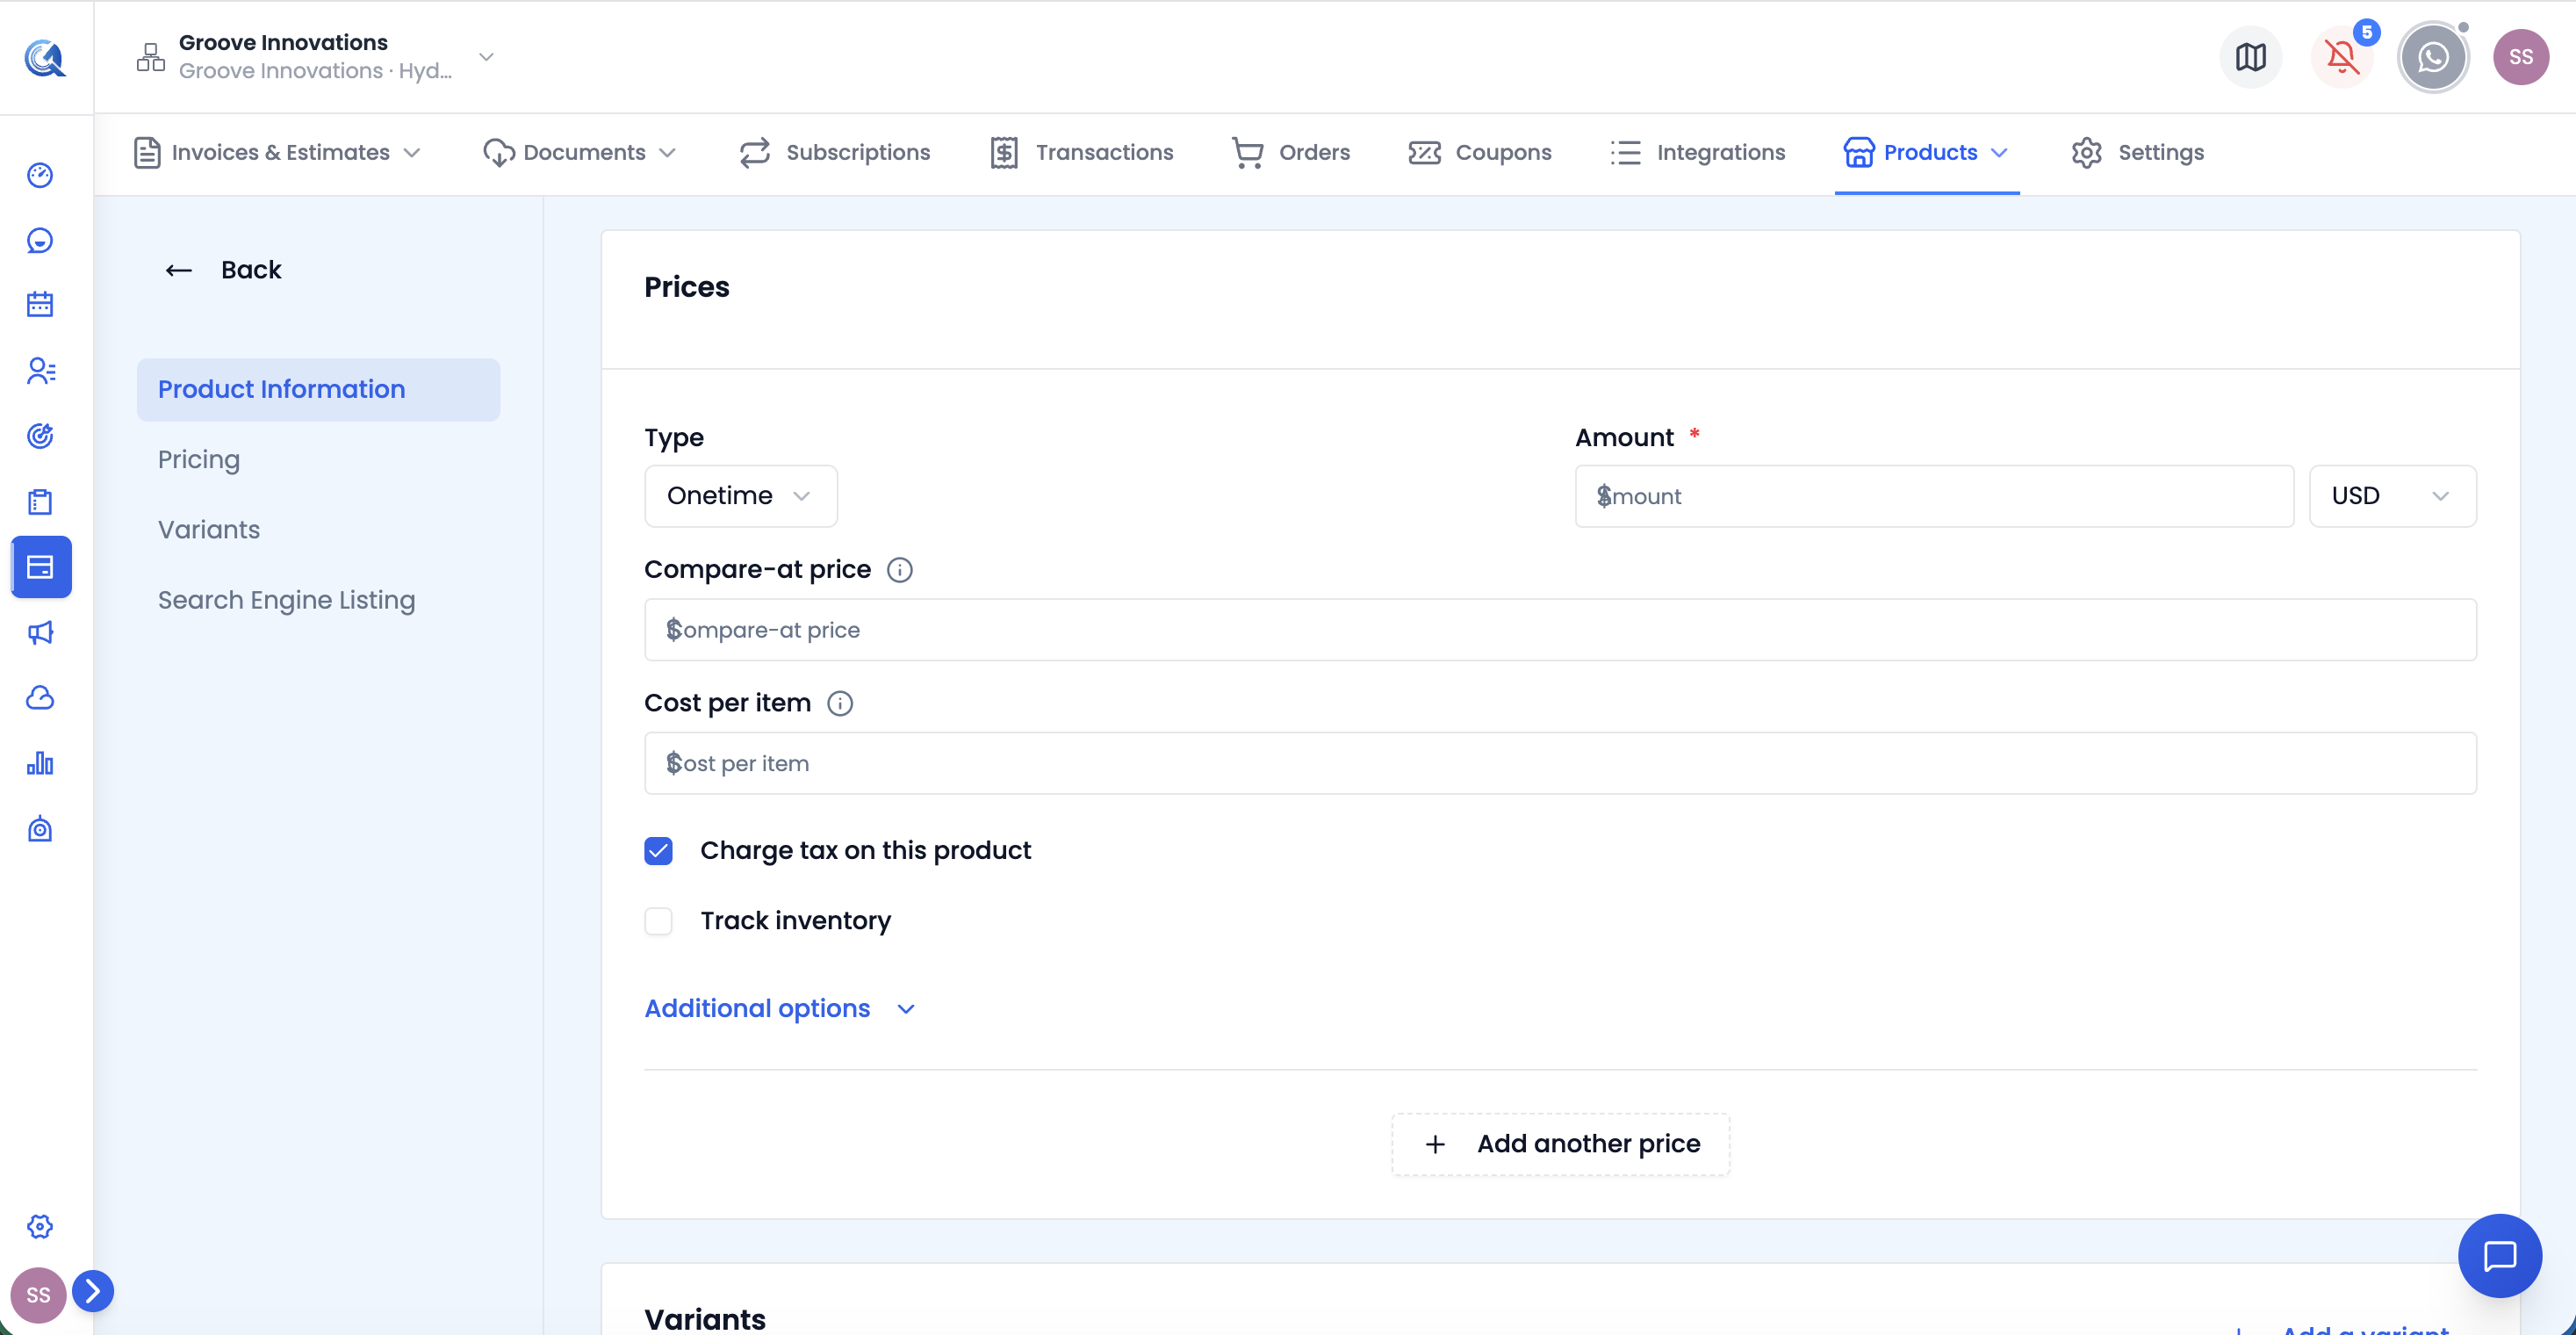 The Pricing section. Choose One-time for single purchases or Recurring for repeating charges. Recurring adds an interval selector. Both types share the same price, compare-at price, cost, and currency fields.
One-time The product is charged a single time per purchase. Use this for physical goods, one-off project fees, setup charges, or any service billed just once. When a contact pays a one-time product, it creates a transaction and an order record.
Recurring The product is billed on a repeating interval. Use this for monthly retainers, memberships, software licences, or any ongoing service. When a contact pays a recurring product, it creates a subscription record linked to them. Billing continues automatically at the specified interval until the subscription is cancelled.
- Recurring interval options: Weekly, Monthly, Every 2 weeks, Every 3 months, Every 6 months, Annually, or a custom interval.
Pricing fields available for both types:
| Field | Description |
|---|---|
| Price | The selling price of the product (required) |
| Compare-at Price | The original or "before discount" price. When set, it displays as a crossed-out price next to the current price (e.g. |
| Cost Per Item | Your cost to produce or acquire this product. Not shown to customers. Used internally to calculate your profit margin. |
| Currency | The currency for this product's price (USD, EUR, GBP, INR, etc.) |
Step 4 — Tax Configuration
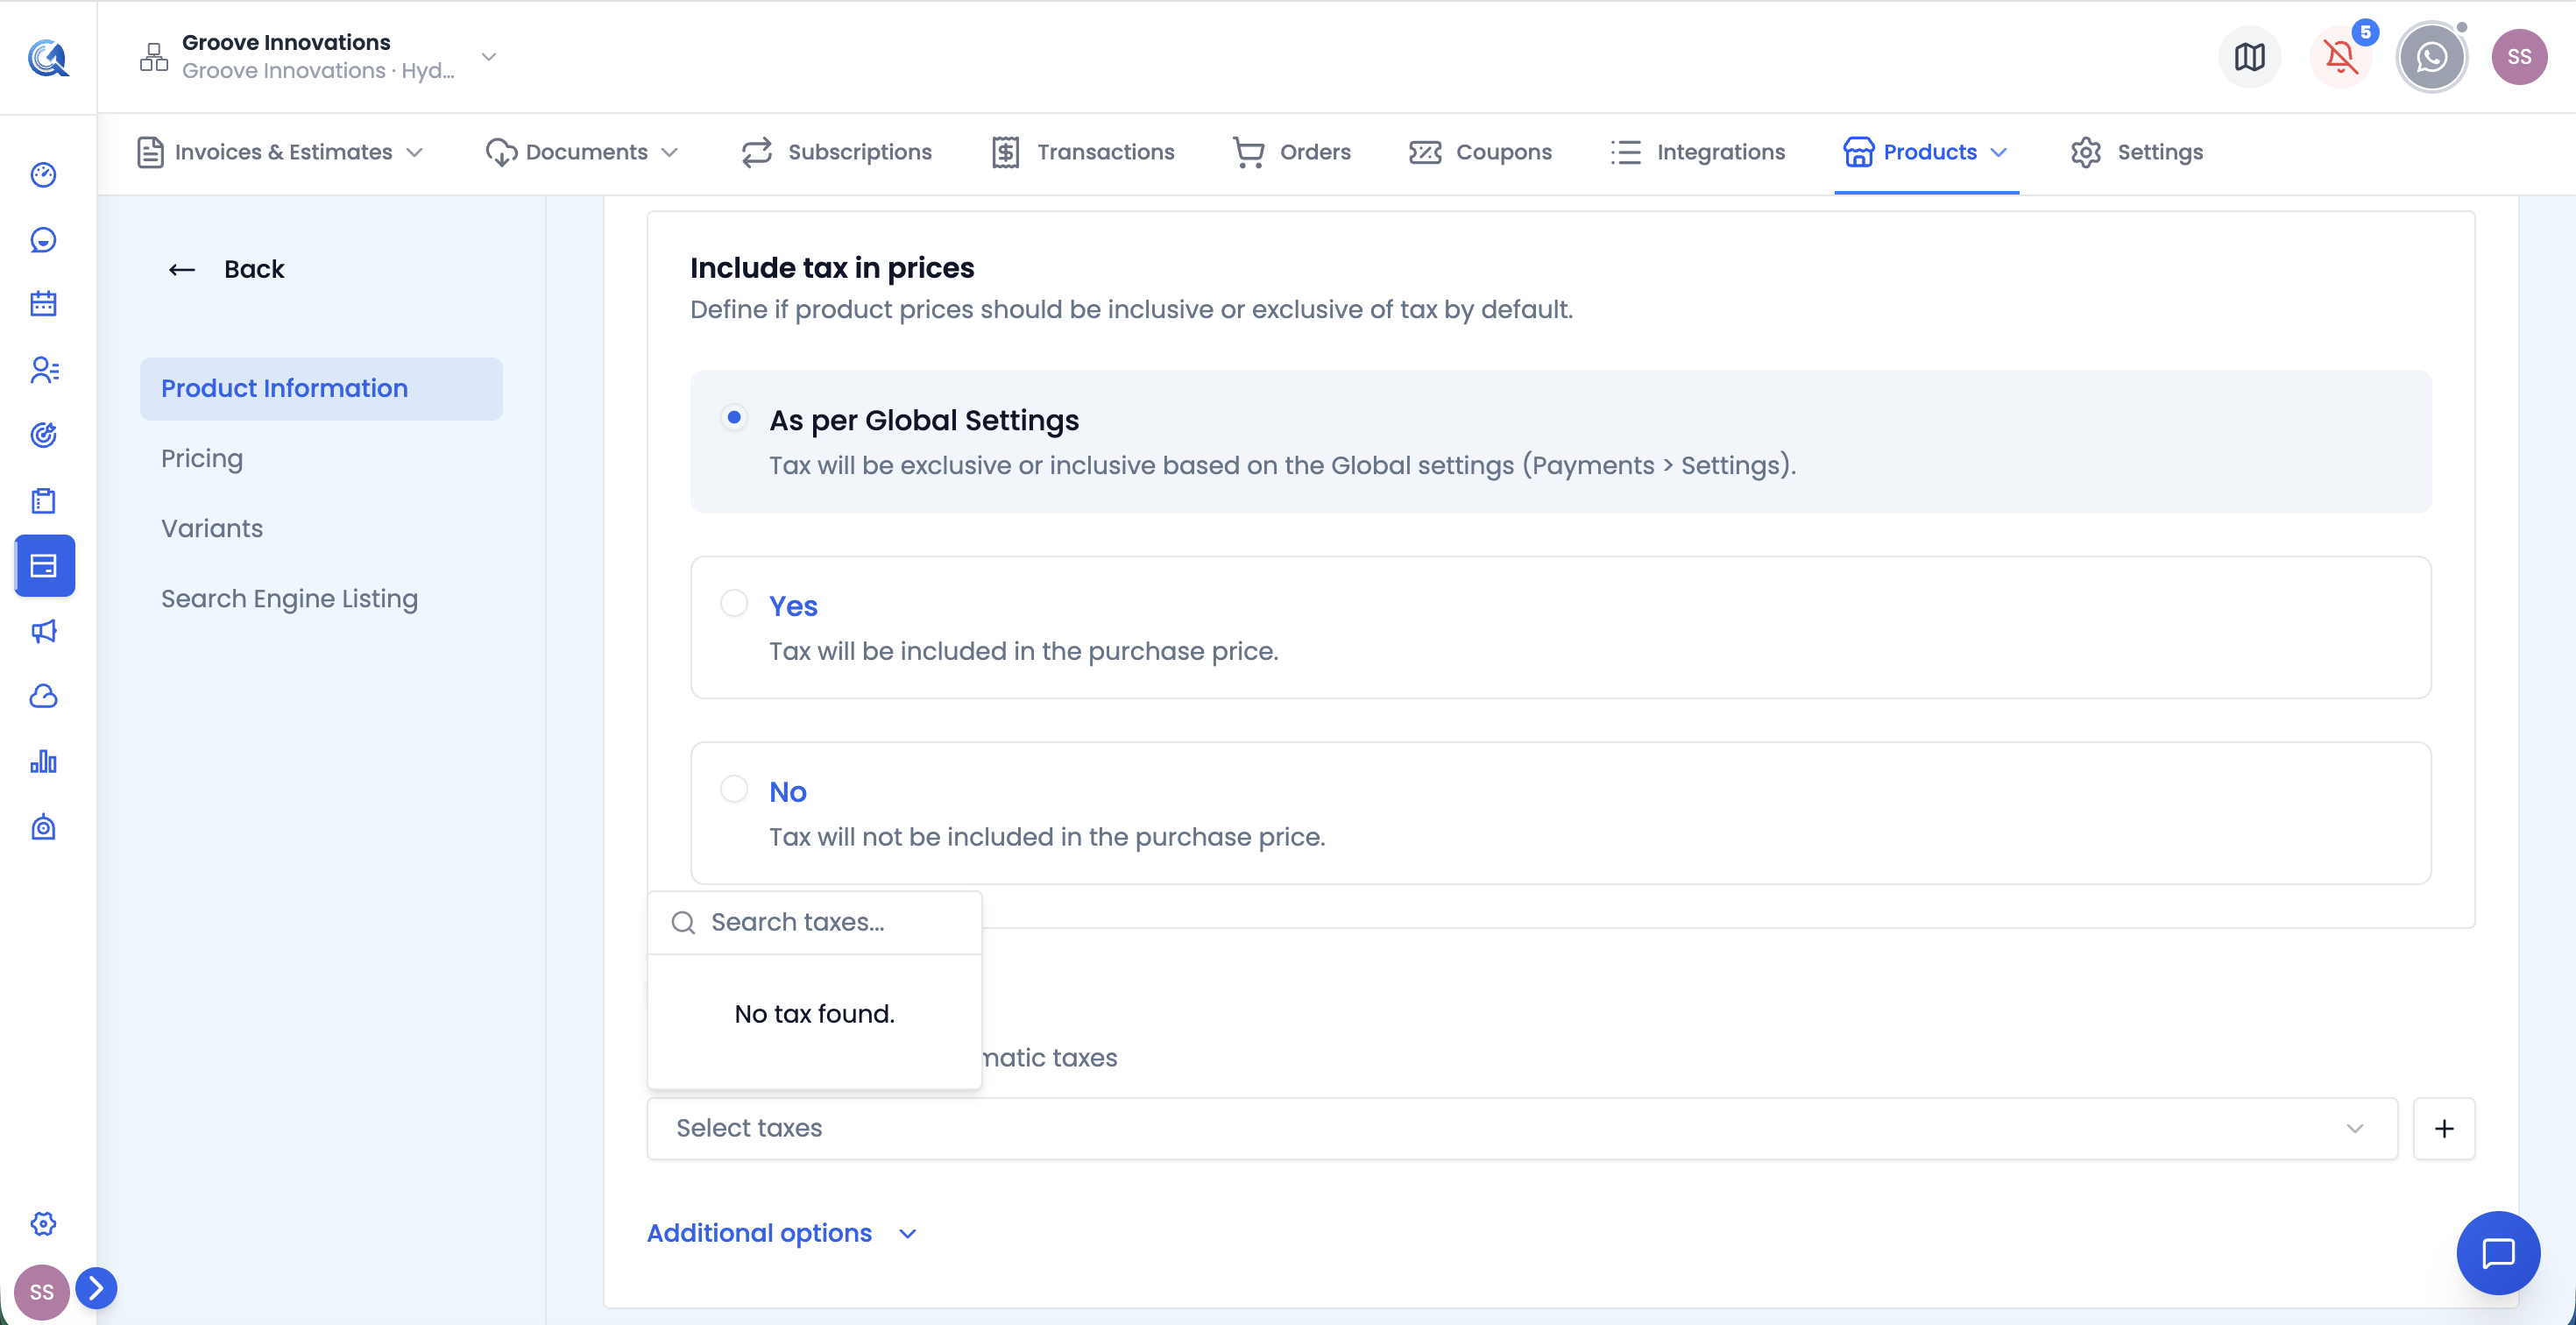 The Tax Configuration section. Set whether the displayed price includes tax, then attach one or more tax rates from your Settings → Taxes list. Selected rates appear as removable badges.
| Field | Description |
|---|---|
| Include Tax in Prices | As per Global Settings — uses the account-wide tax setting. Yes — the price shown already includes tax. No — tax is added on top of the displayed price at checkout. |
| Attach Tax Rates | Select one or more tax rates to apply to this product. Rates are drawn from those configured in Settings → Taxes. Selected rates appear as badges and can be removed individually. |
Step 5 — Inventory (optional)
Toggle Track Inventory on to manage stock for this product.
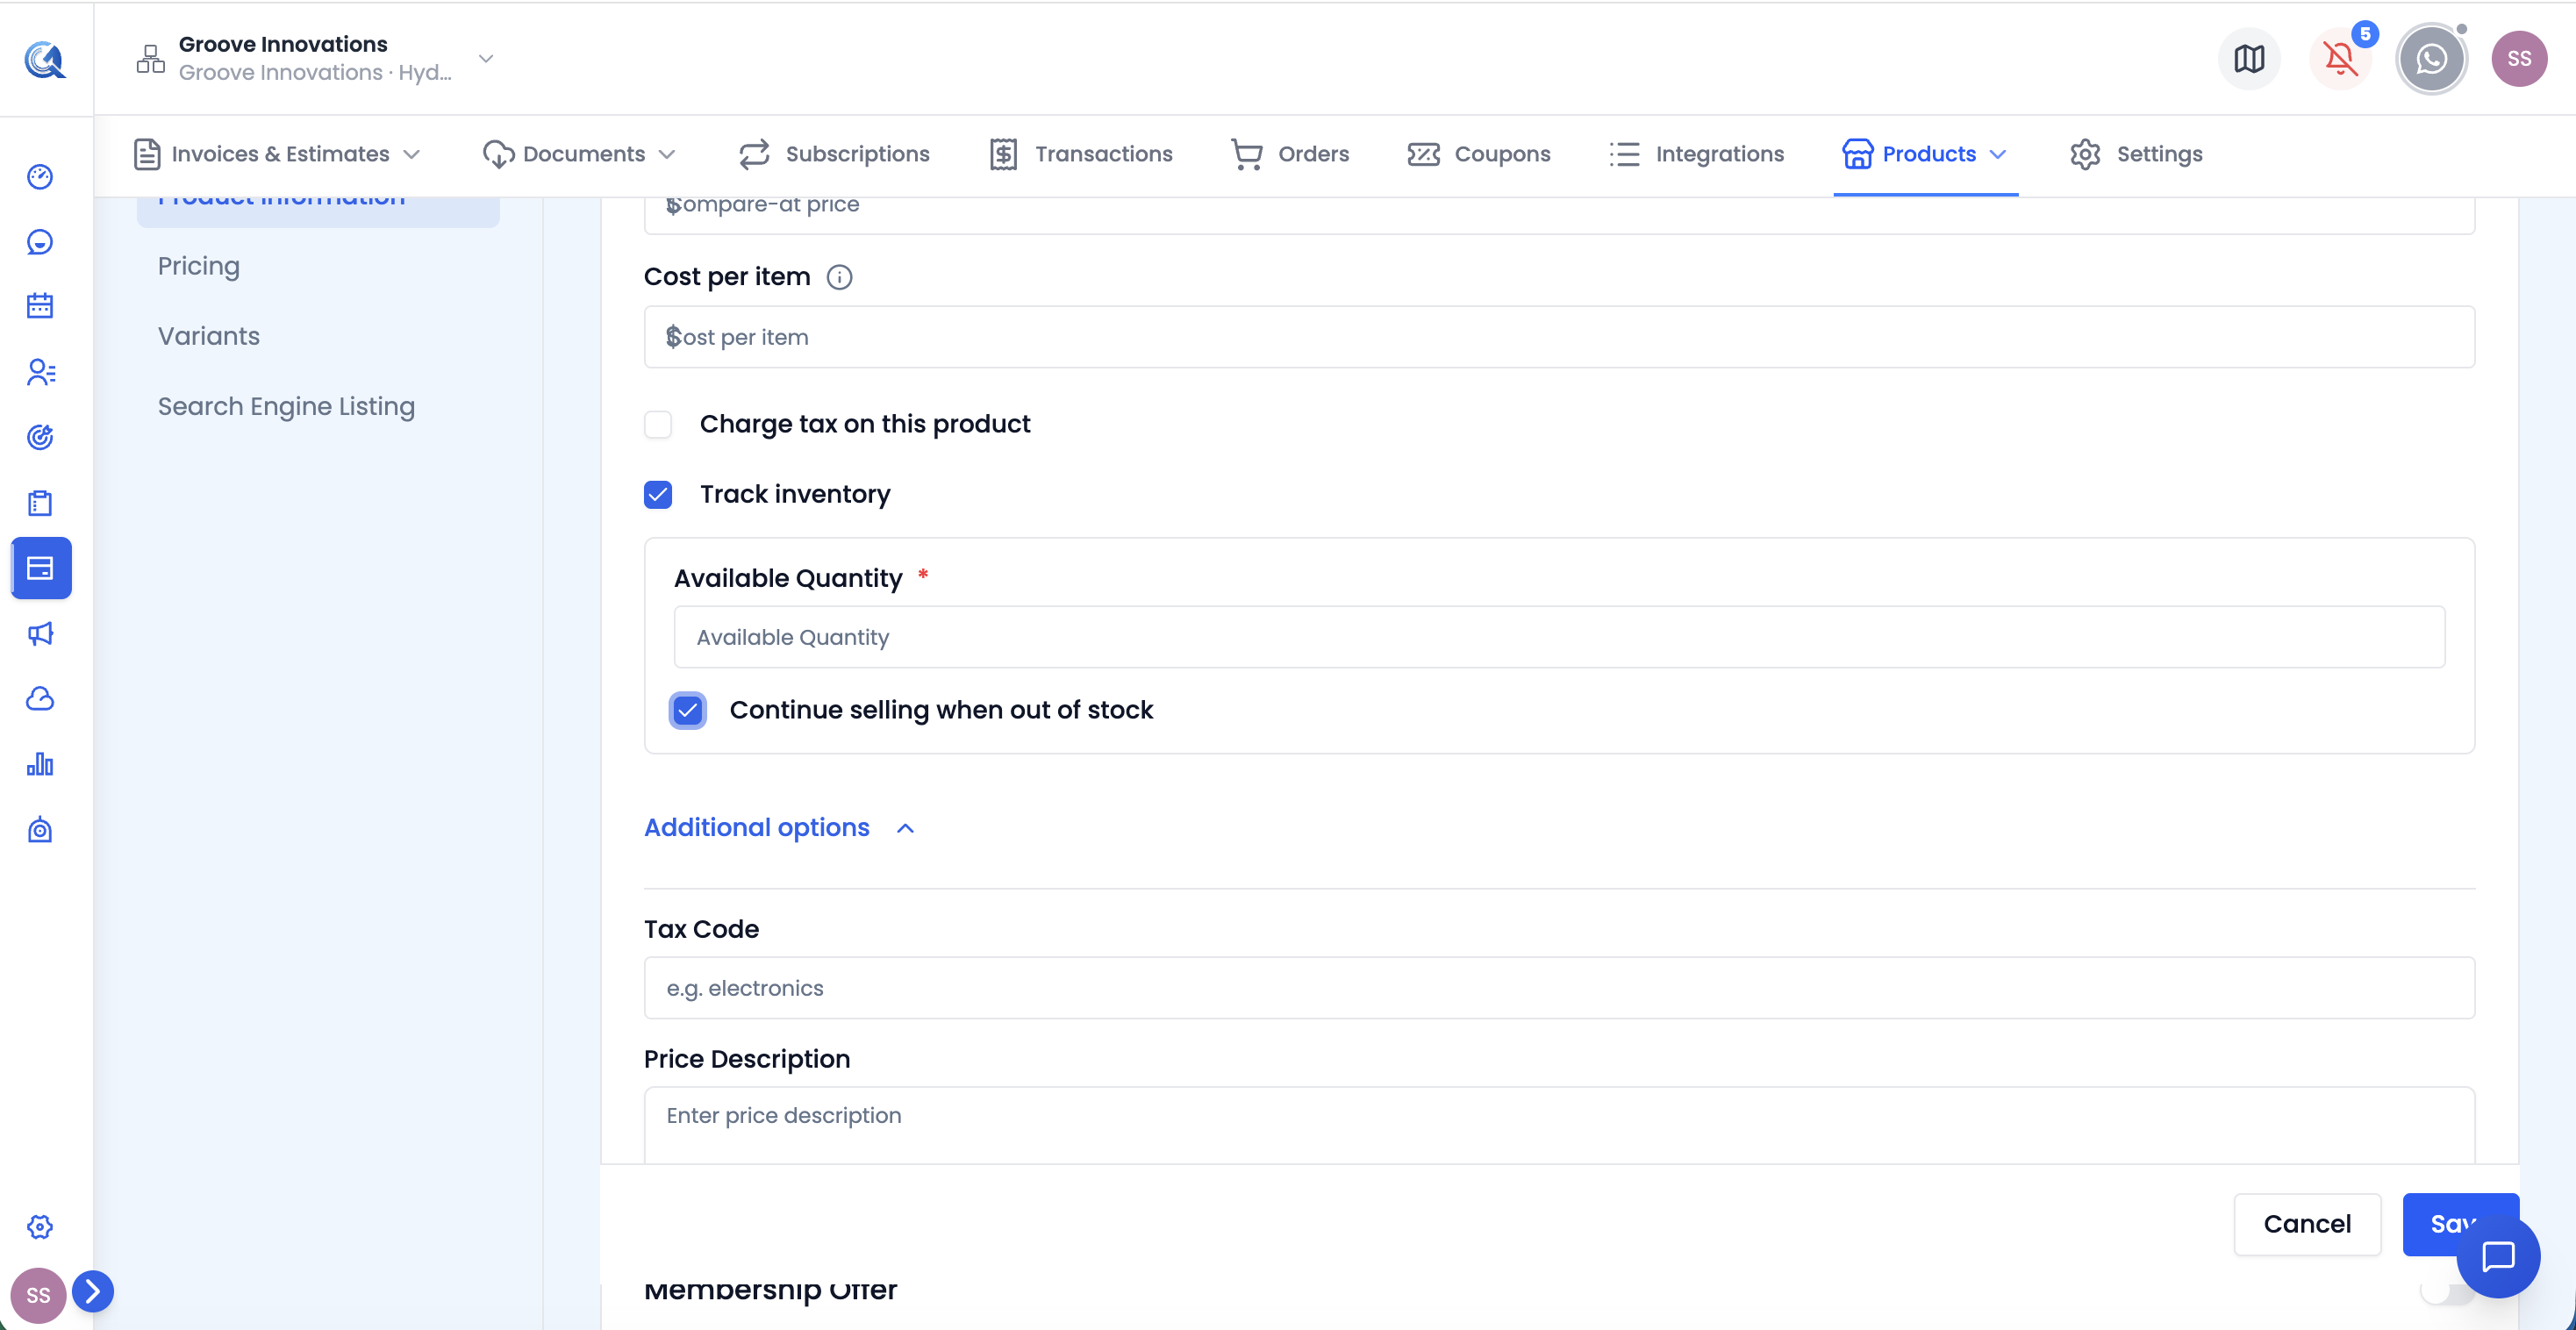 The Inventory section with tracking enabled. Set the available quantity and choose whether to continue selling when stock reaches zero.
| Field | Description |
|---|---|
| Available Quantity | The current stock count. Decrements automatically when a purchase is made. |
| Continue Selling When Out of Stock | When enabled, the product can still be purchased even if stock reaches zero. When disabled, the product becomes unavailable for purchase once stock runs out. |
Step 6 — Collections and Tags
Collections — Assign this product to one or more collections using the Collections picker. Click the field and search for or select collections. Selected collections appear as removable badges. A product can belong to multiple collections simultaneously.
Tags — Add searchable tags using the Tags field. Type a tag and press Enter or click Add to create it. Tags appear as removable badges. Use tags for internal categorisation, filtering, and search.
Step 7 — Additional Options (collapsible)
| Field | Description |
|---|---|
| Slug | The URL-friendly identifier for this product's page (e.g. website-design-package). Auto-generated from the title but can be manually edited. Must be unique. |
| Statement Descriptor | The text that appears on the customer's bank or card statement when they purchase this product. Keep it under 22 characters and make it recognisable. |
Step 8 — Images
Add one or more product images:
- Click Add Image to create an image entry.
- Enter the Image URL where the image is hosted.
- Enter an Alt Text — a short accessibility description of the image.
- Add as many images as needed. The first image is used as the primary product image.
- Click the delete icon to remove an individual image entry.
Step 9 — SEO Listing
| Field | Description |
|---|---|
| Handle | The URL slug for the product's public page. Auto-generated from the title but editable. |
| Meta Title | The title tag shown in search engine results. If left blank, the product title is used. |
| Meta Description | The description snippet shown under the title in search results. Keep under 160 characters for best display. |
Step 10 — Membership Offer (optional)
If you sell membership products, toggle Membership Offer on and select which membership plan this product grants access to. This links the purchase to a specific membership tier in your system.
Save the Product
Click Save to create the product. It immediately becomes available in invoice line item searches, document product pickers, and coupon configurations (if set to active).
 The product form. Fill in title, choose price type, configure tax and inventory, then save.
Variants
Variants let a single product represent multiple distinct options — each with its own price, SKU, and inventory. Enable variants when one product comes in multiple versions that differ in price or attributes.
To add variants:
- Toggle Has Variants on in the product form.
- Add an option set — a category of variation (e.g. "Size", "Colour", "Plan Tier").
- Add values for each option set (e.g. for "Size": Small, Medium, Large).
- Quantixone generates a variant row for each combination.
- Set the SKU, Price, Compare-at Price, and Available Quantity for each variant independently.
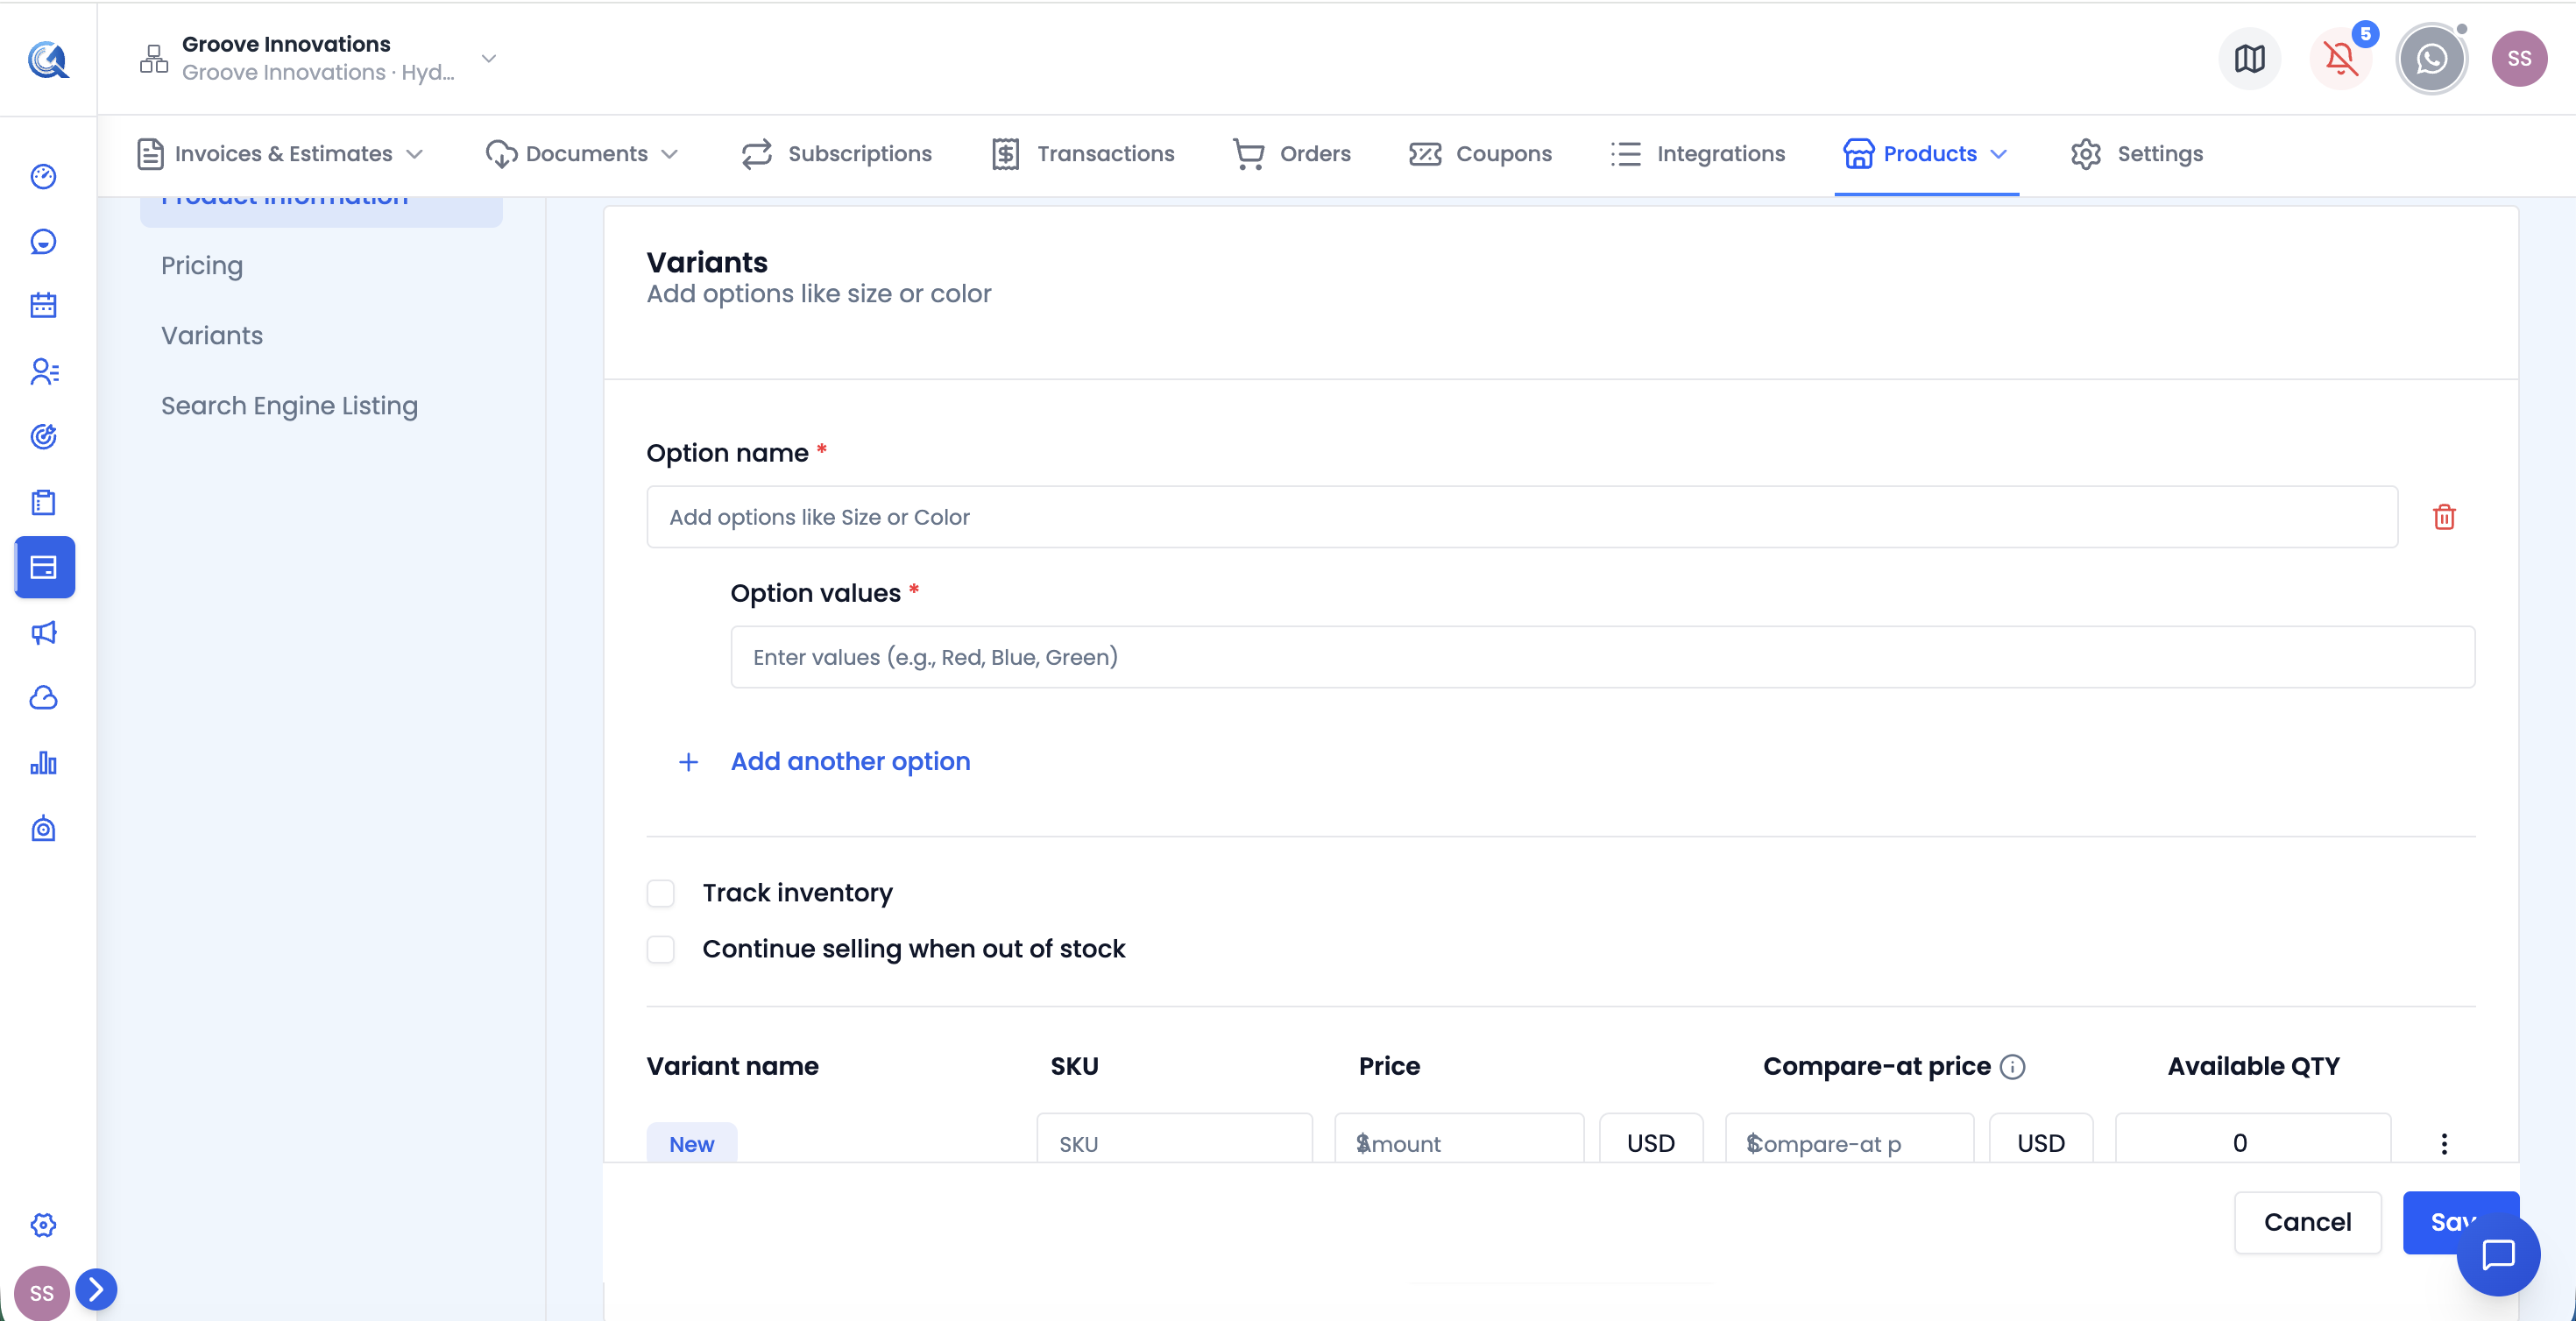 The Variants section. Add option sets and their values — Quantixone generates a row for every combination. Set the price, SKU, and inventory independently for each variant.
Example: A "Website Package" with a "Plan" option set and values "Starter", "Pro", and "Enterprise" creates three variants. Starter is $500, Pro is $900, Enterprise is $1,500. Each has its own SKU. When a contact purchases this product, they choose which variant they want.
Each variant has its own independent inventory count. Running out of stock on one variant does not affect the others.
Bulk Operations
Select multiple products using the checkboxes in the list, then choose from the bulk action toolbar that appears.
 The bulk action toolbar appears when you check multiple products. Apply changes across all selected products in one action.
| Bulk Action | What it does |
|---|---|
| Update Availability | Sets all selected products to Active or Inactive in one action |
| Update Price | Applies a new price to all selected products simultaneously |
| Update Compare-at Price | Sets or clears the crossed-out original price on all selected products |
| Add to Collection | Assigns all selected products to one or more collections |
| Delete | Moves all selected products to the Deleted tab |
Deleted Products
When you delete a product, it moves to the Deleted tab rather than being permanently erased. From the Deleted tab you can:
- Restore — moves the product back to Active status in the main list.
- Permanently Delete — removes the product completely. This cannot be undone.
Permanently deleting a product removes it from all historical invoice line item references. Only do this if you are certain the product record is no longer needed.
Video Walkthrough
Watch the complete walkthrough below.